Page 9 of 11

Re: Matt's New Shop

Posted: Sat Jul 28, 2012 3:48 am
by peter
Tick tock tick tock tick tock


Wow, this makes for an awkward moment..... :whistle:

Re: Matt's New Shop

Posted: Sat Sep 22, 2012 10:31 pm
by mdmead
For Petey! :poke:

OK, I know it has been forever since I updated this. I've had the pics, just no time to write it up. I'll start now.

I was a bit picky on where I wanted my shop, and I didn't want to disturb the landscaping any more than necessary. This of course worked against me. The 12' door for the motorhome was situated on the west end of the building, but I don't have a straight shot into it due to several large rocks. (Several of the rocks were moved there when the excavating was done for the shop. I misjudged where then needed to be.) The closest rock in this first picture wasn't going to move. This means even after moving rocks around, I don't have a straight shot into the motorhome door... but I was willing to accept that.

Here is what it looked like in the beginning.

Image

The first rock I moved was the biggest and hardest. I'm glad I had recently found a Warn 8274 for the front bumper of my Bronco, because I needed it!

Image

In fact I needed to tie the Bronco off to my F-250!

Image

This rock was glued to the ground! I couldn't budge it, so I had to jack up each side and stick a couple of 2x4s under it. I won eventually though!

Image

The next rock was only a problem because I had a hard time keeping a hold of it. I had to reposition my chain a couple of times as it kept slipping.

Image

Image

While the first rock was dragged, the second was rolled...

Image

Into a hole I'd dug for it.

Image

Image

Image

The rocks were all moved.

Image

But I had some more work to do.

Image

This is pretty much how it looks today. I need to dump in some gravel... and I just had a dumptruck load hauled out last week.

Image

Image

Image

It is just a bit tricky putting the motorhome in. I have to back in at a slight angle and just about the time the rear goes through the door opening, I crank the wheel and straighten it out. It is more of a challenge today just because of the missing gravel and changes in elevation.

Re: Matt's New Shop

Posted: Sun Sep 23, 2012 1:42 am
by tbhager94
cool, now ya just need to level it out.

Re: Matt's New Shop

Posted: Mon Sep 24, 2012 6:27 pm
by blk lt awd
Wow! That's a garage!

Re: Matt's New Shop

Posted: Tue Sep 25, 2012 2:56 pm
by mdmead
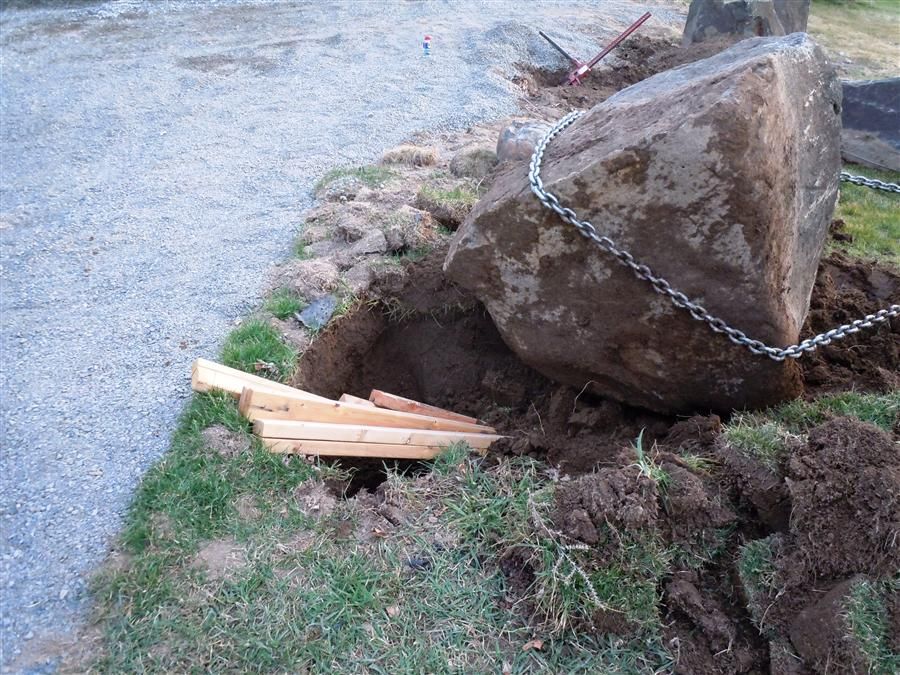
OK, let's get back to the interior.

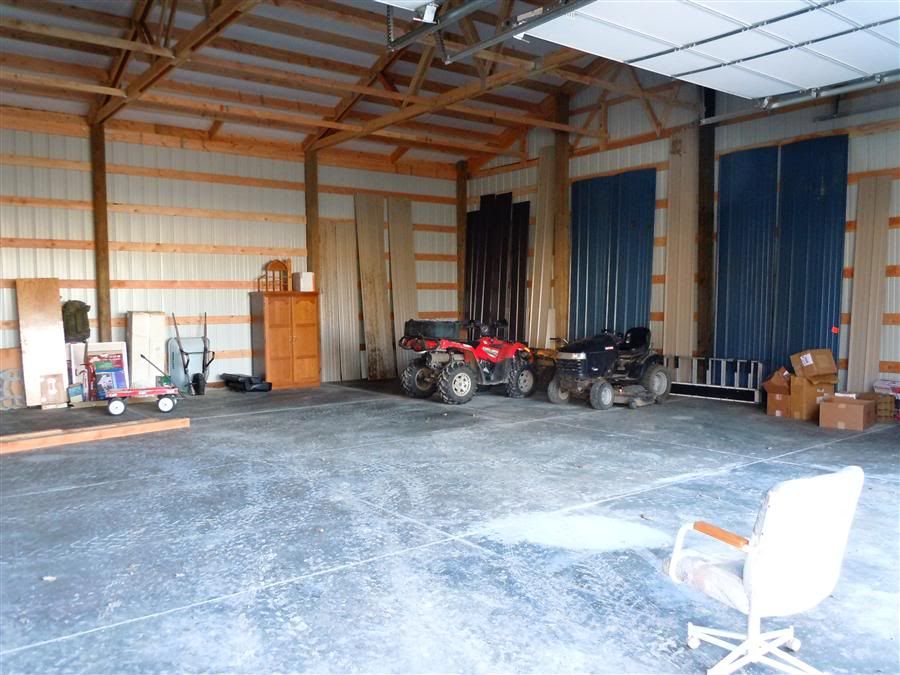
Here is what the floor looked like after the cuts were made. Notice how spacious it seems...

Image

Image

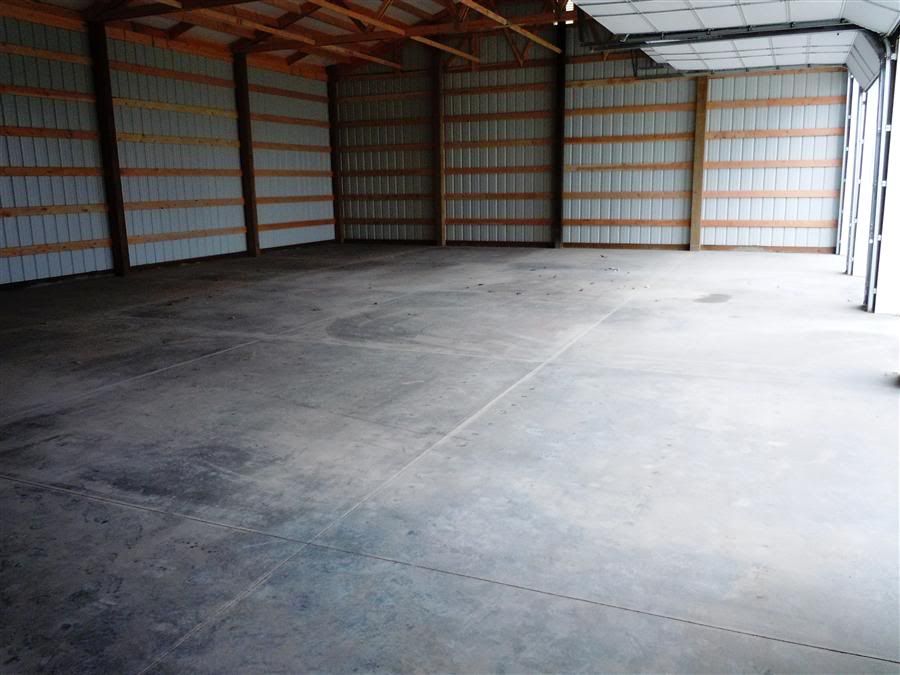
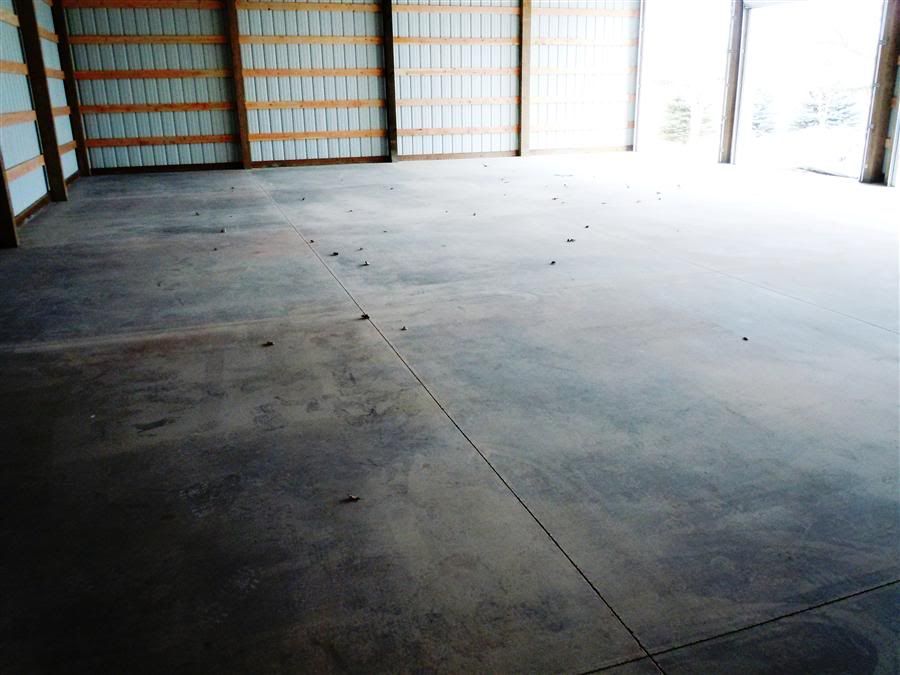
While I was initially not happy with my floor, and only time will tell how it holds up, so far all seems well. I occasionally find a new blemish, or area less than perfect, but overall I'm satisfied.

I quickly started moving stuff in as soon as the floor was strong enough. Not really in an organized way though, but to just get it in.
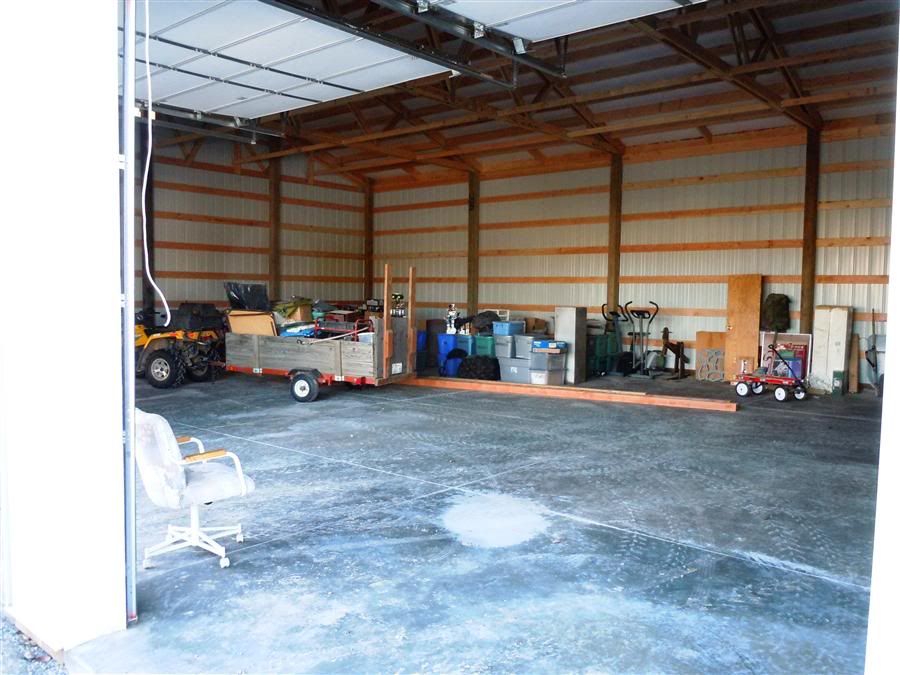
Image

Image

Storage is key!

And at our house, life revolves around plastic storage tubs. We've got a lot of 'em!

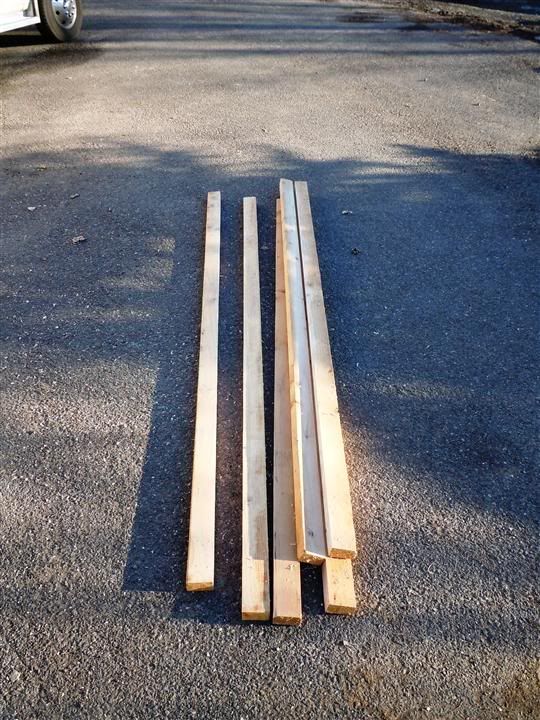
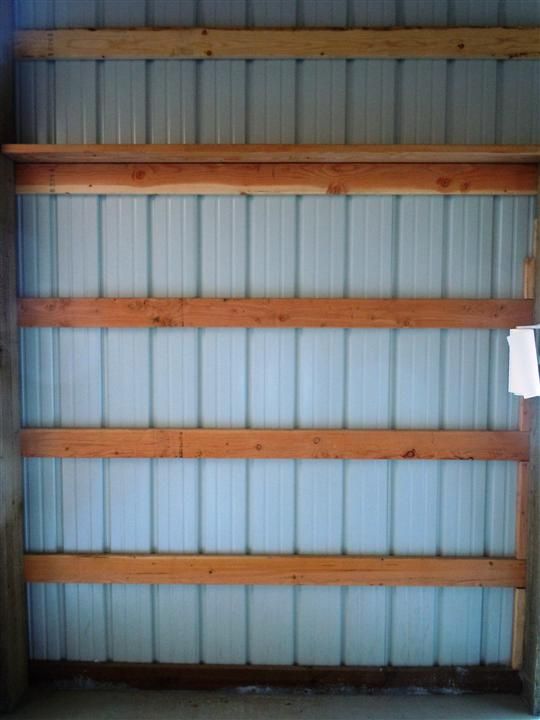
So I have figured a way to build reasonably cheap shelving to accomdate all of our tubs.

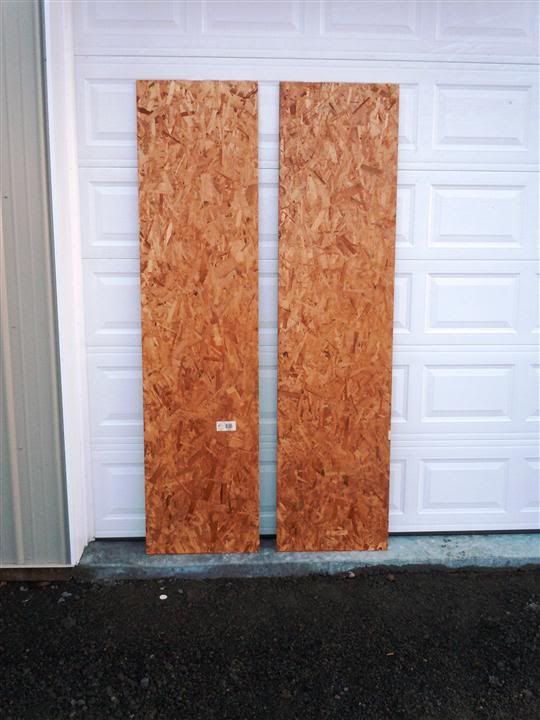
Each unit takes seven 2x6s, two sheets of plywood, and handfulls of both 1 1/4" and 3" exterior screws. The 2x6s are ripped to more like a 2x3. The plwood is cut down the middle making two 2' (approx) wide sheets.

Image
Image
Image
Image

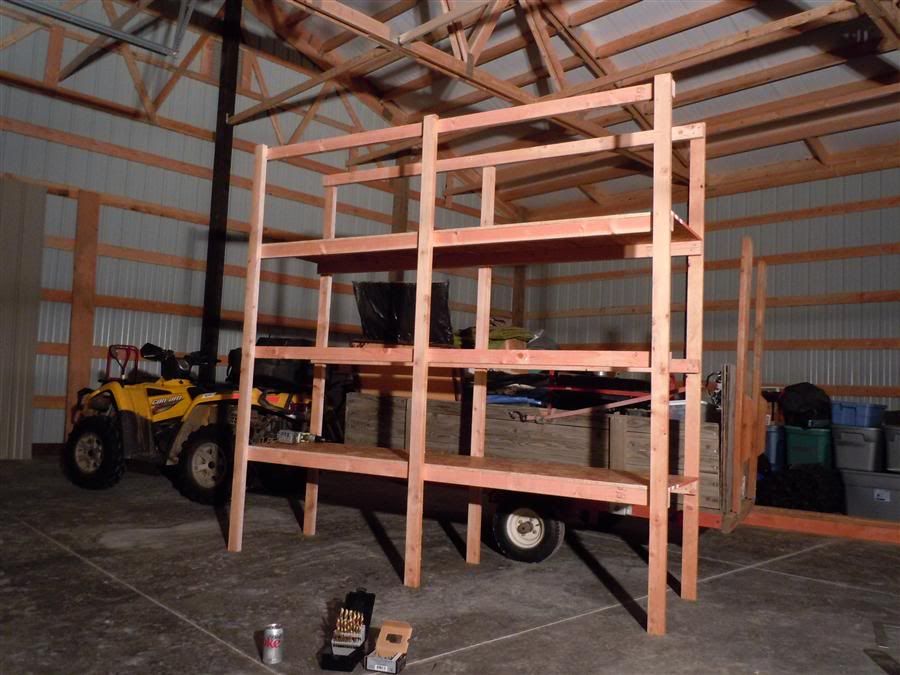
Here is the first one located in place...
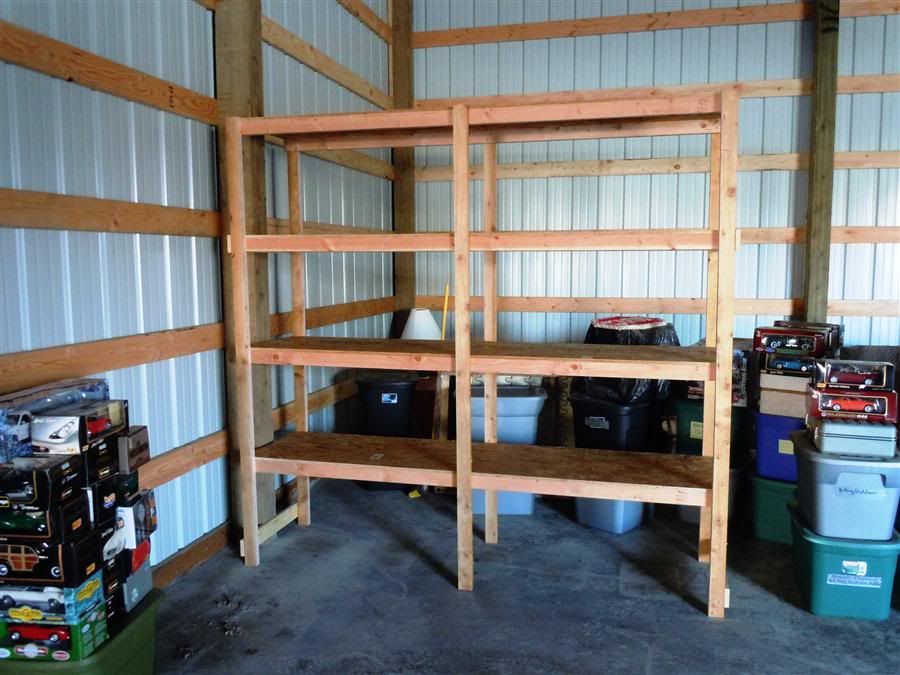
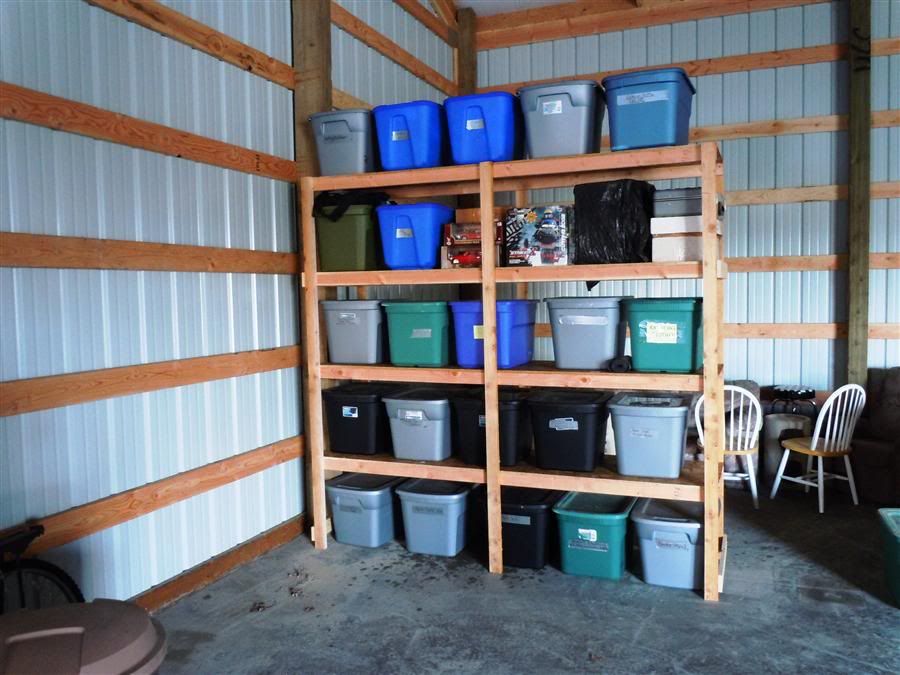
Image

And loaded up.

Image

Here is how it looks today with three of them running east to west, and then one running along the wall to the north.

Image

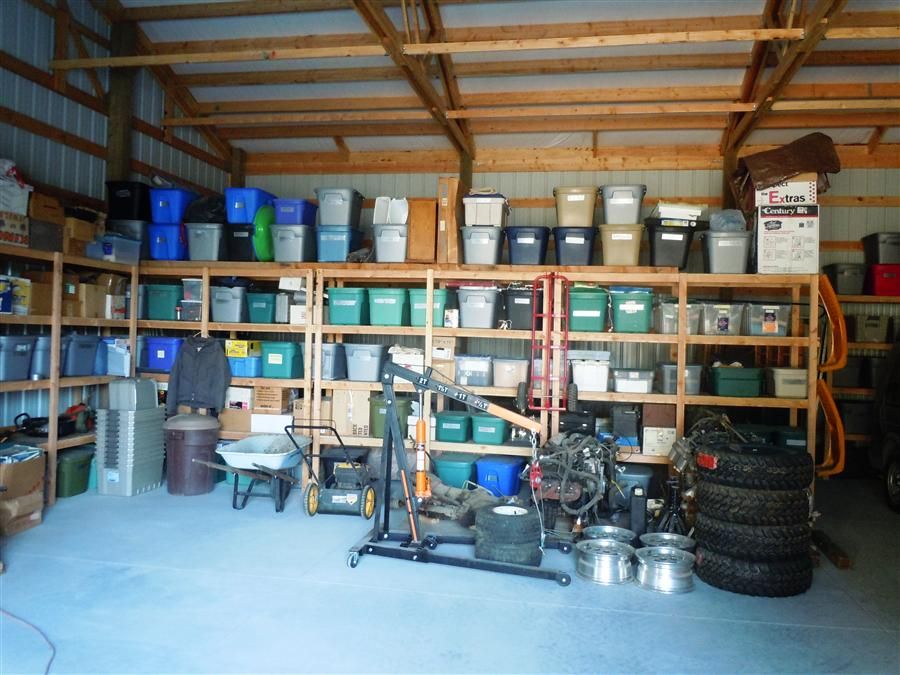
You'll notice the ones running east/west are not up against the back wall. They are actually about 10' from the back wall. I told Ryan she could use this area and it currently holds some old furniture we finally got around to upgrading last winter. (There are also a couple of display cases... stay tuned for my plans with these!) Eventually I plan on doing something with this area... I'm kind of thinking an elevated office with storage underneath.

Image

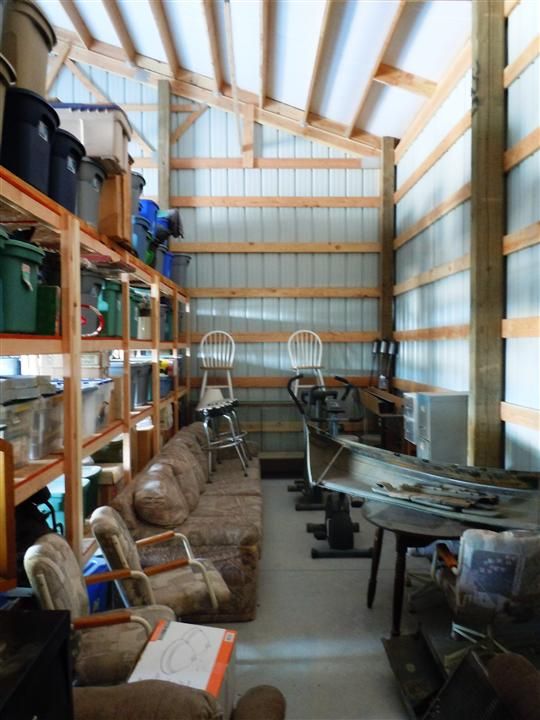
I've since built two more of the racks for plastic tubs. One was sized for smaller tubs (picture to follow) and the other is clear back against the east/west wall. I have materials for another which will also go against the east/west wall.

I'm not putting up these pictures/projects in order, as this next one I just completed about two weeks ago. I'm doing more work in the shop now, but all my tools were still in my small garage. I was getting tired of making so many trips back and forth, so decided to move my hand tools over to the shop. Of course I needed a place to put them...

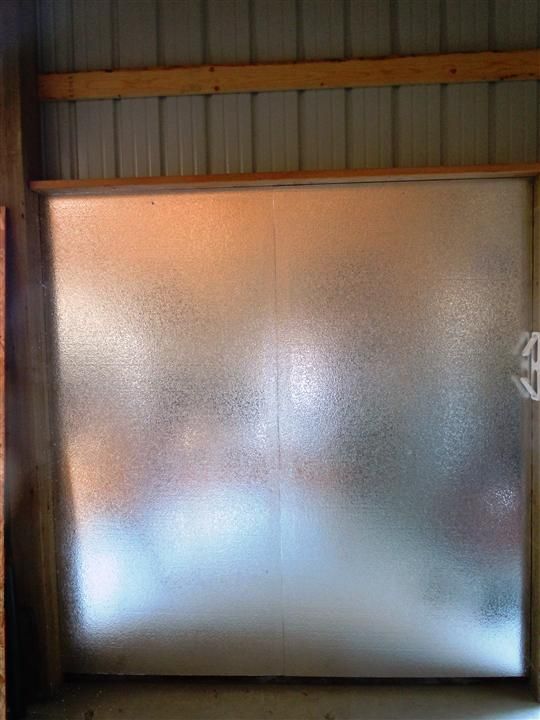
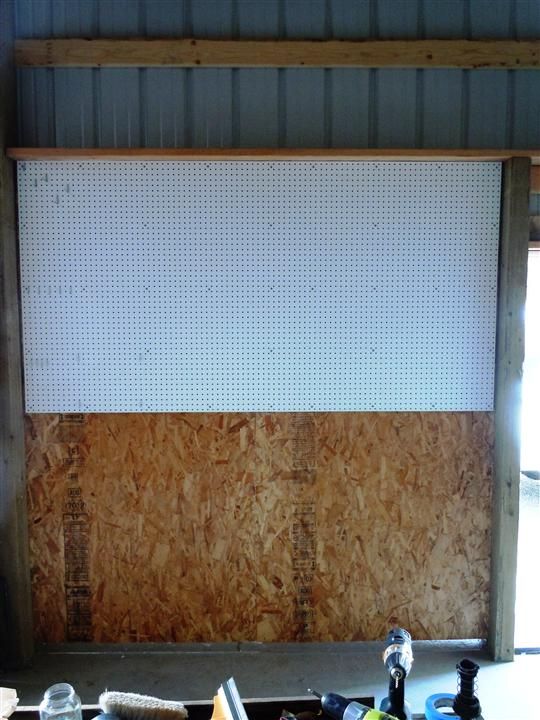
This is the wall between the walk-thru door and the first garage door. It's just under 8' wide.

Image

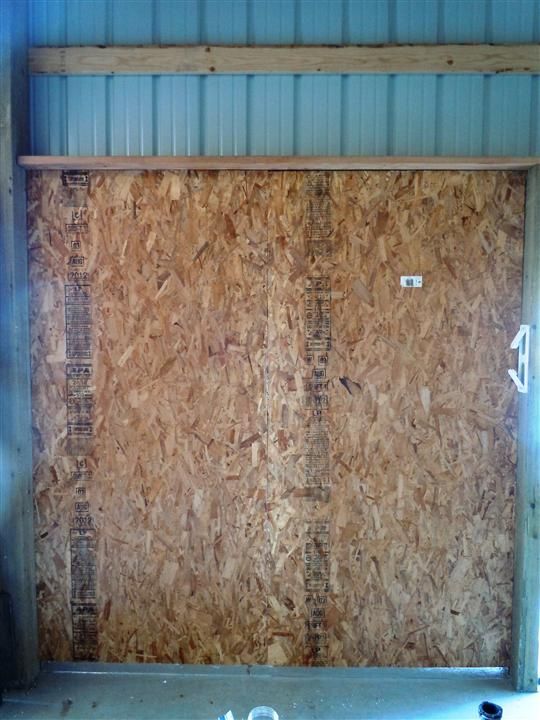
While a long-term goal is to inslulate the entire shop, I don't expect it to come quickly. I also don't expect it to ever be as tight or as warm as a house. I decided 1 1/2" rigid foam would be a reasonble way to go. It's easy to work with, and while not cheap, not ungodly expensive either. So two sheets of foam were nailed up.

Image

Followed by a couple of pieces of OSB screwed through the foam and into the wall framing.

Image

Next up was a sheet of white pegboard. (I usually use the brown stuff, but splurged this time.)

Image

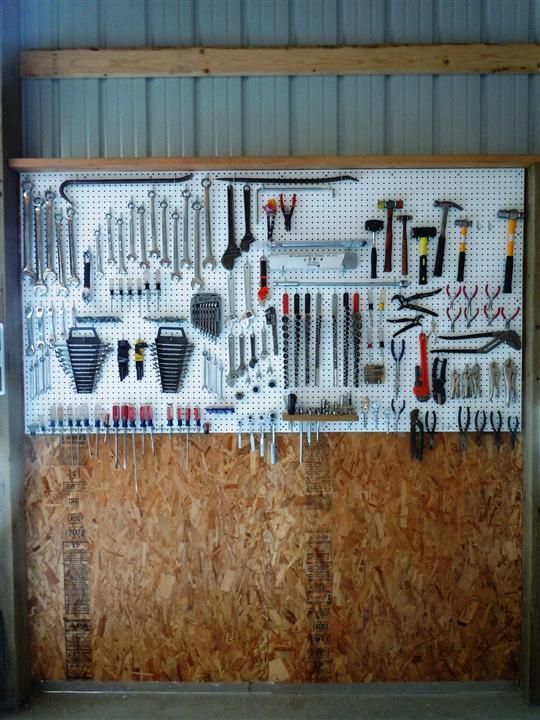
And here it is loaded with tools.

Image

Here is how it looks today. I will build a workbench along this wall and the table will meet the burn pile eventually.

Image

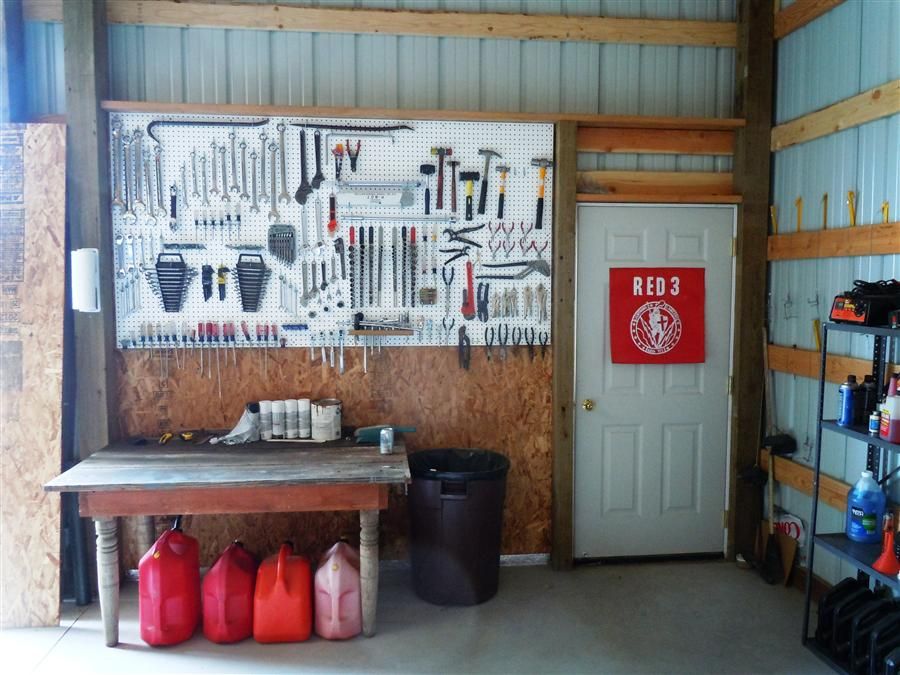
The one thing I didn't do was prep for electricity on this wall. I'm not going to do any more wall work without running some wires. I think I can fish wires down from the top right now for this area, and the plan is to have an outlet on either side of this wall.

Re: Matt's New Shop

Posted: Tue Sep 25, 2012 7:35 pm
by 1Gary
Hey Matt!!. I missed the part where you trenched in a 220 electric service. #-o

Re: Matt's New Shop

Posted: Tue Sep 25, 2012 8:47 pm
by mdmead
1Gary wrote:Hey Matt!!. I missed the part where you trenched in a 220 electric service. #-o
It' ain't in the budget yet. A looooooong extension cord handles a portable light and the radio. So far, my only issue has been with my air compressor... it sometimes pops the circuit breaker. As long as I don't need continuous air, I can pump it up and drag it over from the garage. I hadn't really thought about it, but I probably have enough hose to reach from the garage if need be.

If I really needed more juice, I have a 5K generator I could rig up.

Re: Matt's New Shop

Posted: Tue Sep 25, 2012 10:23 pm
by 1Gary
If it where me(yeah Dean I know,I know),I would want 100 amps a leg. That should cover anything in the shop needs. A 220 welder in time,the compressor,maybe a 220 or 110 plasma cutter,(with this you want enough head rm to run both) lights(I am a fanatic about lighting),plugs the limit the need for no more than needing a 10' cord.That helps keep the mess of cords off the floor. A rental trencher without rocks could do the job in about a hr.

I suggest you find a electrician friend to hang his inspection tag while you do the work.

Re: Matt's New Shop

Posted: Wed Sep 26, 2012 6:33 am
by mdmead
1Gary wrote:
A rental trencher without rocks could do the job in about a hr.
A rental trencher? Heck, I own my own! (Doesn't everyone?!)

Image

Re: Matt's New Shop

Posted: Wed Sep 26, 2012 6:38 am
by 1Gary
Well then some 2 " pvc and you could have the pipe in the ground before it freezes. :poke: :yawinkle: :muhaha:

Re: Matt's New Shop

Posted: Thu Sep 27, 2012 8:40 am
by HPbyStan
bet he owns his own pvc pipe also.

Re: Matt's New Shop

Posted: Thu Sep 27, 2012 11:22 am
by mdmead
HPbyStan wrote:bet he owns his own pvc pipe also.
Unfortunately I'm a bit short in that area at the moment. I've got none of the gray electrical, and not enough of the white water. I bought the trencher to run irrigation lines on the lower 1+ acre, which needs at least 500' of 2" and more than 500' of 1.5". Was really hoping to get that project done this summer, but wanted to get in all my railroad tie fence posts, which also hasn't been finished. Go figure, huh? (But hey, I could still have a couple of months before the ground is too hard to work...)

Re: Matt's New Shop

Posted: Thu Sep 27, 2012 1:49 pm
by HPbyStan
I know what you mean about the summer. I was putting in so many hours on the Astro "El" that I lost track of the days till someone said "Happy 1st day of Autumn". I'm thinking Autumn, what happened to summer and all the stuff I was going to do.

Re: Matt's New Shop

Posted: Sat Oct 20, 2012 2:08 pm
by peter
WOW! I can't believe it. You started a project and are still with it. I'm speechless, pretty well a miracle for me :smurf:

Awesome Matty. I freakin' hate you, but it's an awesome garage. Coupla suggestions (you must be sick of those, I would guess;

- Go with sprayed-on urethane insulation if it isn't too expensive. Maybe even better to wait 'till next year when you have the funds for it. You'd be surprised just how warm you'd be able to keep that monstrosity of a garage.

- Wire in more than just two 120v outlets in the workbench area, preferably on separate breakers. Trust me, you never have enough of them, and too many on one breaker results in tripped breakers more often than not.


Again, awesome garage. Please convey to your wife my most sincere congratulations, her workmanship shines through-out! :butthead:

Re: Matt's New Shop

Posted: Sun Oct 21, 2012 8:31 am
by H2OJoe
Awesome garage Matt! Coming along nicely. You are the envy of many a shade tree mechanic. Hell, that's bigger than my mechanic's shop.
:cheers: