Re: Homebrew Con-Ferr Style Porthole Roof Rack Build
Posted: Sun Jan 01, 2012 7:44 pm
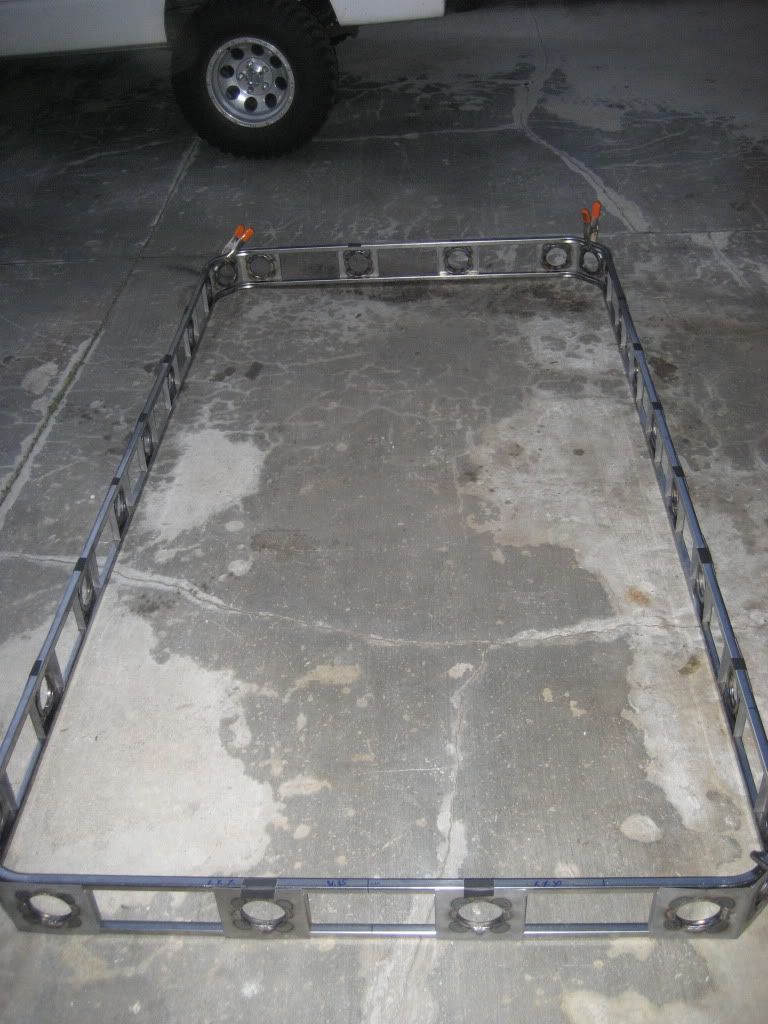
One full ring is welded up now. I stared with two short test rails to see if I could weld them end to end without burning through and have them come out perfectly straight.
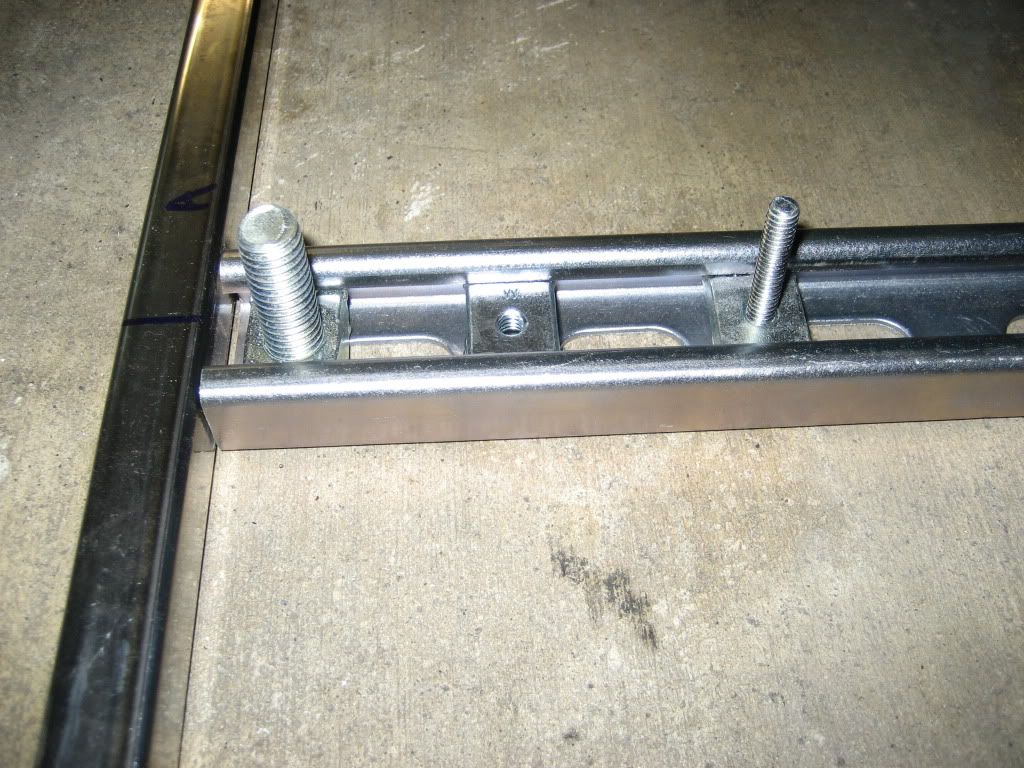
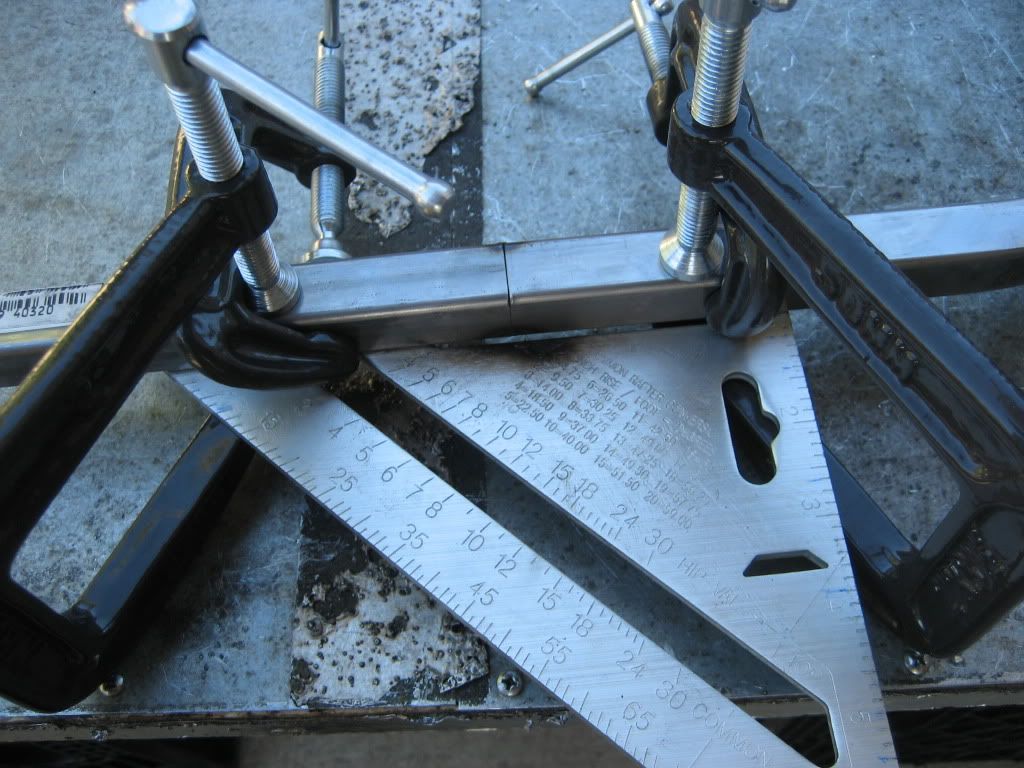
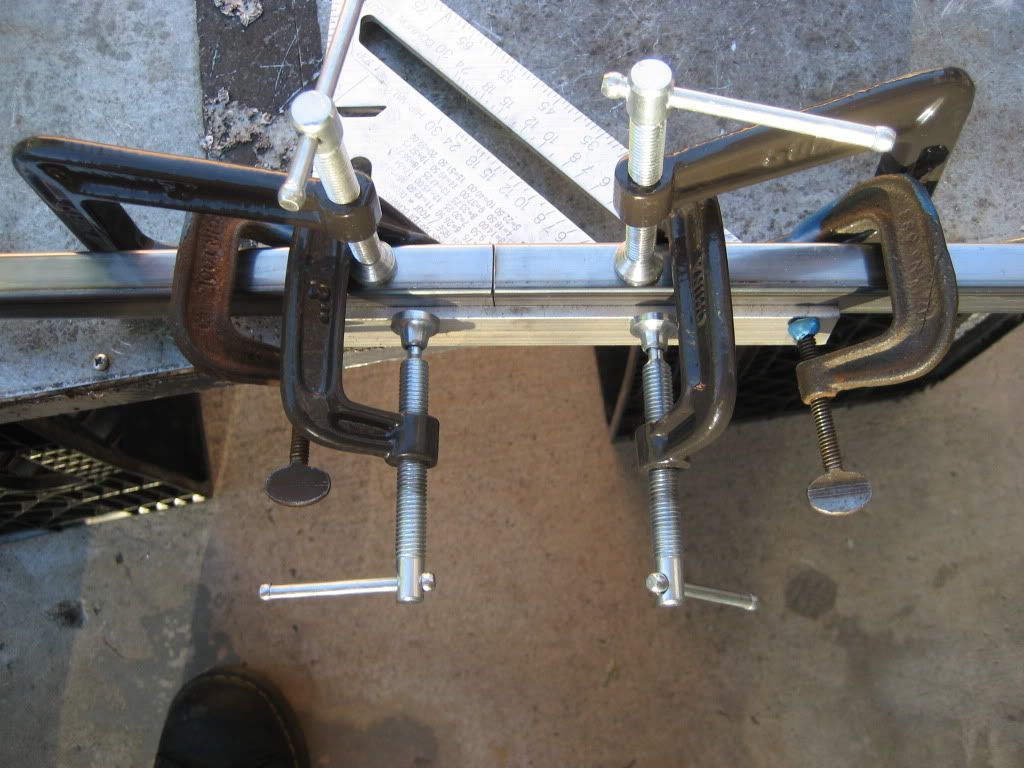
I used my handy $5 square to align and clamp the two pieces:
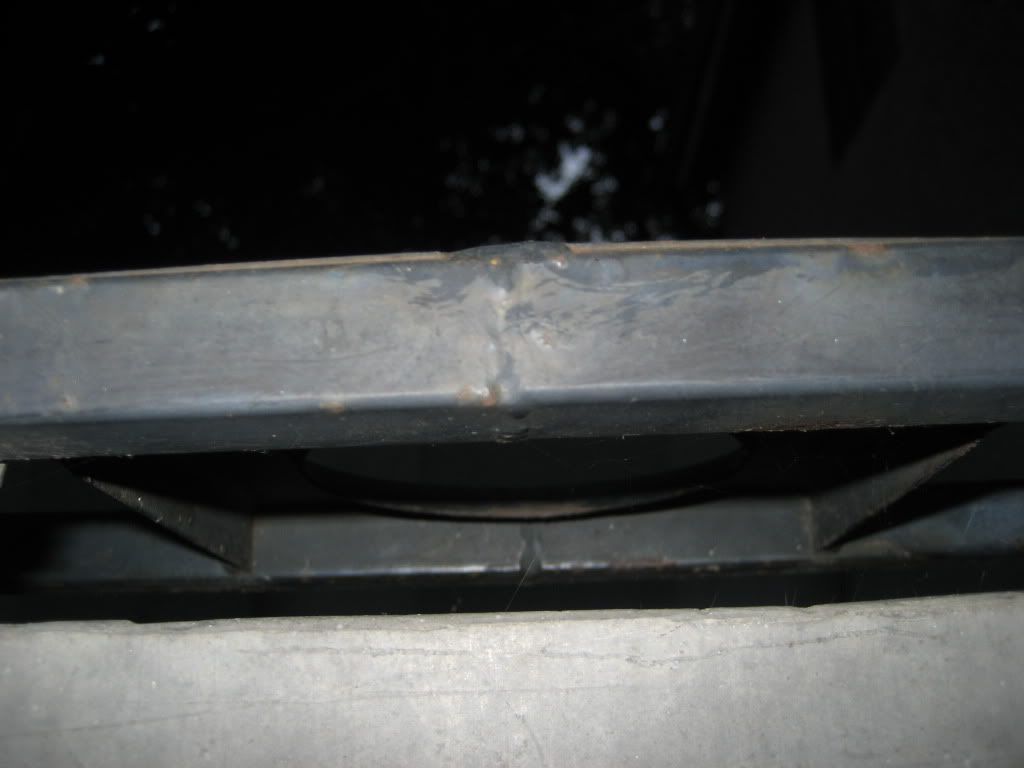
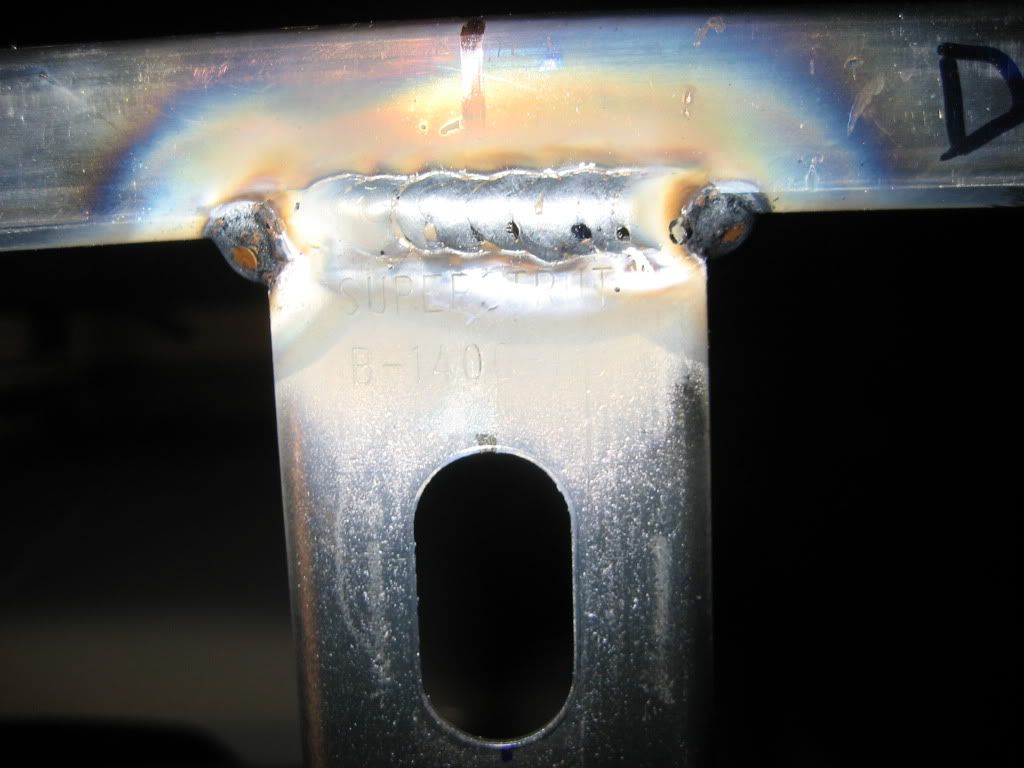
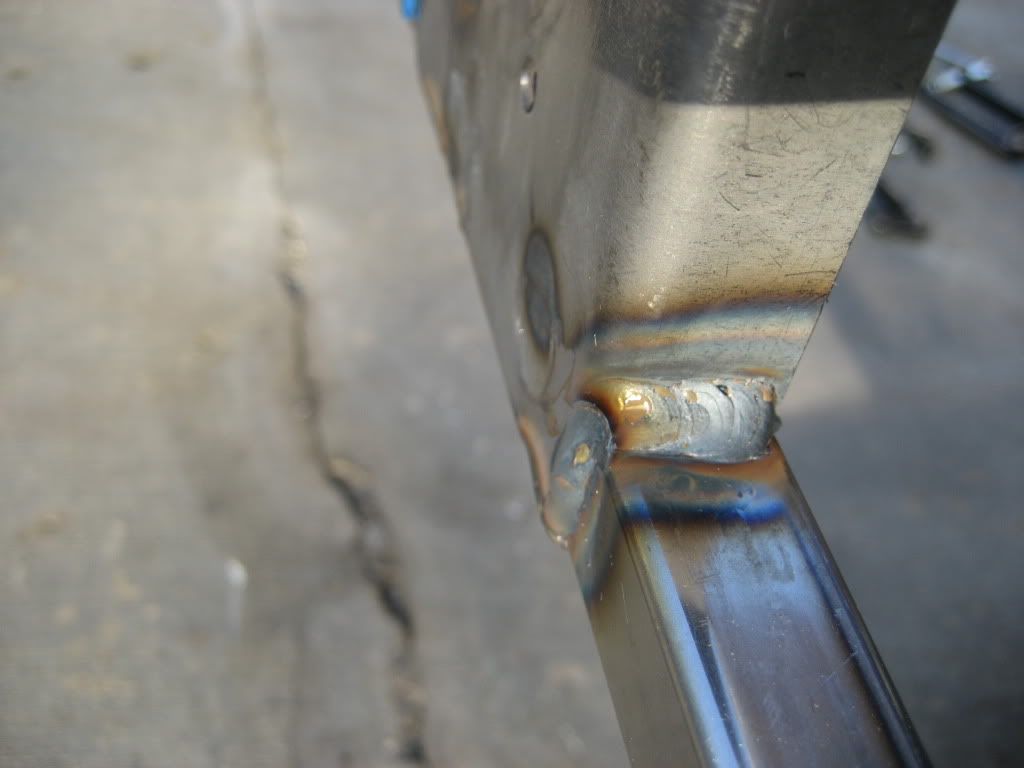
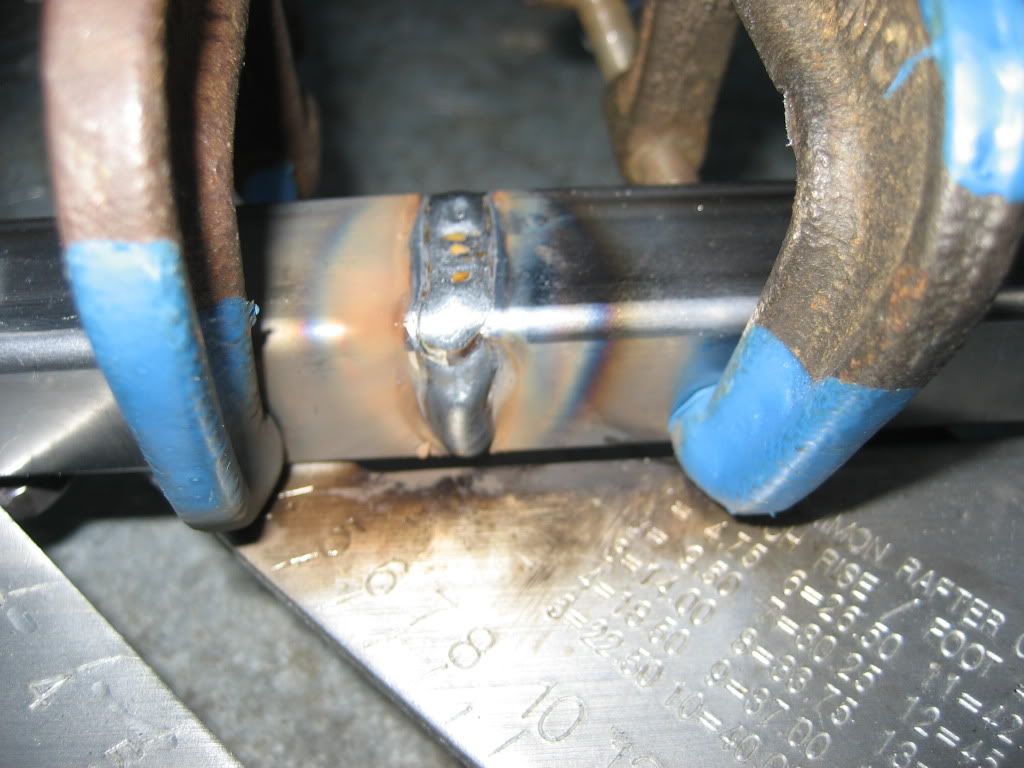
Then I blasted them with the welder:

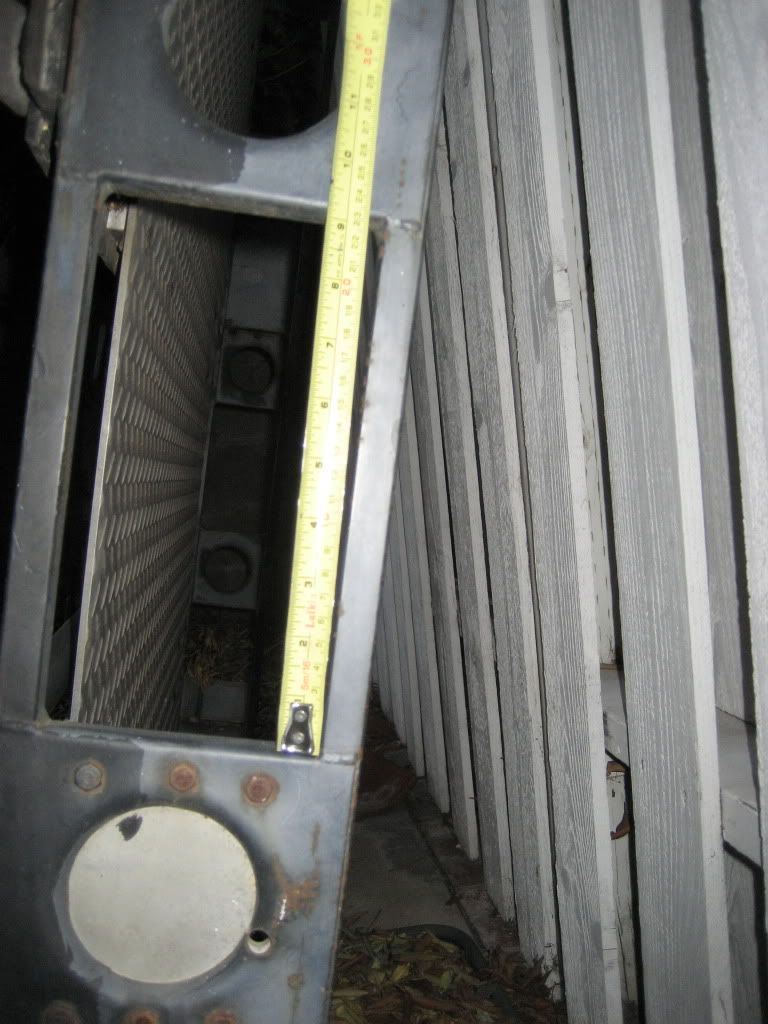
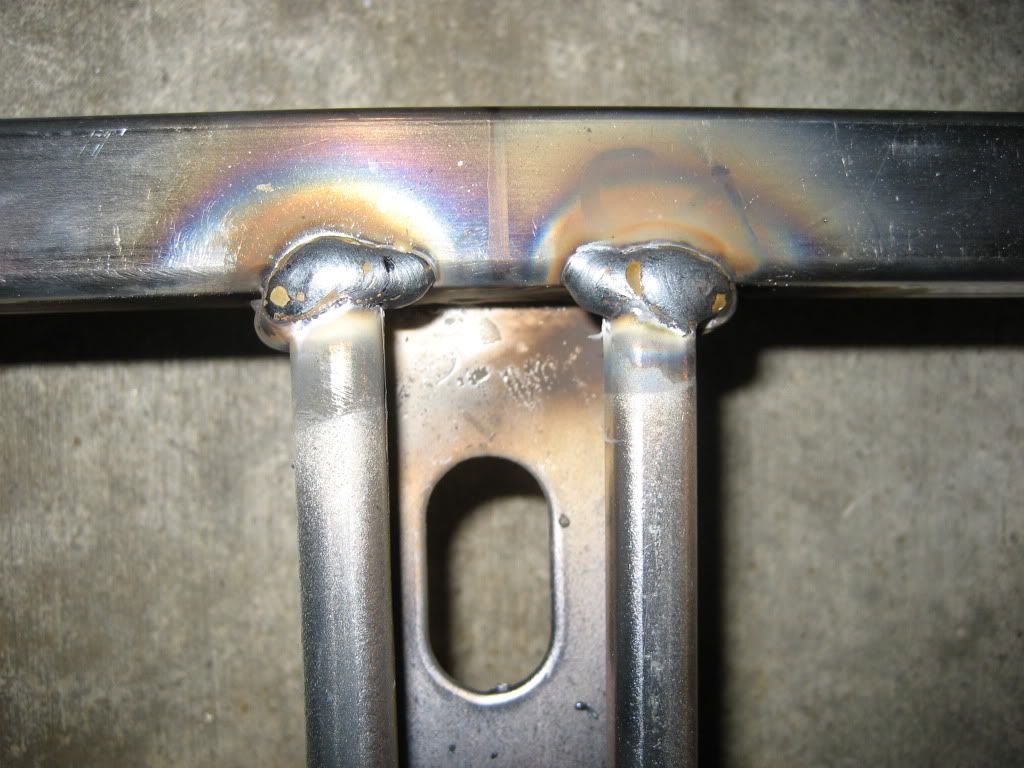
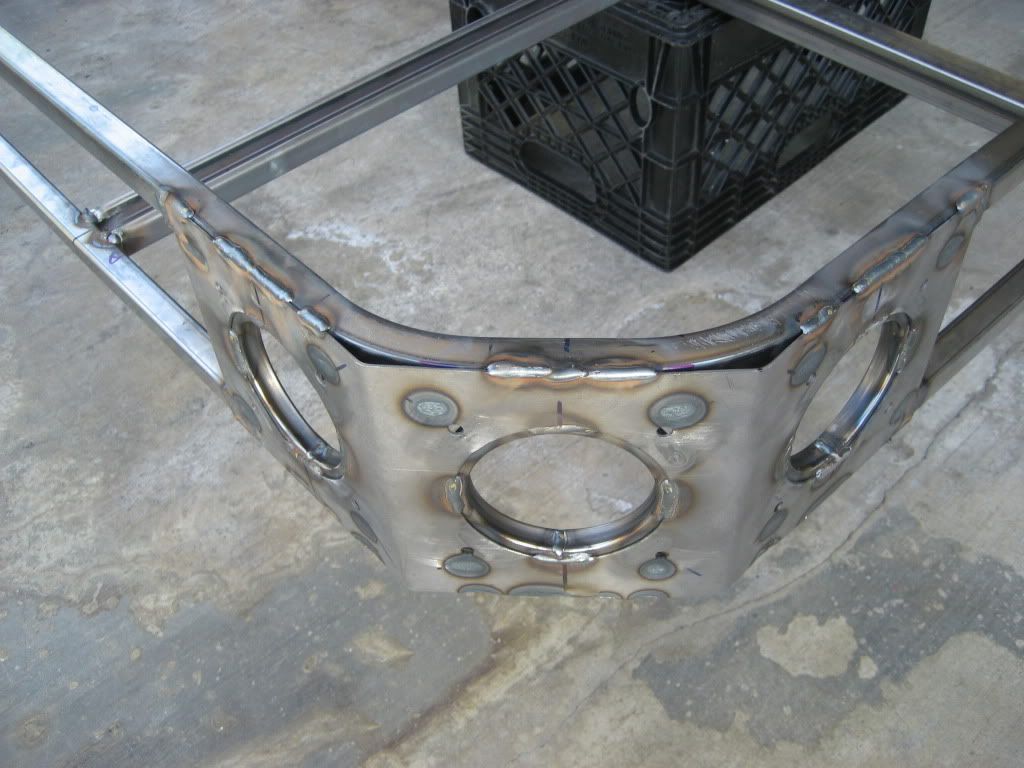
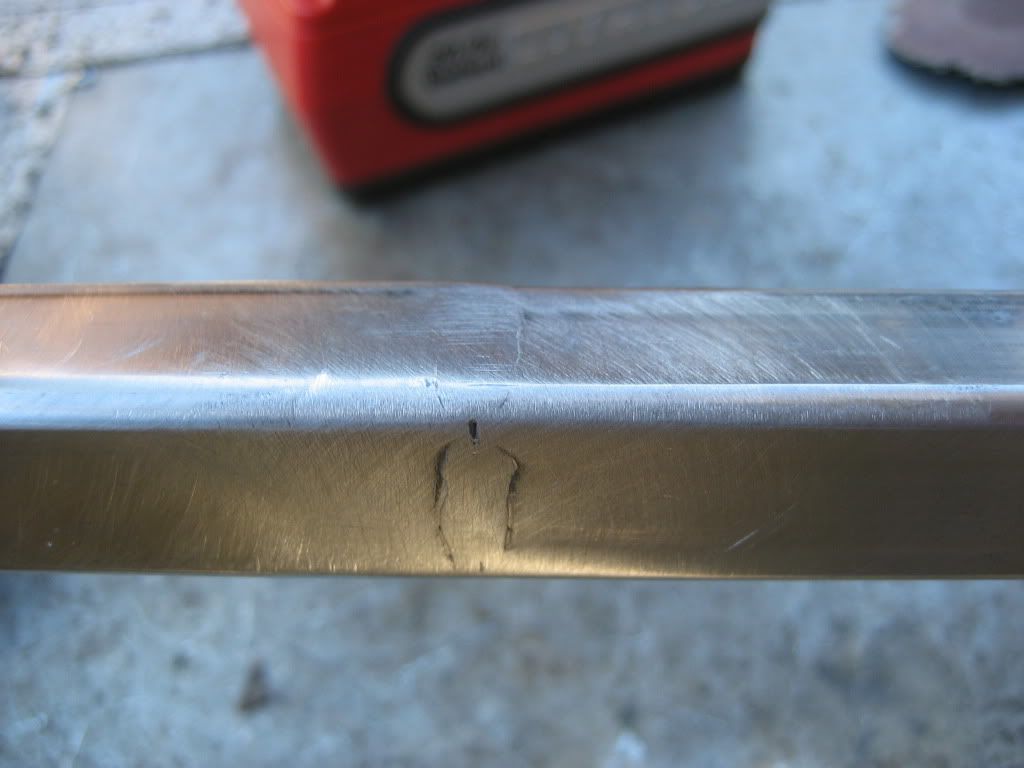
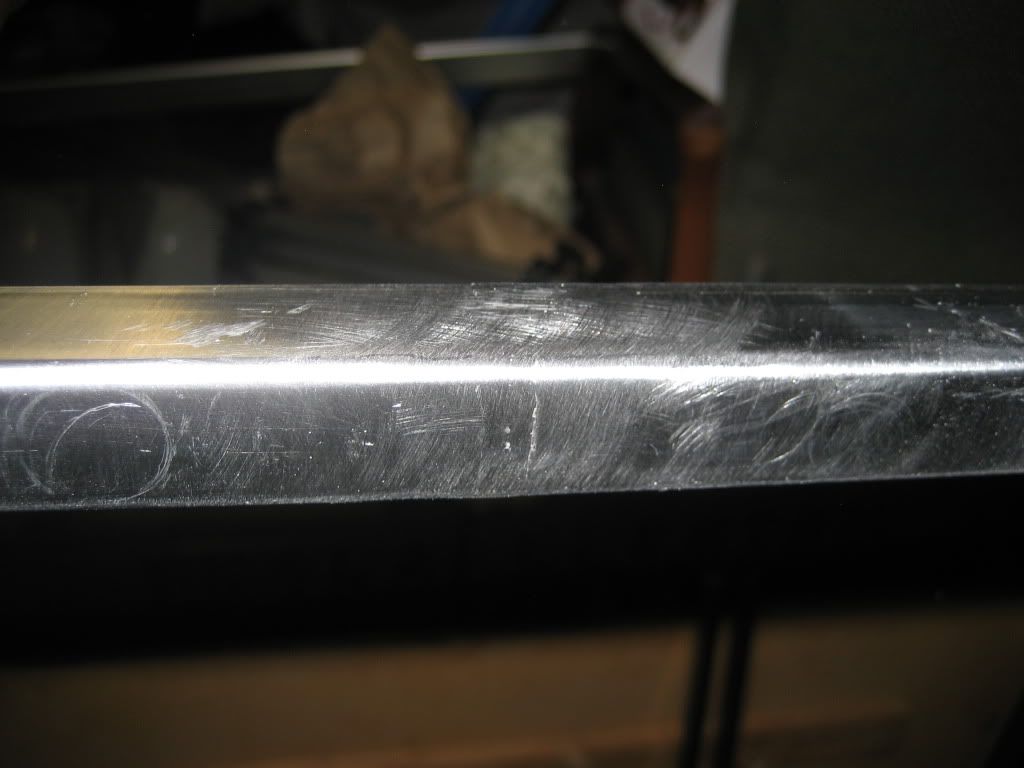
I then ground the weld beads down with a 4" angle grinder and polished it smooth with a sandpaper disc on the end of my drill:
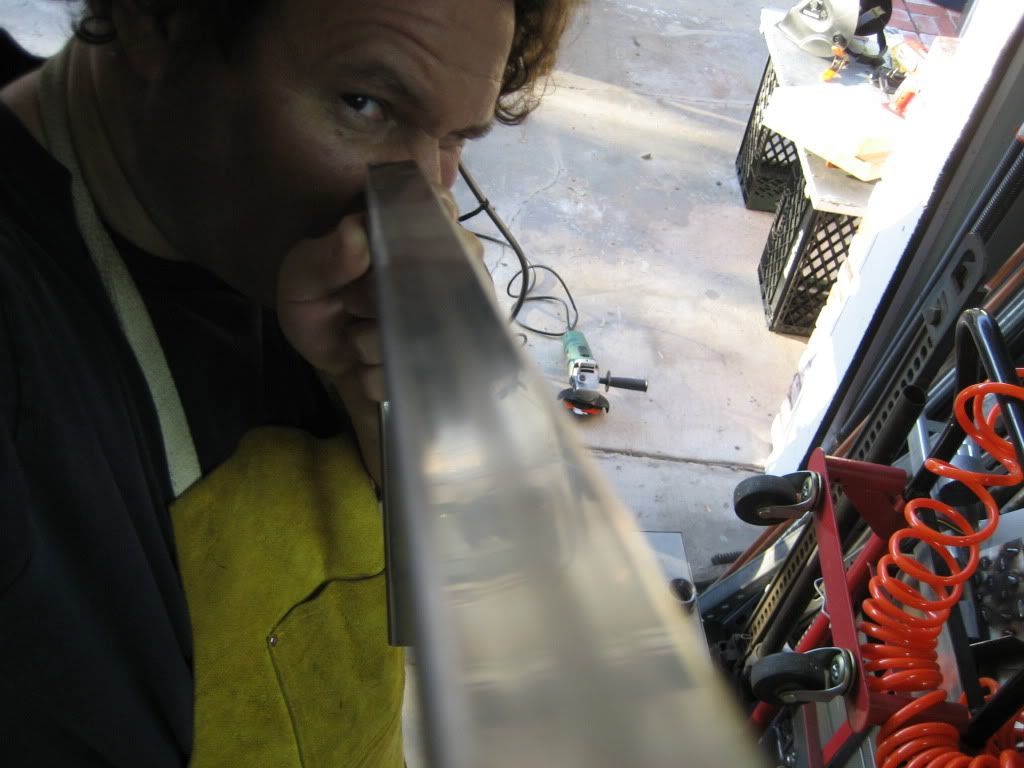
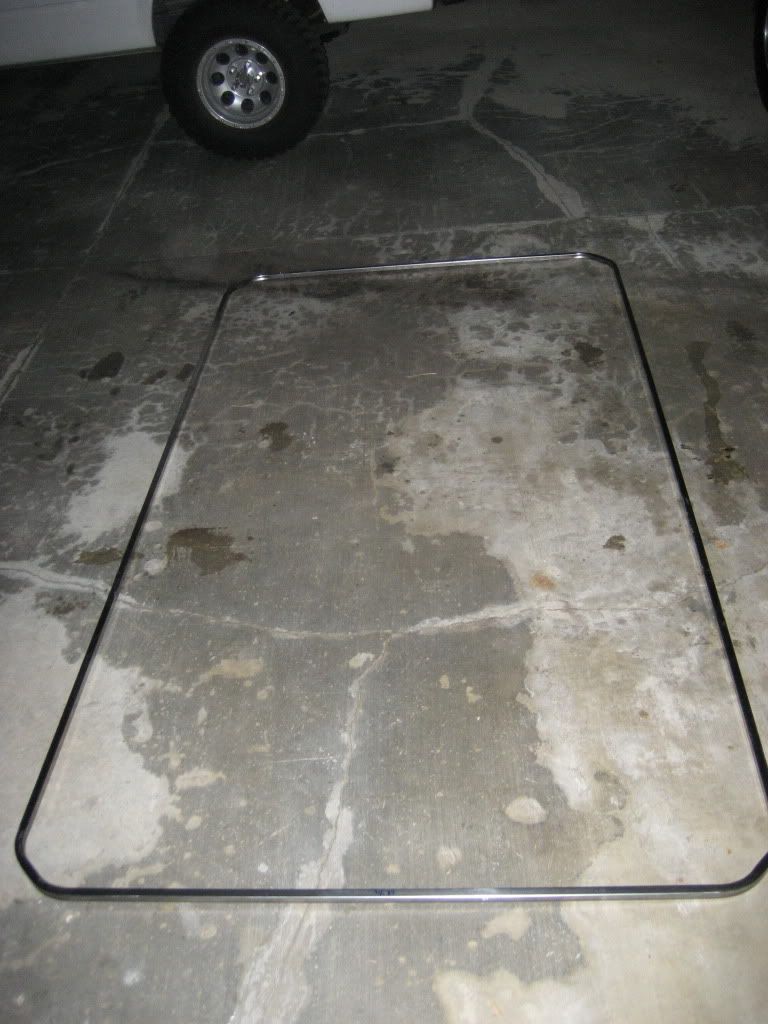
Nice and straight:
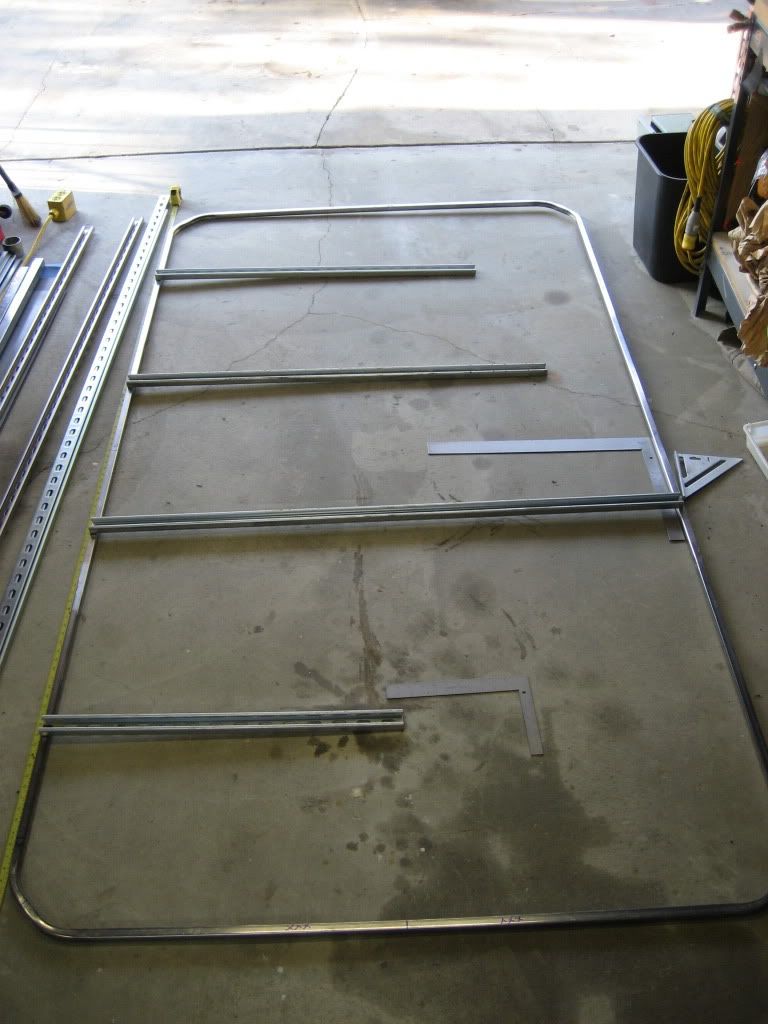
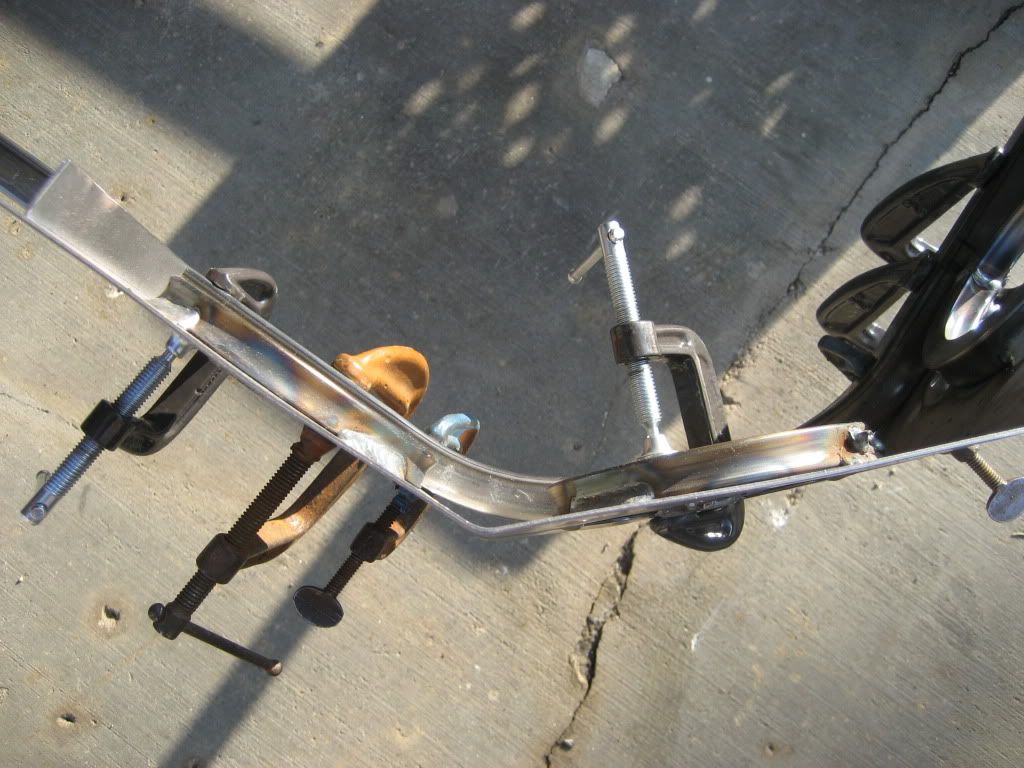
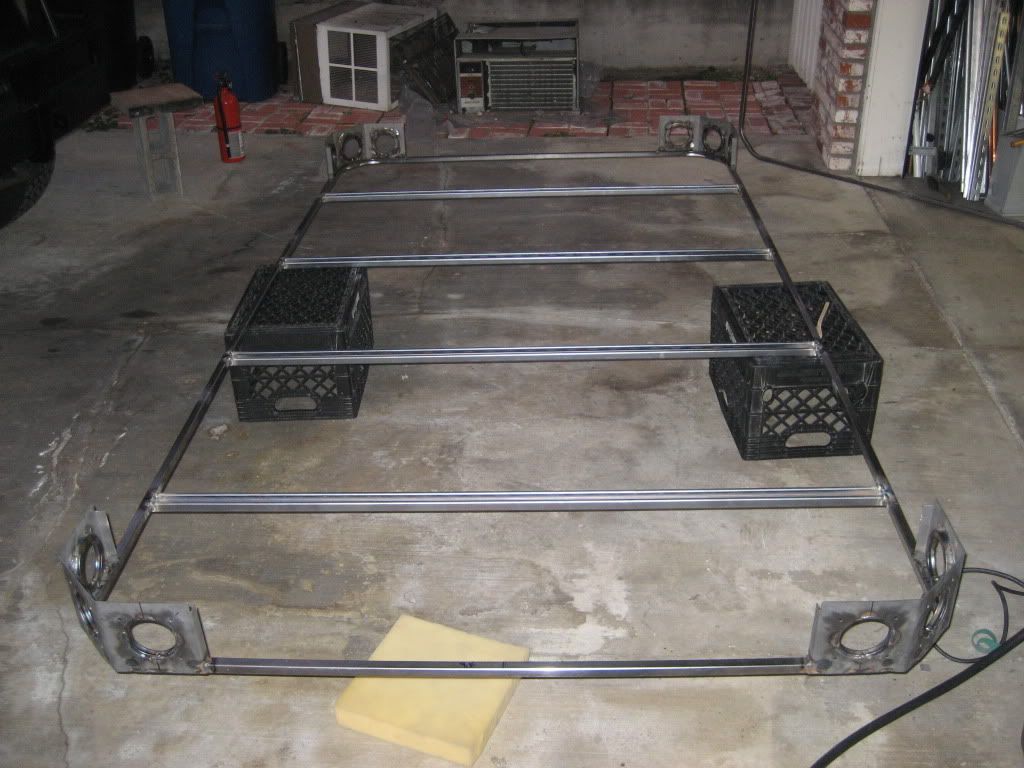
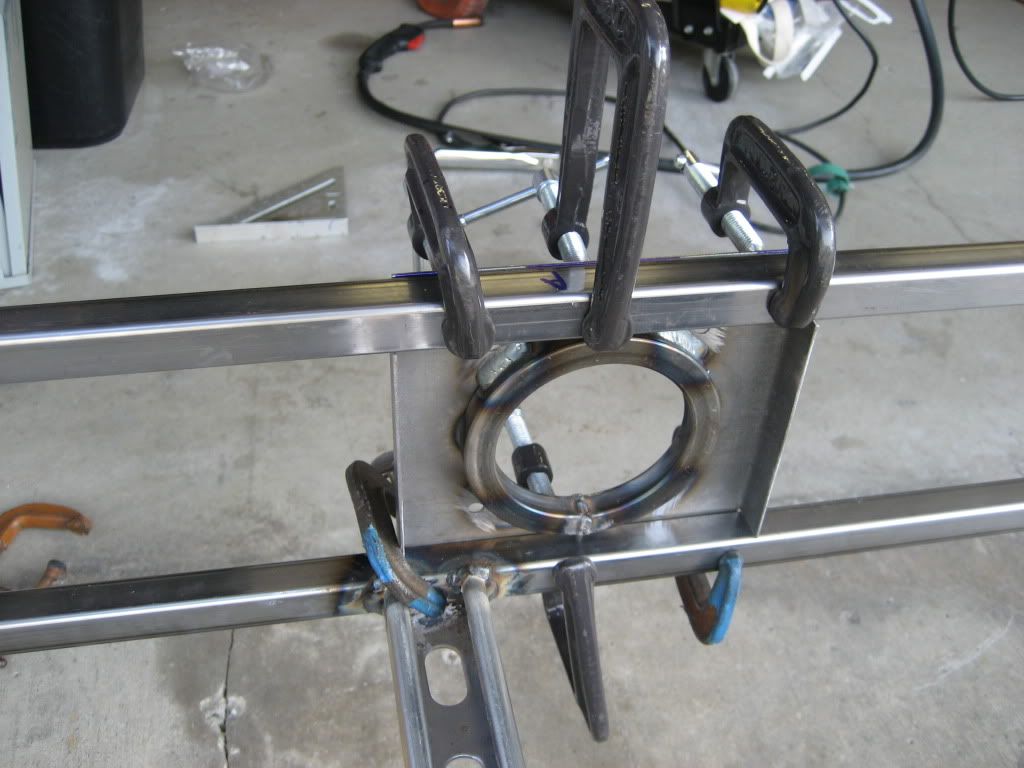
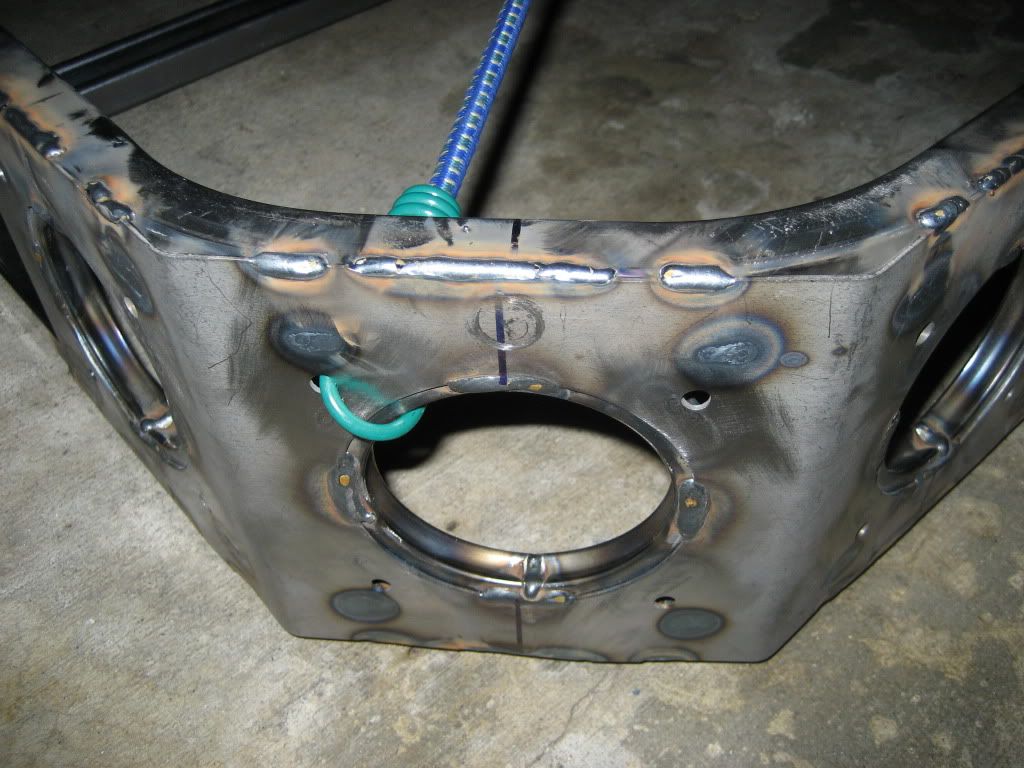
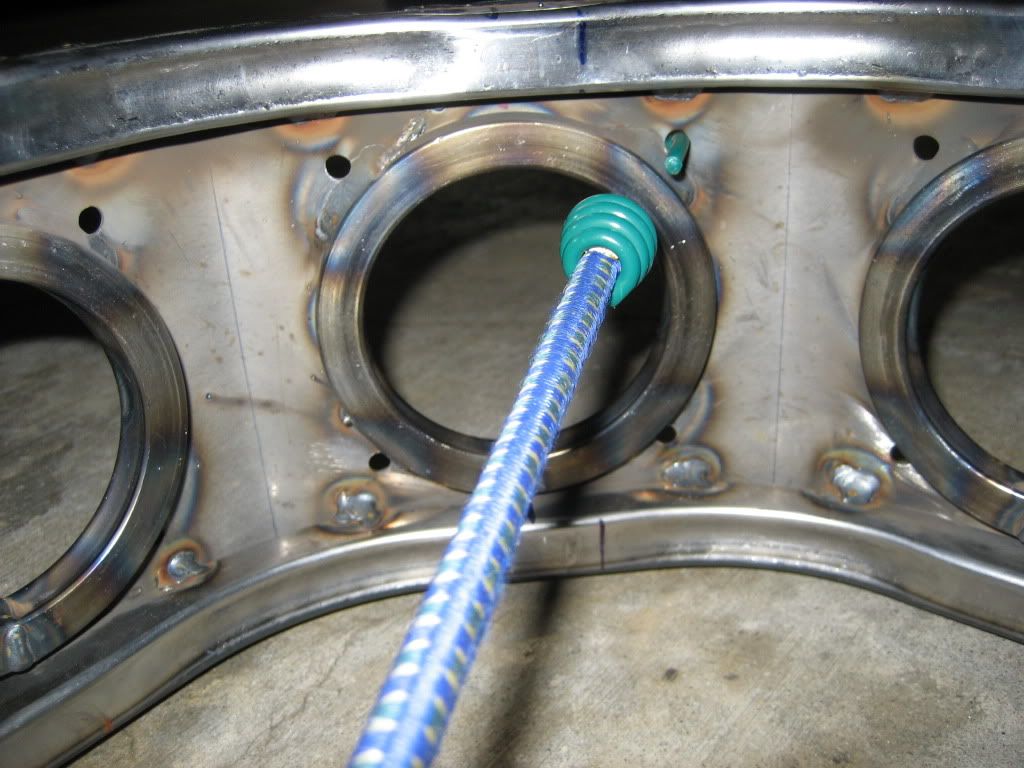
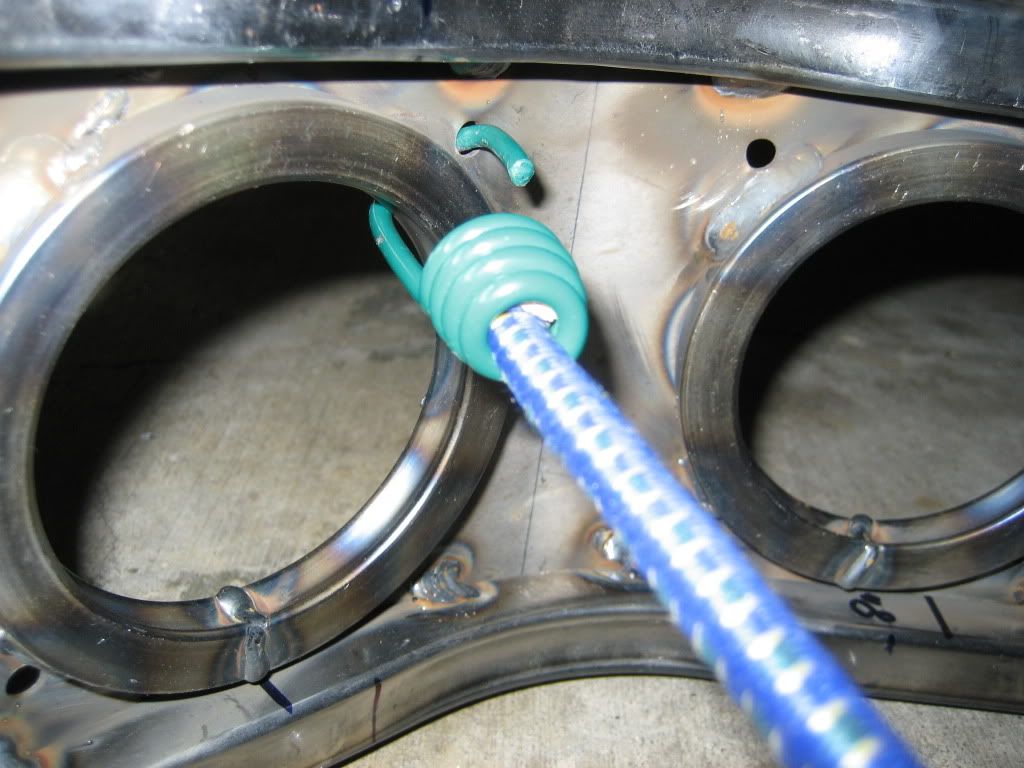
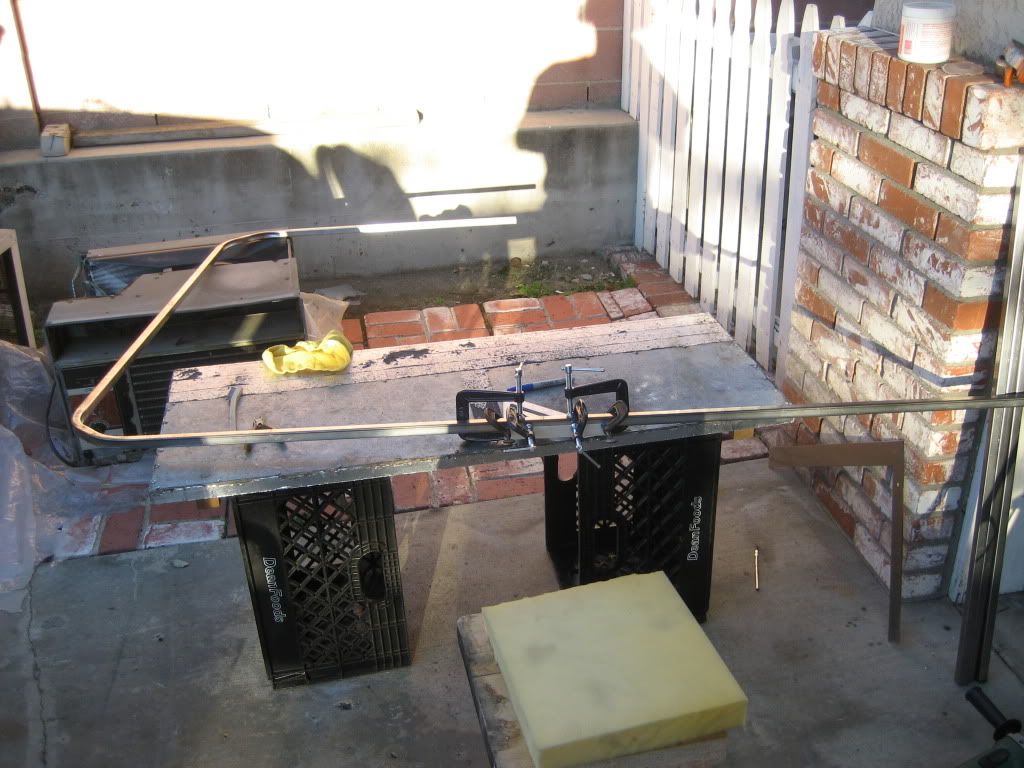
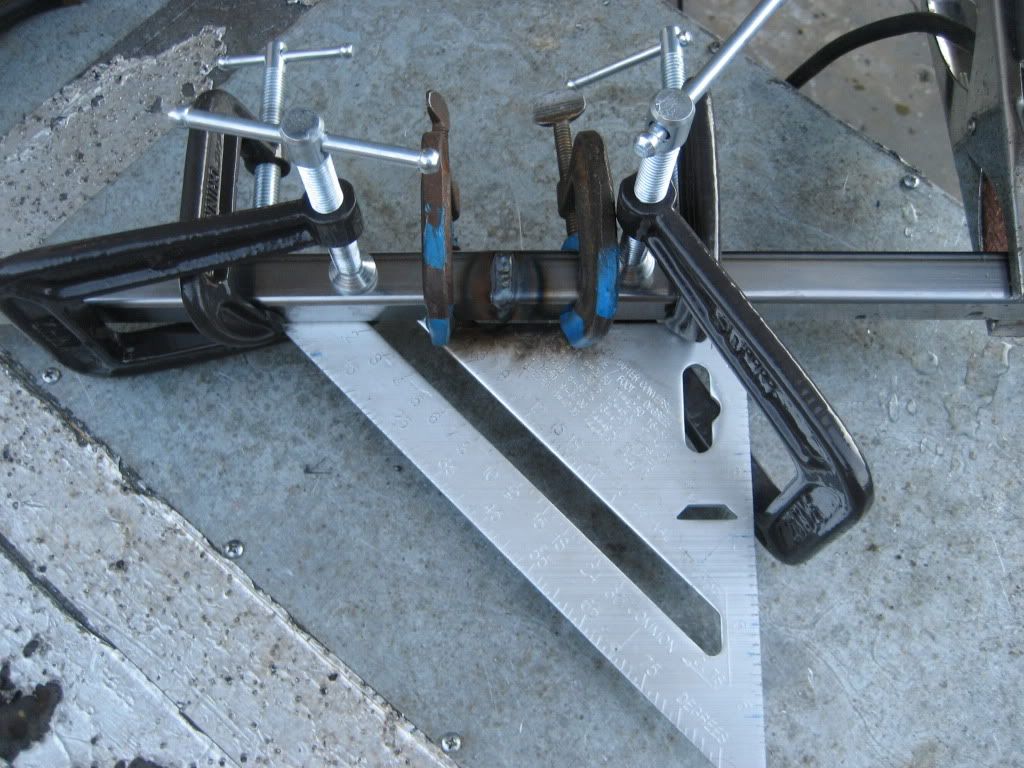
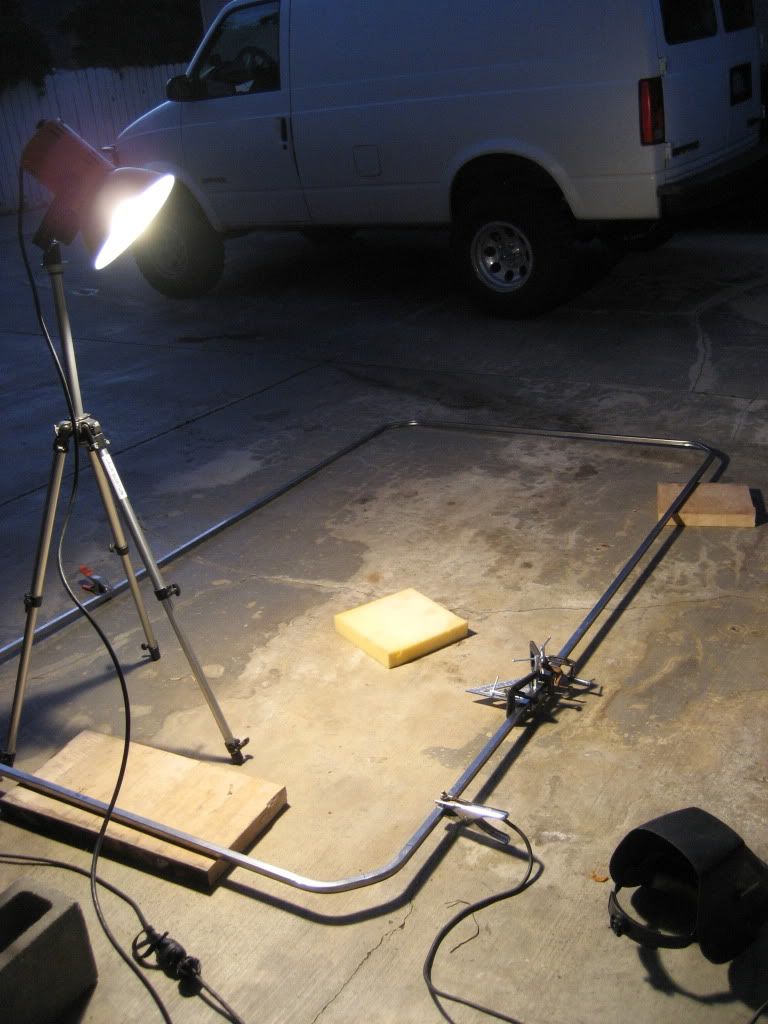
The setup was a PITA with the larger pieces:
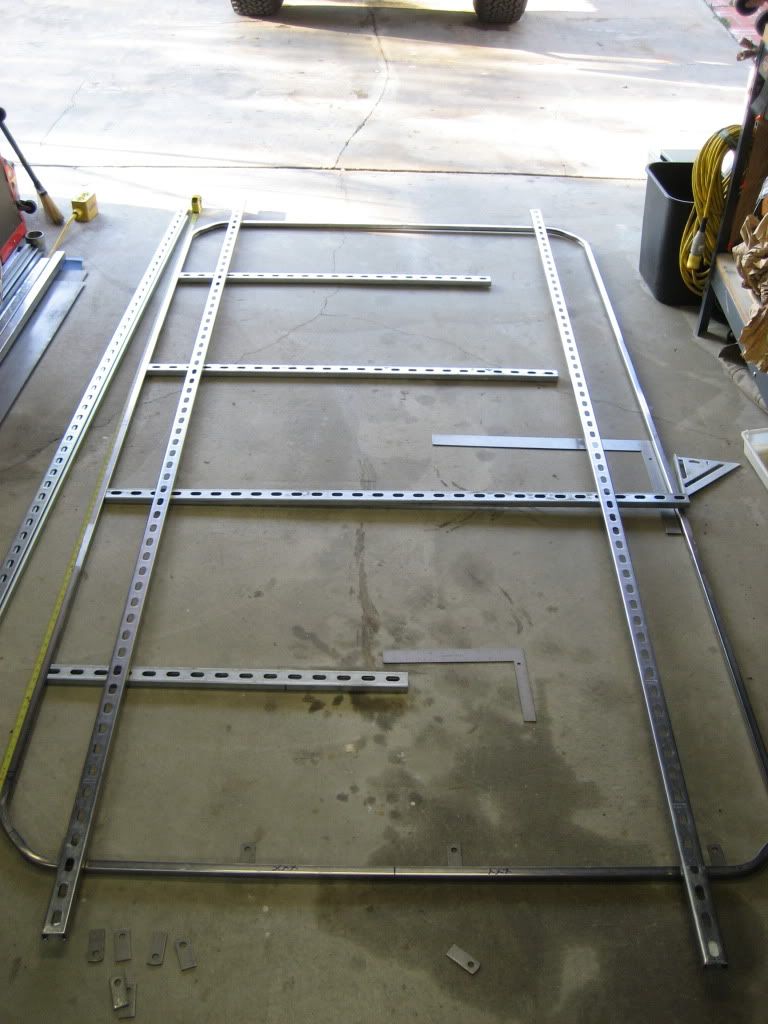
Same procedure:
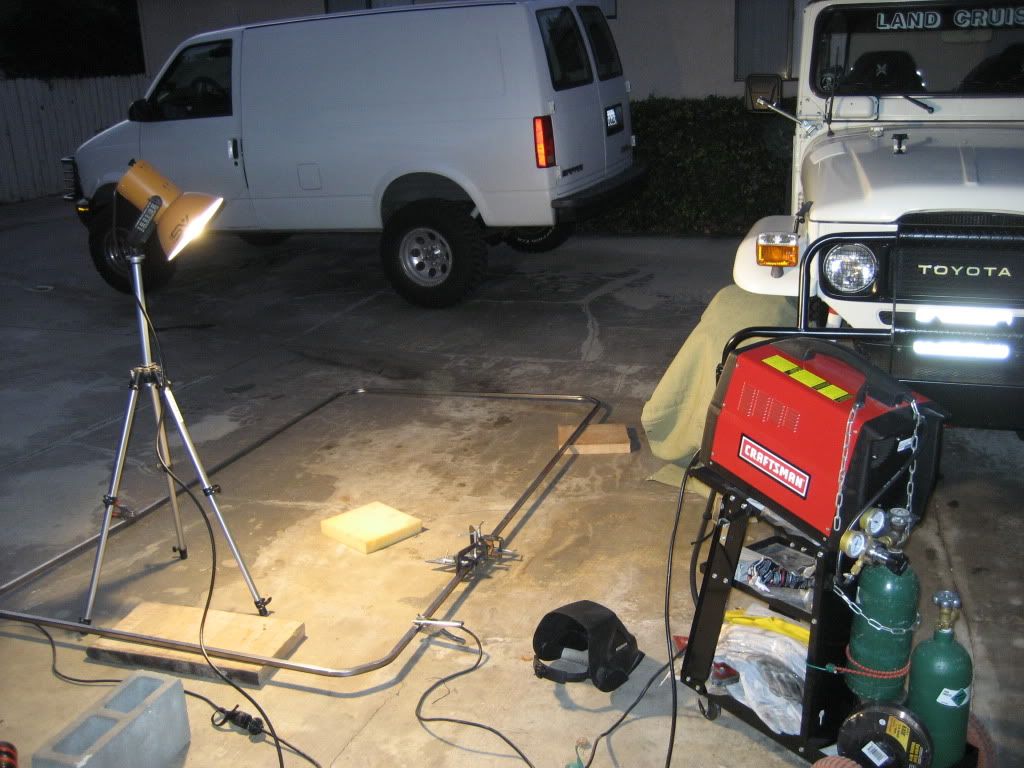
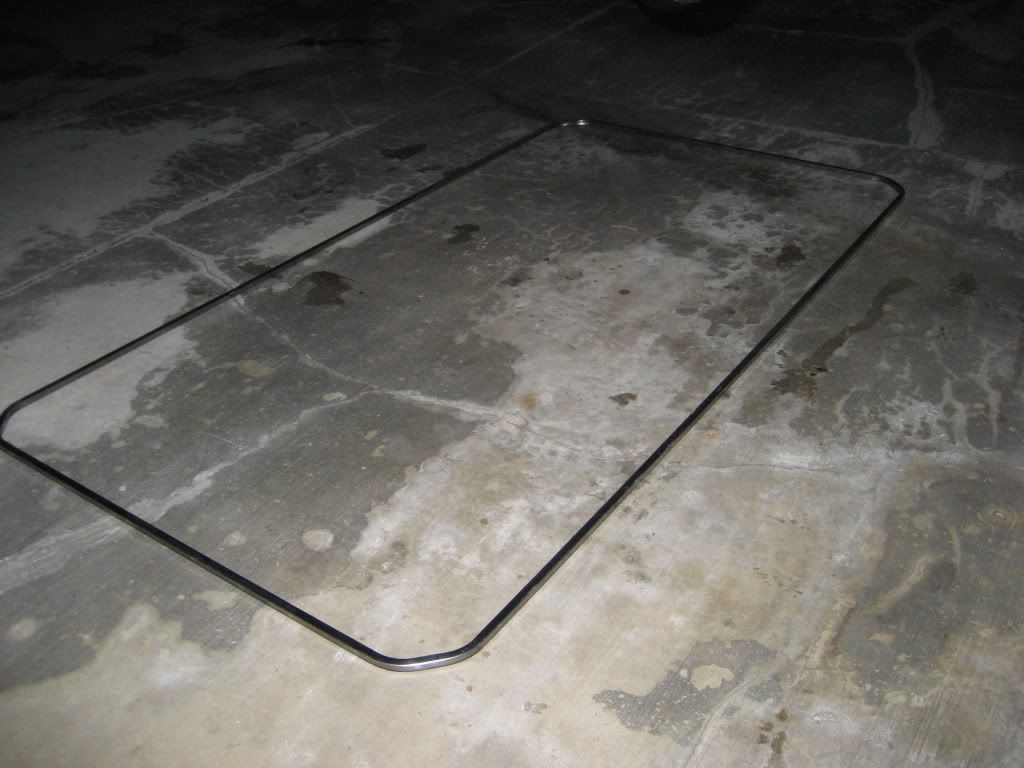
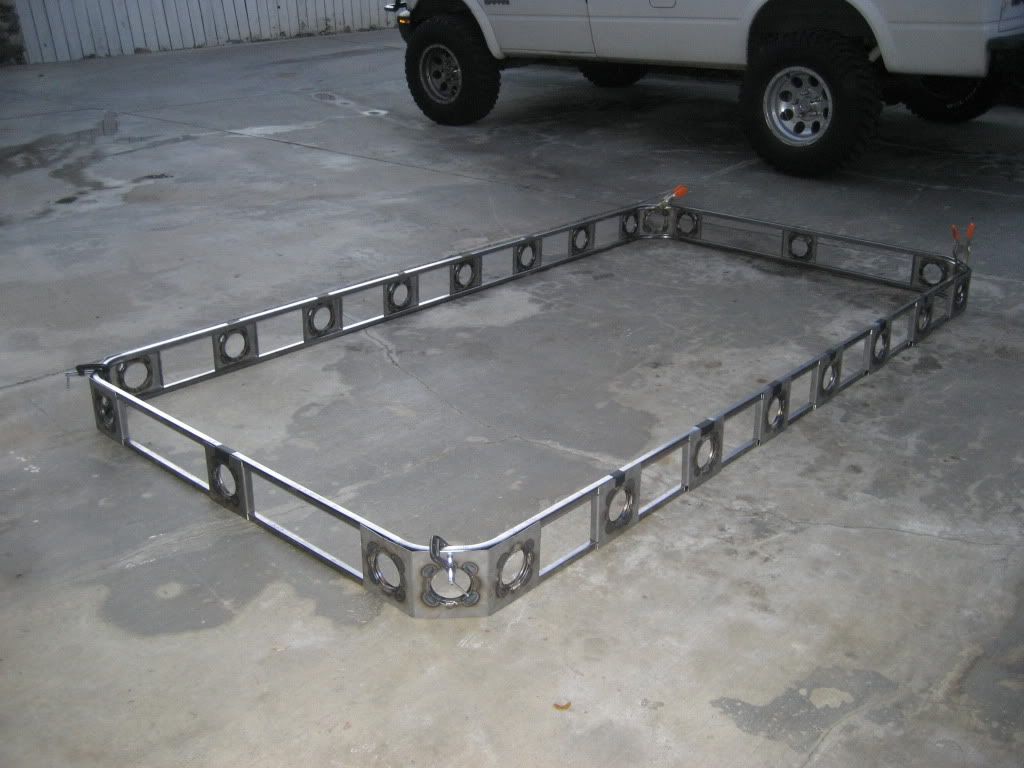
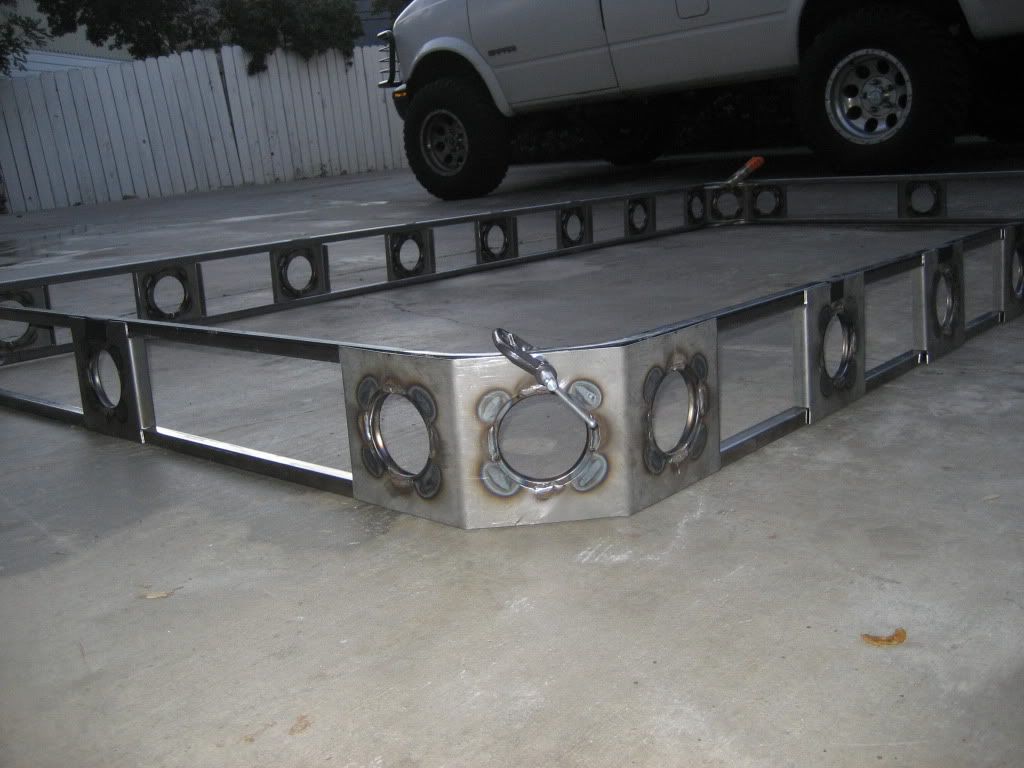
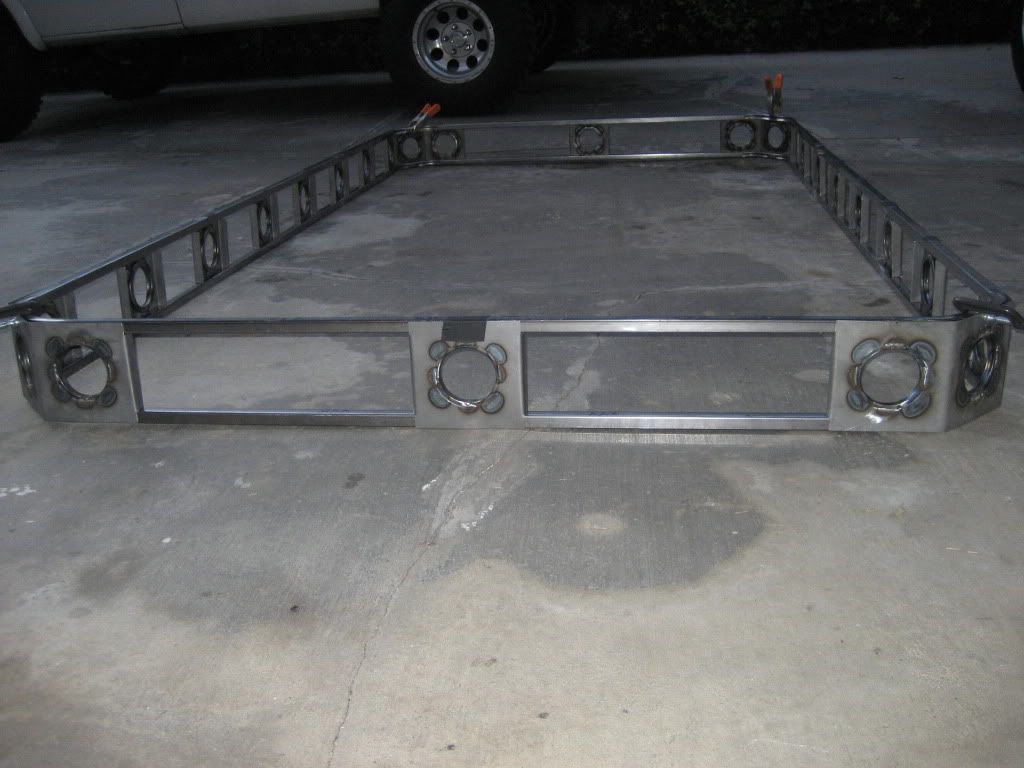
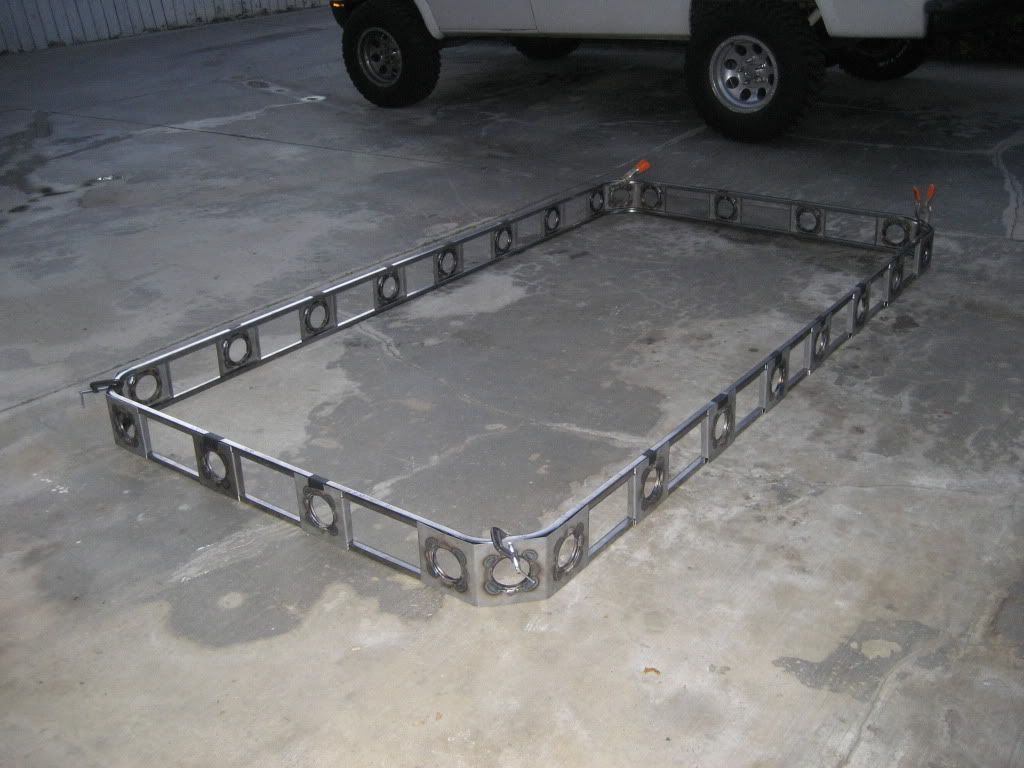
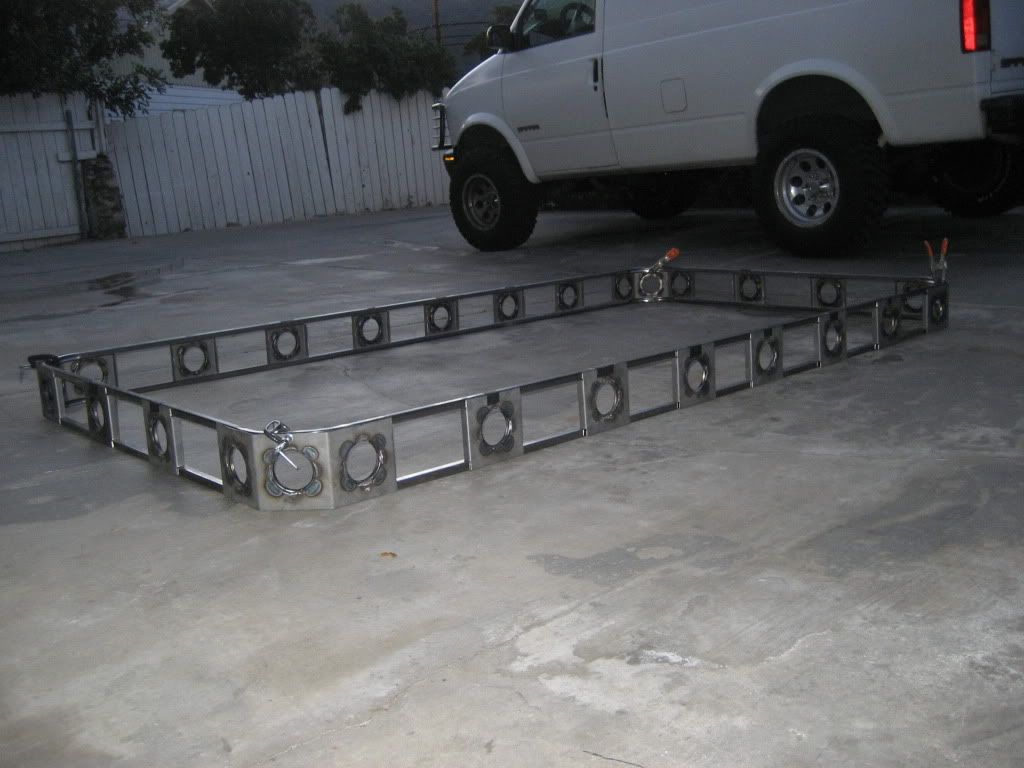
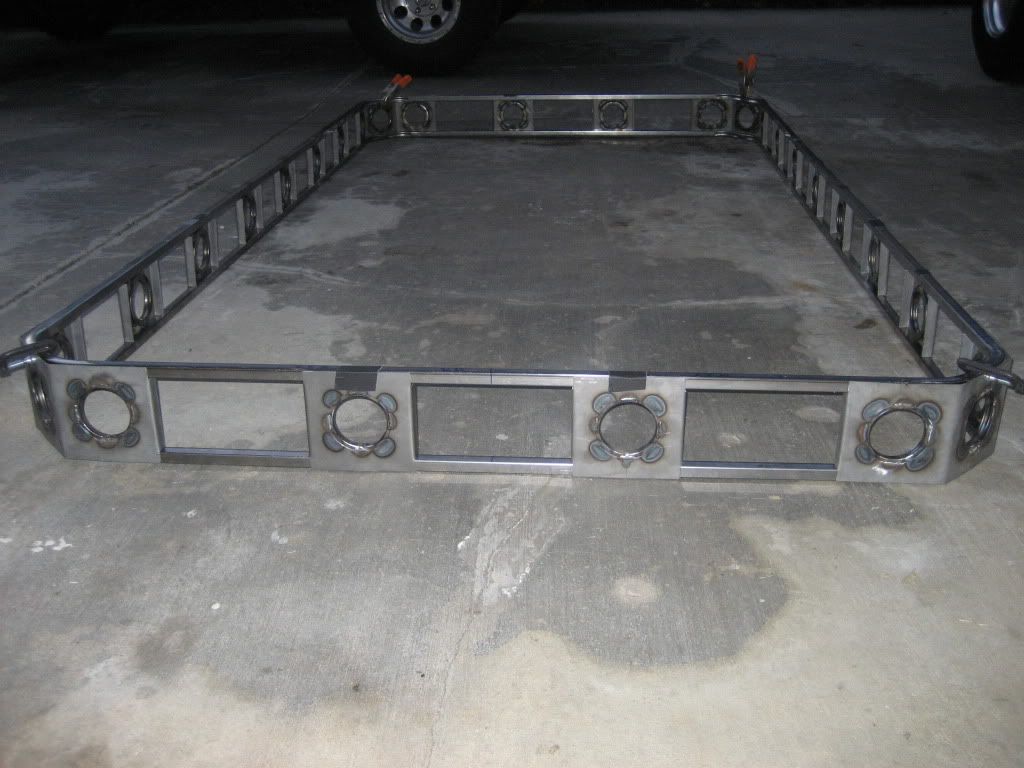
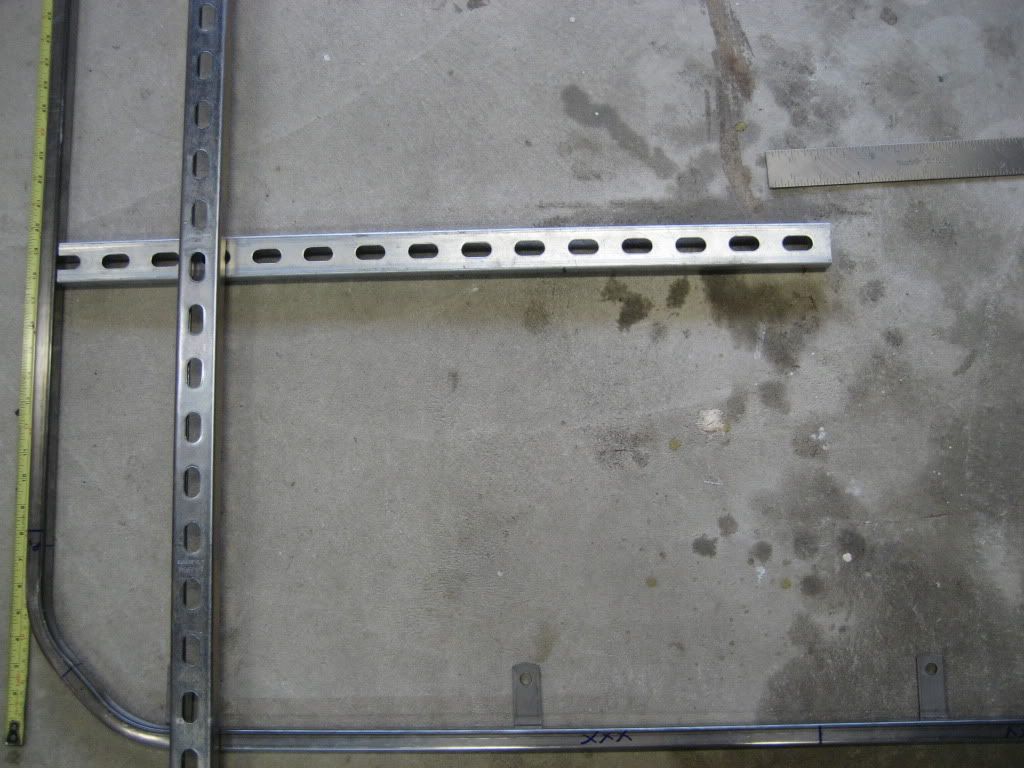
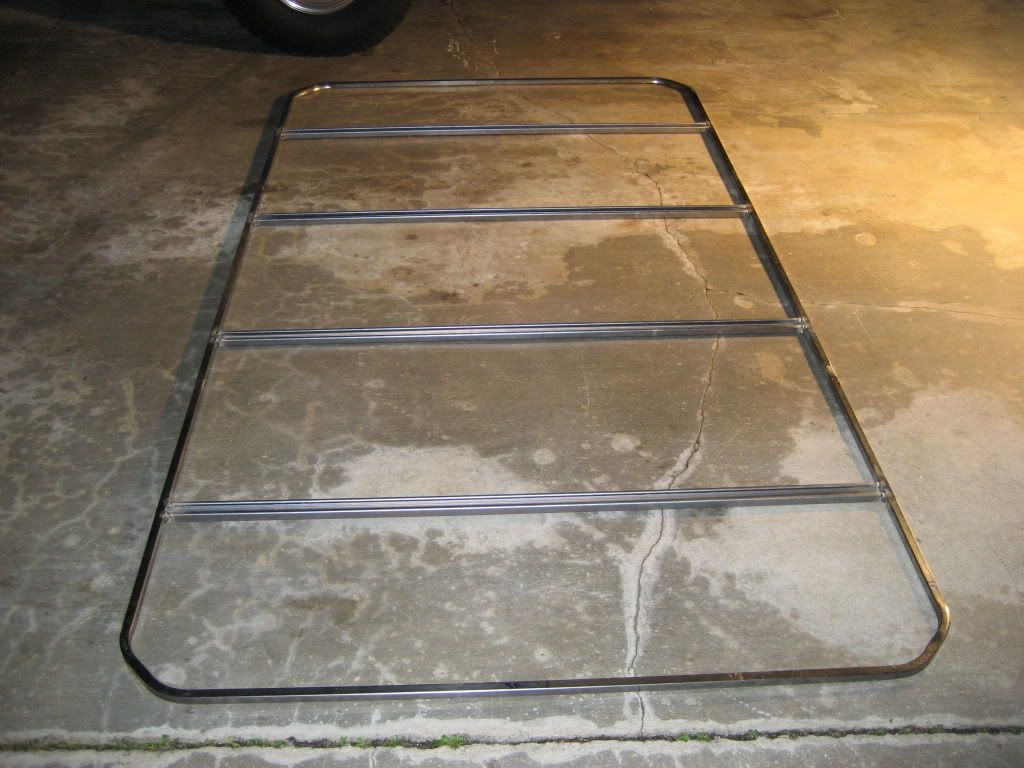
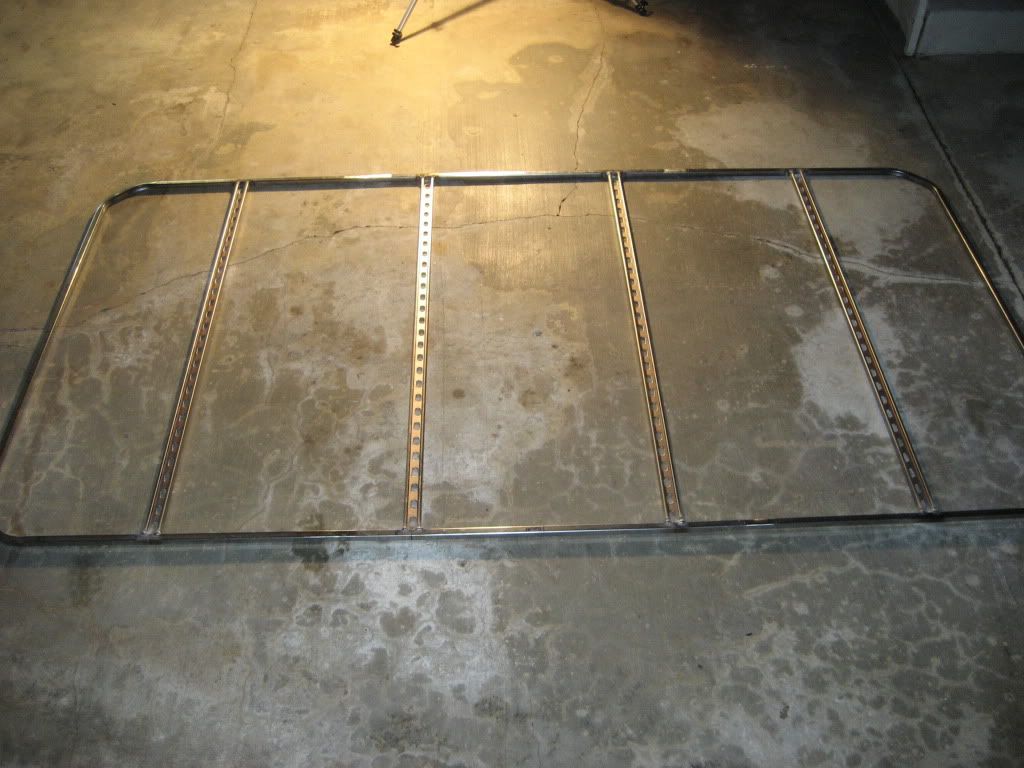
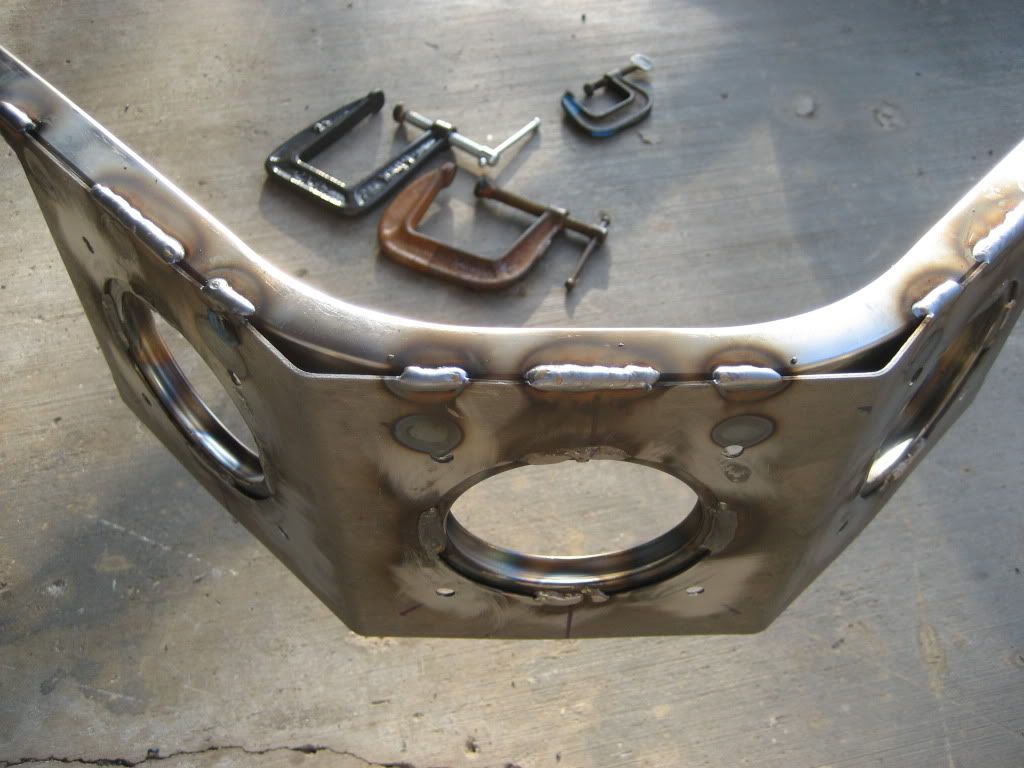
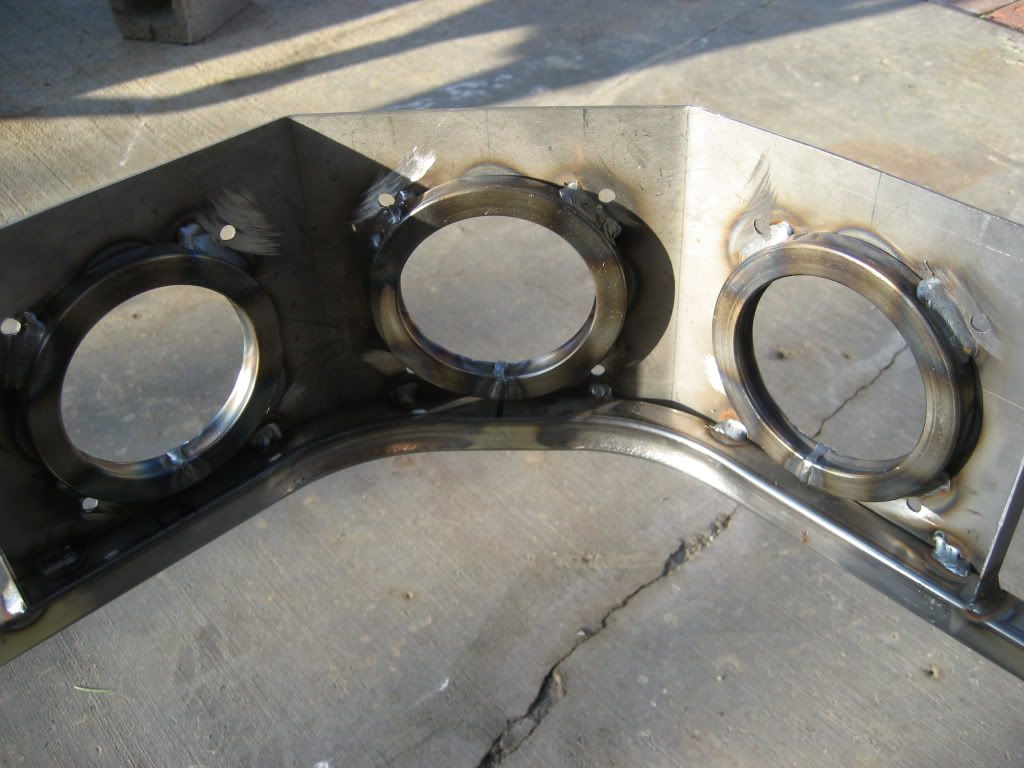
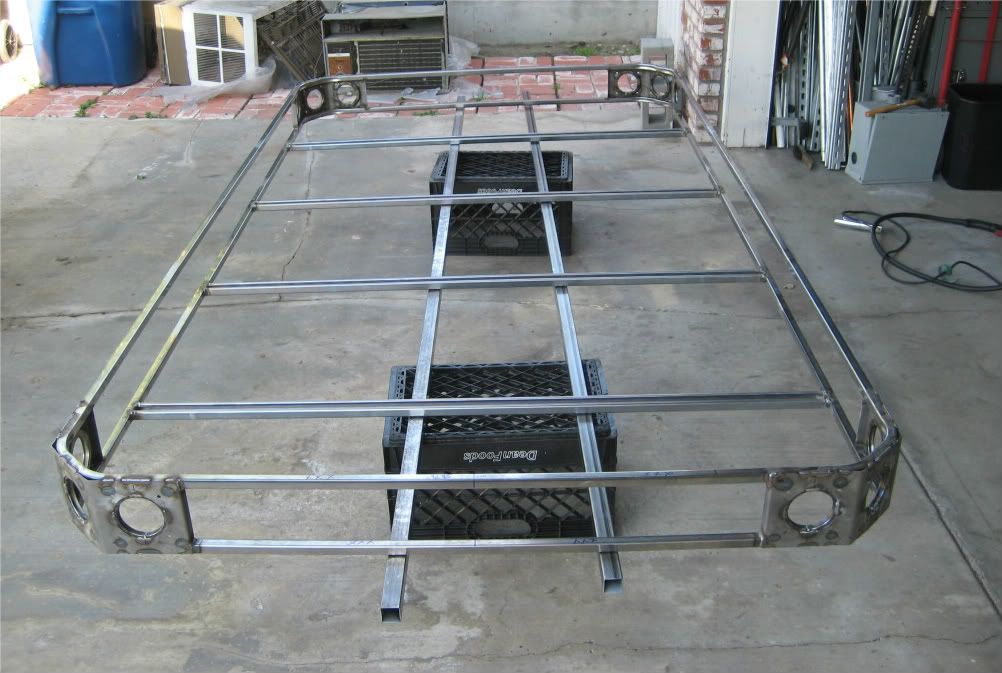
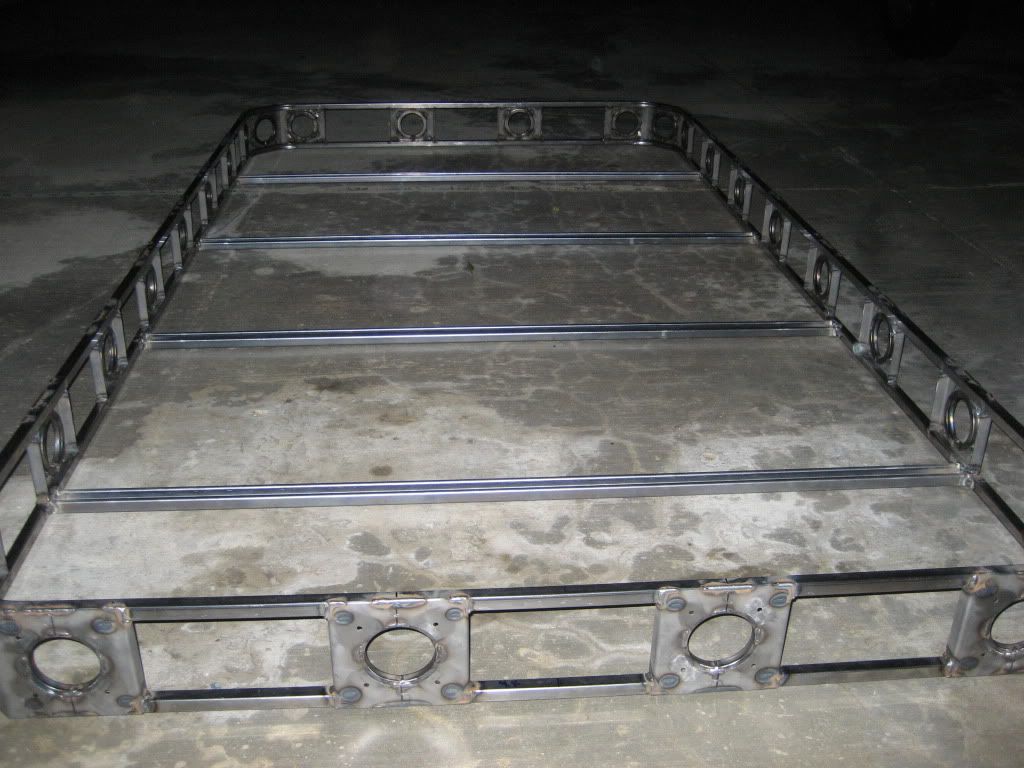
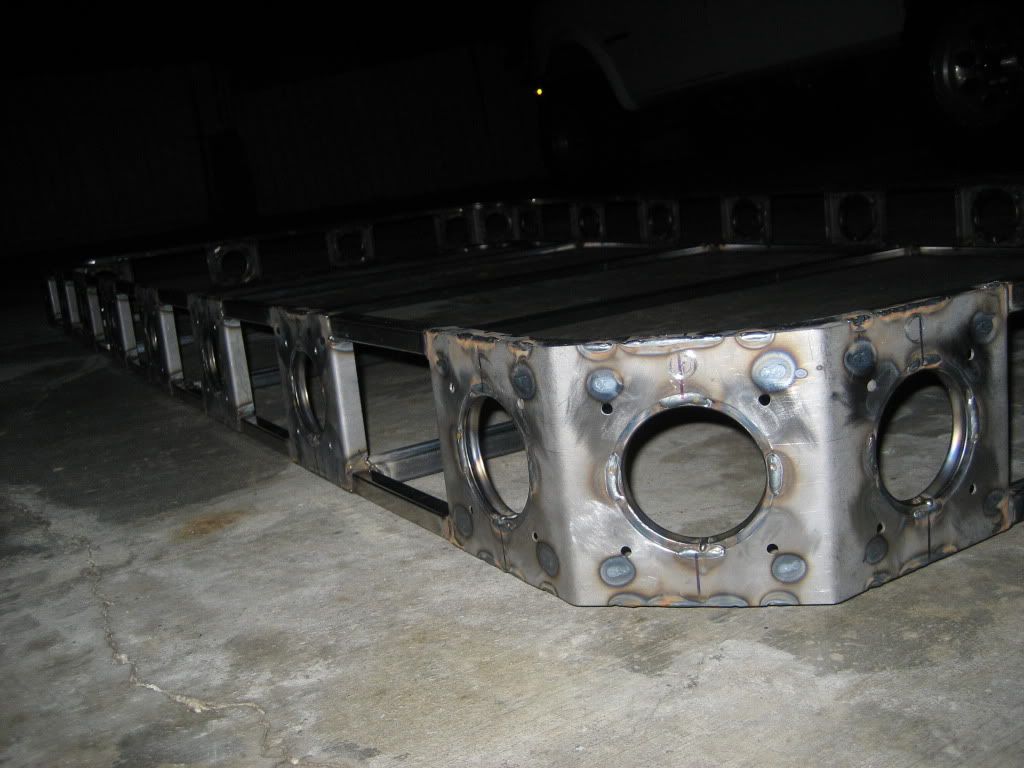
It came out much straighter than I thought it would. Nearly perfect. Tomorrow I will do the other half. After that's done I just need to weld in some cross braces on one then start with the corners and finish with the side plates. All of that should be pretty easy. I think I'm going to use shallow electrical strut channel for the bottom cross braces. It's strong due to the curled channel design and it will allow me to attach all sorts of goodies using strut nuts. I have used strut channel for a lot of other projects and it welds good and is super strong. Maybe a bit on the heavy side though.
I used my handy $5 square to align and clamp the two pieces:
Then I blasted them with the welder:
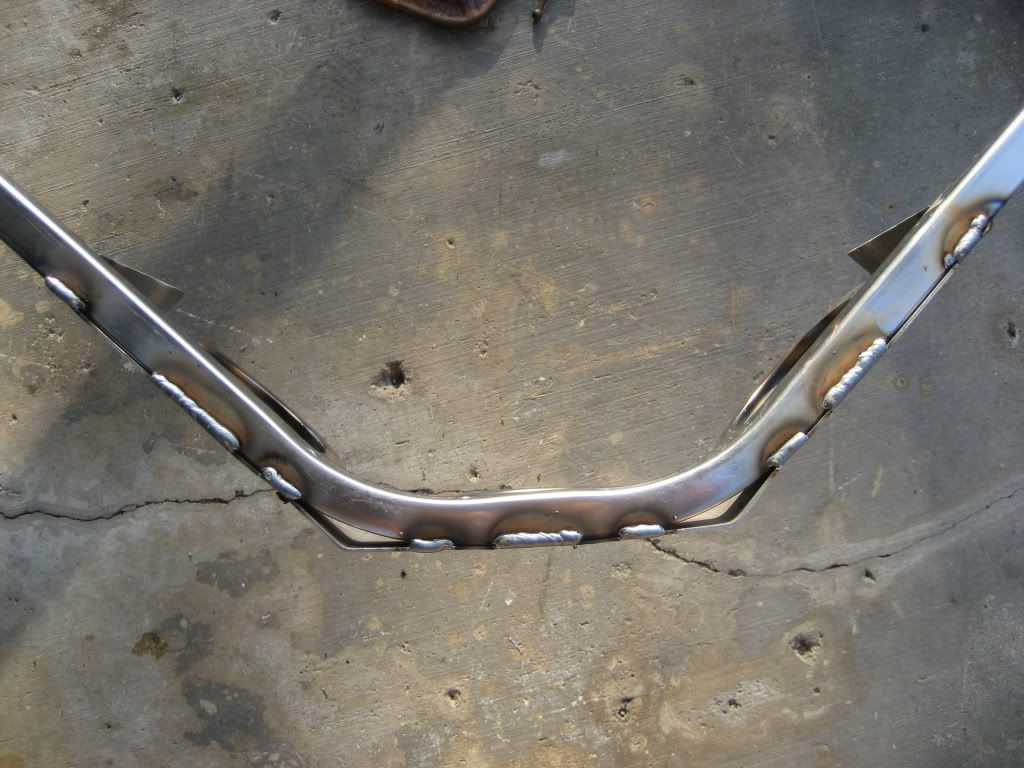
I then ground the weld beads down with a 4" angle grinder and polished it smooth with a sandpaper disc on the end of my drill:
Nice and straight:
The setup was a PITA with the larger pieces:
Same procedure:
It came out much straighter than I thought it would. Nearly perfect. Tomorrow I will do the other half. After that's done I just need to weld in some cross braces on one then start with the corners and finish with the side plates. All of that should be pretty easy. I think I'm going to use shallow electrical strut channel for the bottom cross braces. It's strong due to the curled channel design and it will allow me to attach all sorts of goodies using strut nuts. I have used strut channel for a lot of other projects and it welds good and is super strong. Maybe a bit on the heavy side though.