I have also considered expanded steel as an alternative for the rack flooring. I think If I got some expanded steel thick enough to walk on it would weigh more than the aluminum.
Just for reference,
16ga. expanded steel with diamonds 3/4" long weighs 0.50lbs/sq.ft. This would bend under the weight of a medium sized dog if it were supported with bars spaced 24" apart.
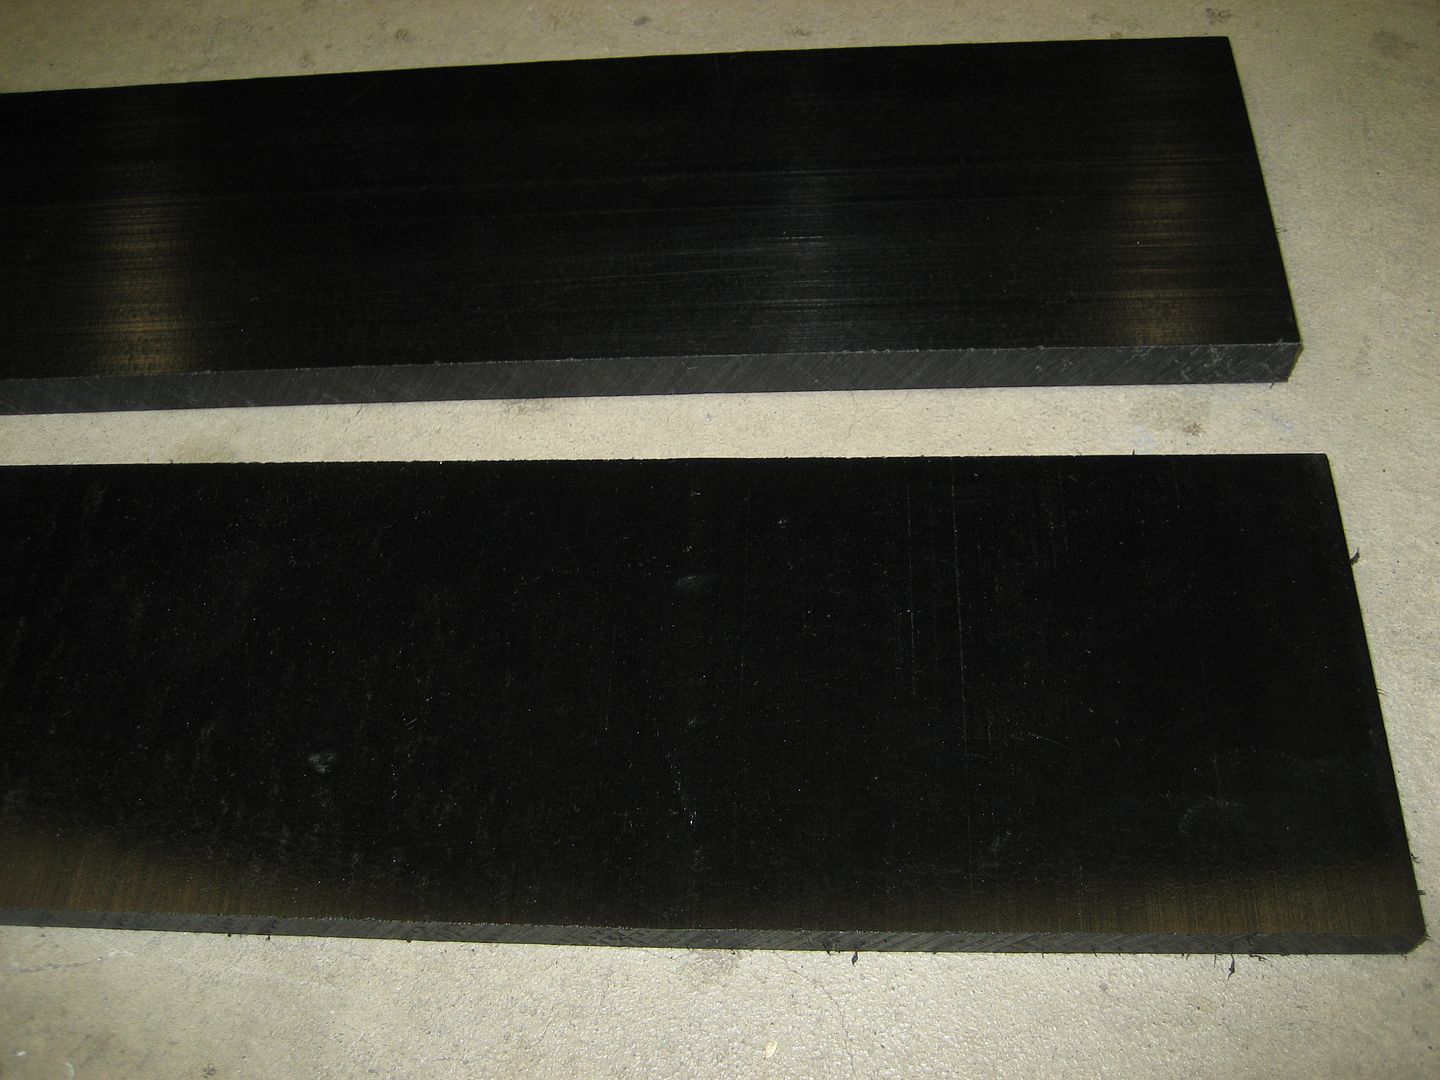
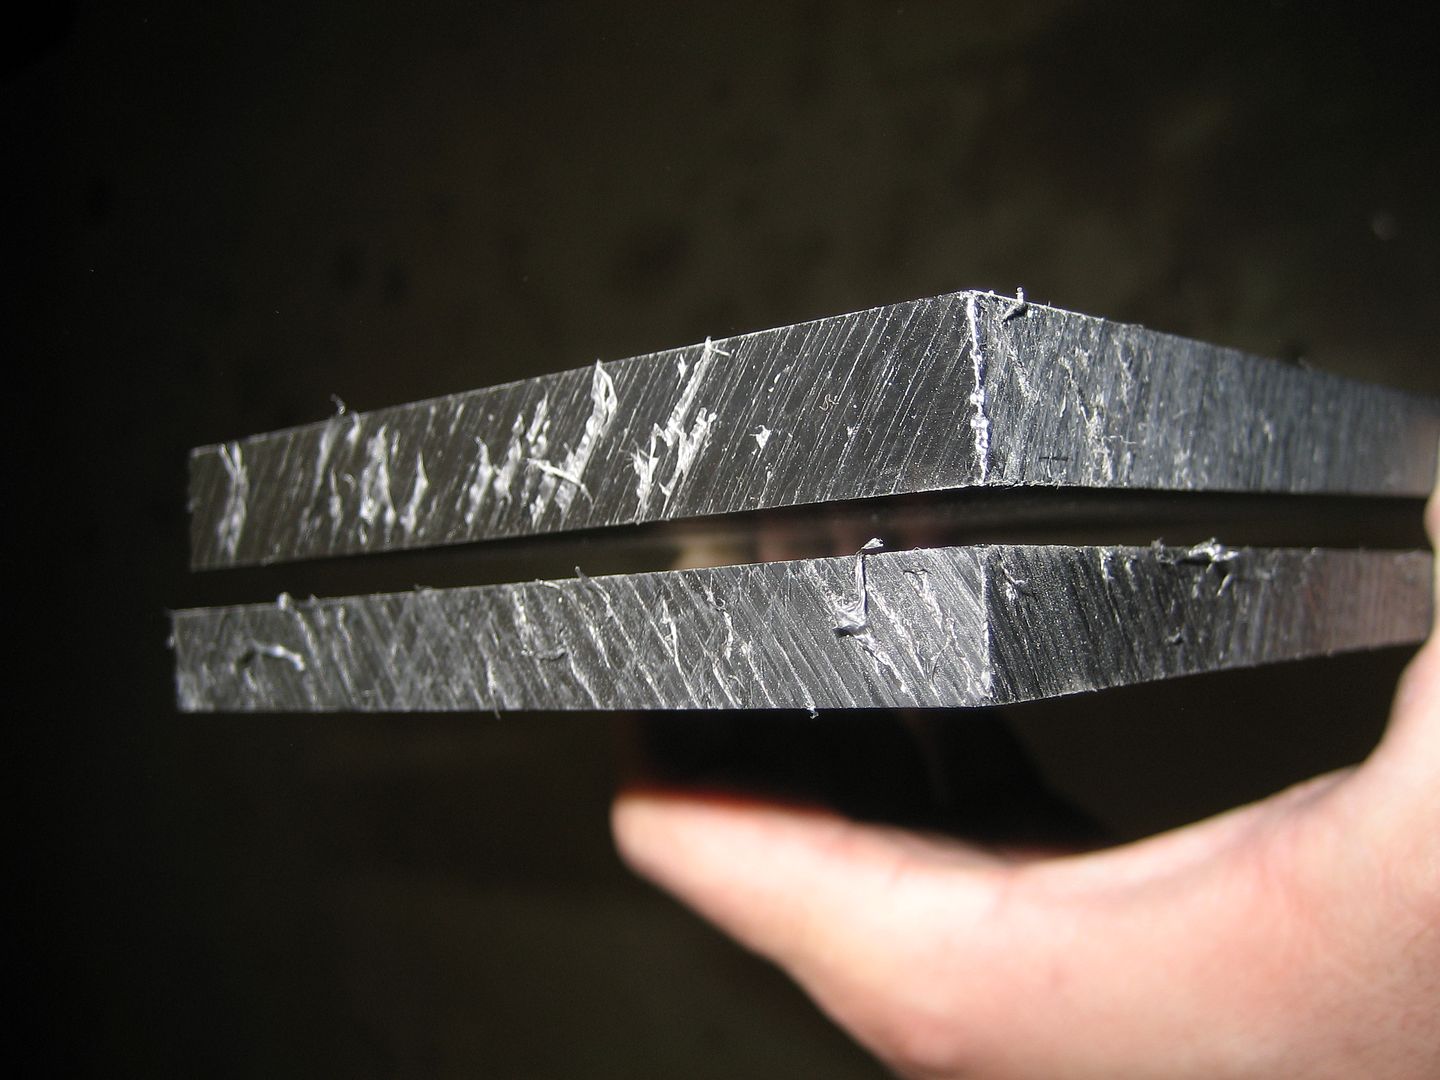
10ga. expanded steel with 3/4" long diamonds weighs 1.80lbs/sq.ft. 10ga. steel is just about the same thickness as 1/8" aluminum. The 6061-T6 1/8" thick aluminum I bought weighs 1.854lbs/sq.ft. as a solid sheet.
It is possible that I could use thin expanded metal to cut the weight IF it was secured well enough on 24" spaced supports. It would probably require a bolt every few inches so that the steel was very taught. The instant it's allowed to flex it will deform. If it's not allowed to flex the steel would actually have to stretch in order to deform. From what I have read on other forums the expanded metal is a bitch to keep quiet, it rattles like crazy and requires too many anchors to be worthwhile. In my application, since I want it to fully support my weight, I would have to add so much hardware to anchor it it would certainly approach or exceed the weight of the aluminum sheets I bought.
Just food for thought. I have read many threads on roof rack builds elsewhere and the consensus is you need aluminum diamond plate if you want a nice weight to storage capacity ratio. Anything else will have major drawbacks. Plywood thick enough to support a decent load is also extremely heavy and obviously warps with moisture. 2X4's have the same problem. Synthetic and treated woods might last a little bit longer but are also heavy. Kennel and chicken coop floor tiles work OK but also require a lot of supports and may not last very long due to UV exposure. Fiberglass grated tiles appear to fulfill the strength and UV exposure requirements but are also extremely heavy in any thickness that could support a decent load. The options increase exponentially if your load across the entire surface area of the rack is less than the weight of an adult human. Your rack construction doesn't need to be as strong and you could get by with thin aluminum tubing. The rack could weigh potentially 1/4 the maximum load capacity. This is the sort of rack you'd find on a Lexus SUV toting snowboards. Not what you'd find on a serious off-road vehicle in the jungle.
Is my rack extreme overkill for a pavement princess? YOU BET. Will it ever find it's way into the outback jungle....not likely on this vehicle. Will my gas mileage take a huge hit? DEFINITELY. Do I care? NOPE. Will it look cool? I HOPE SO.
Anyway, the work continues....
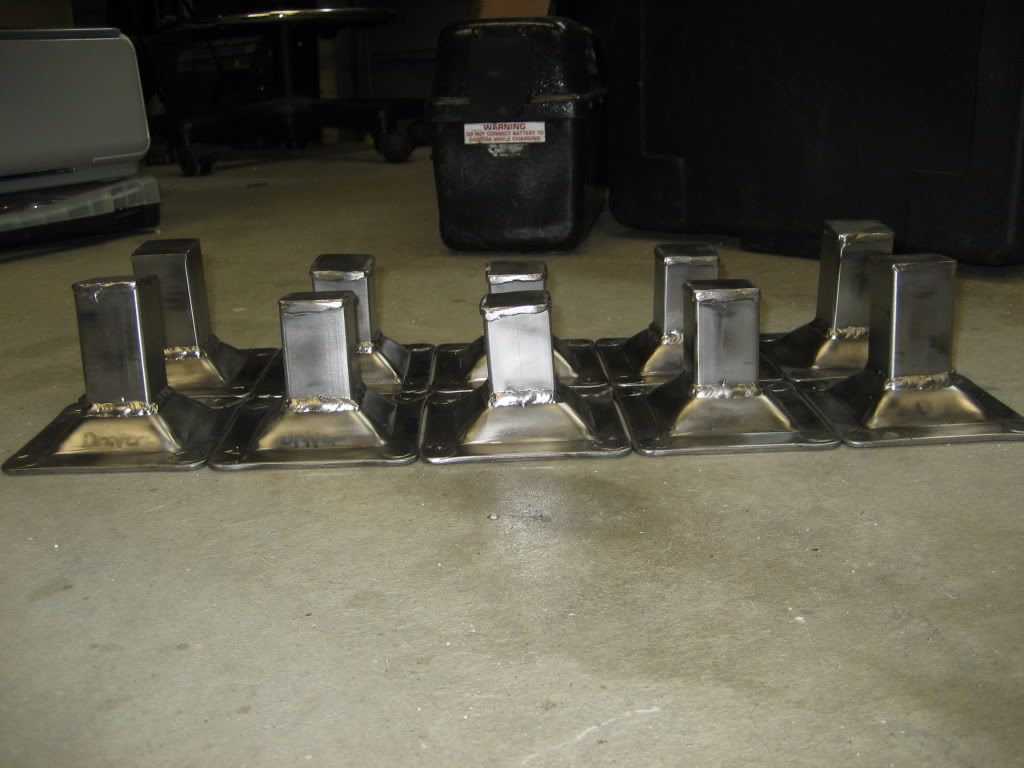
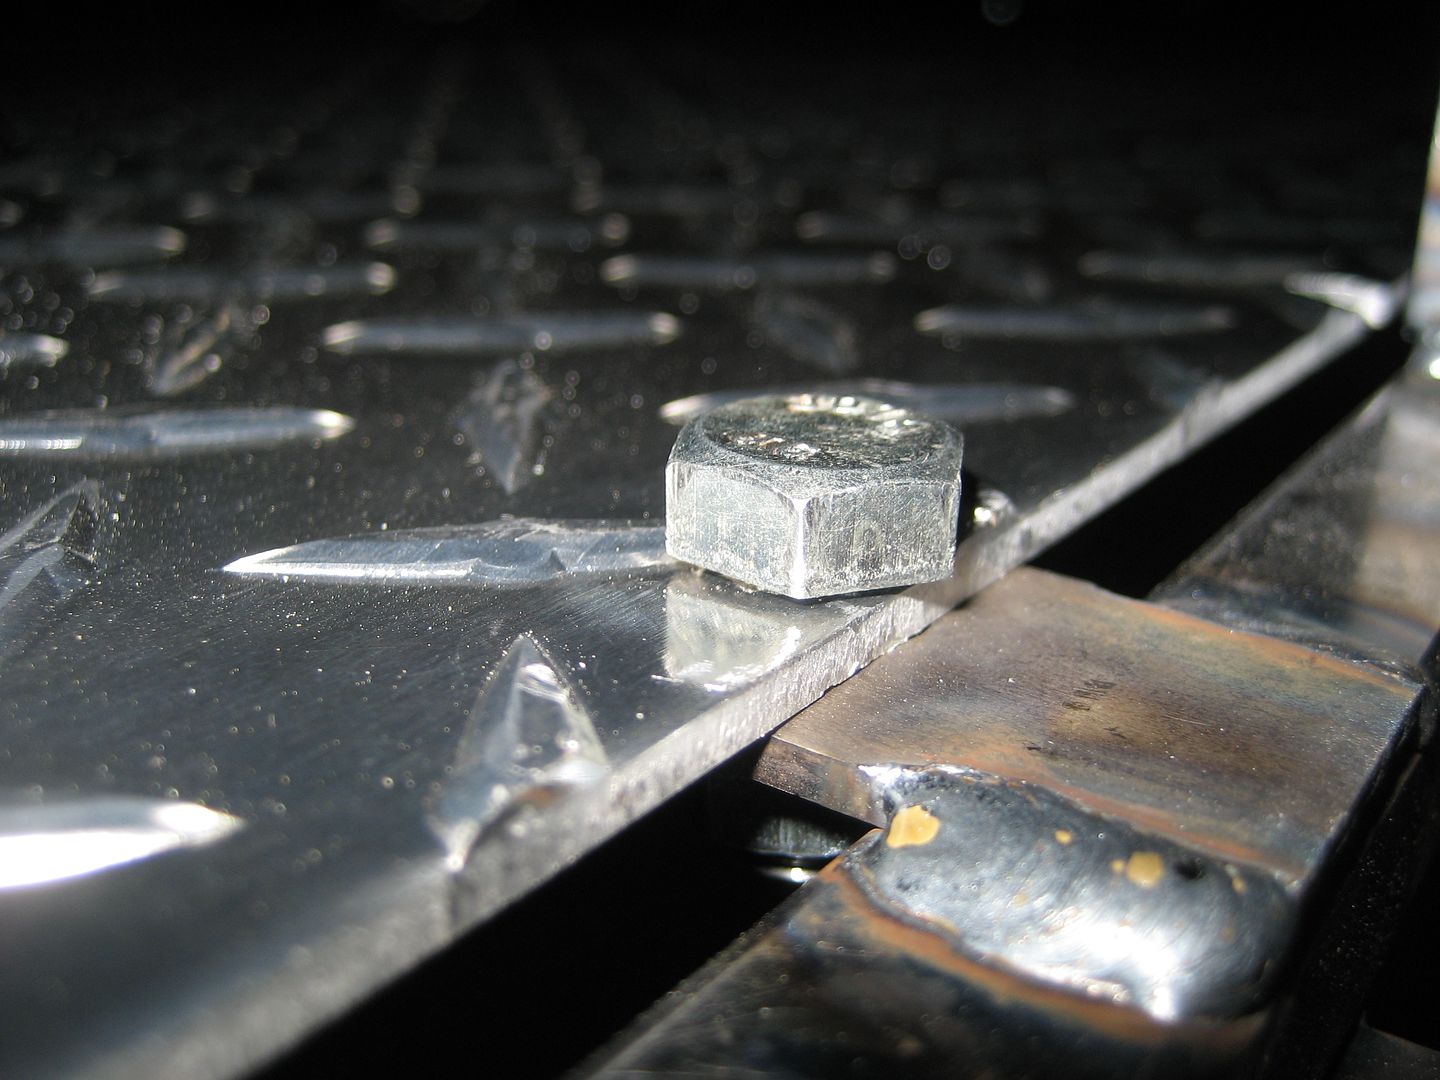
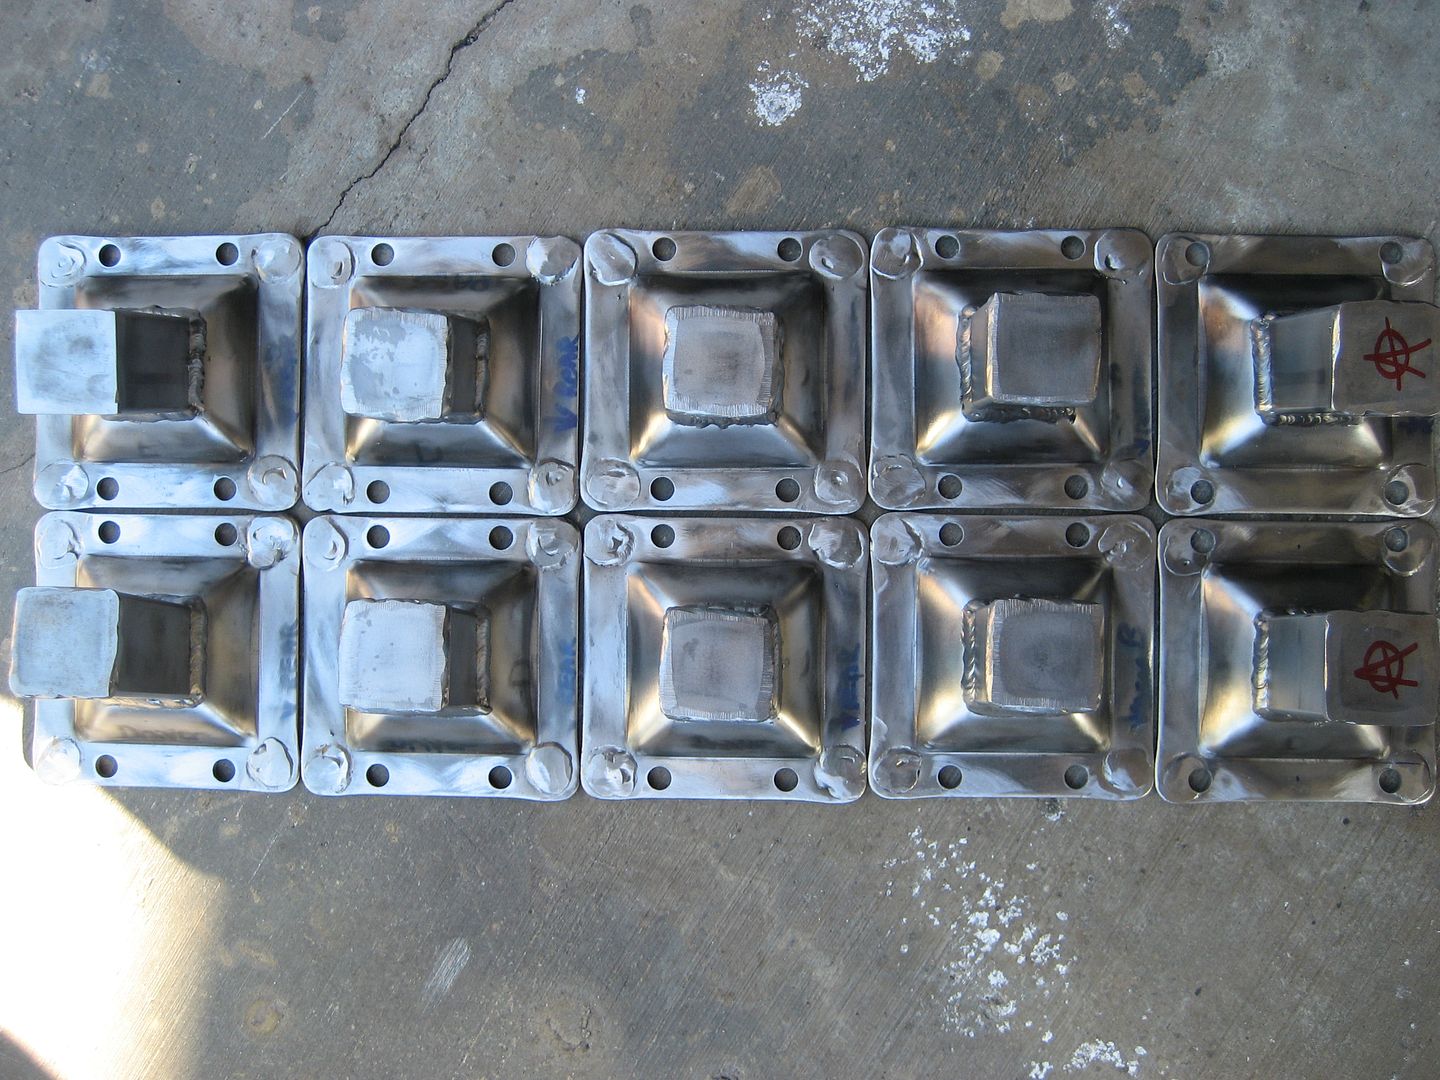
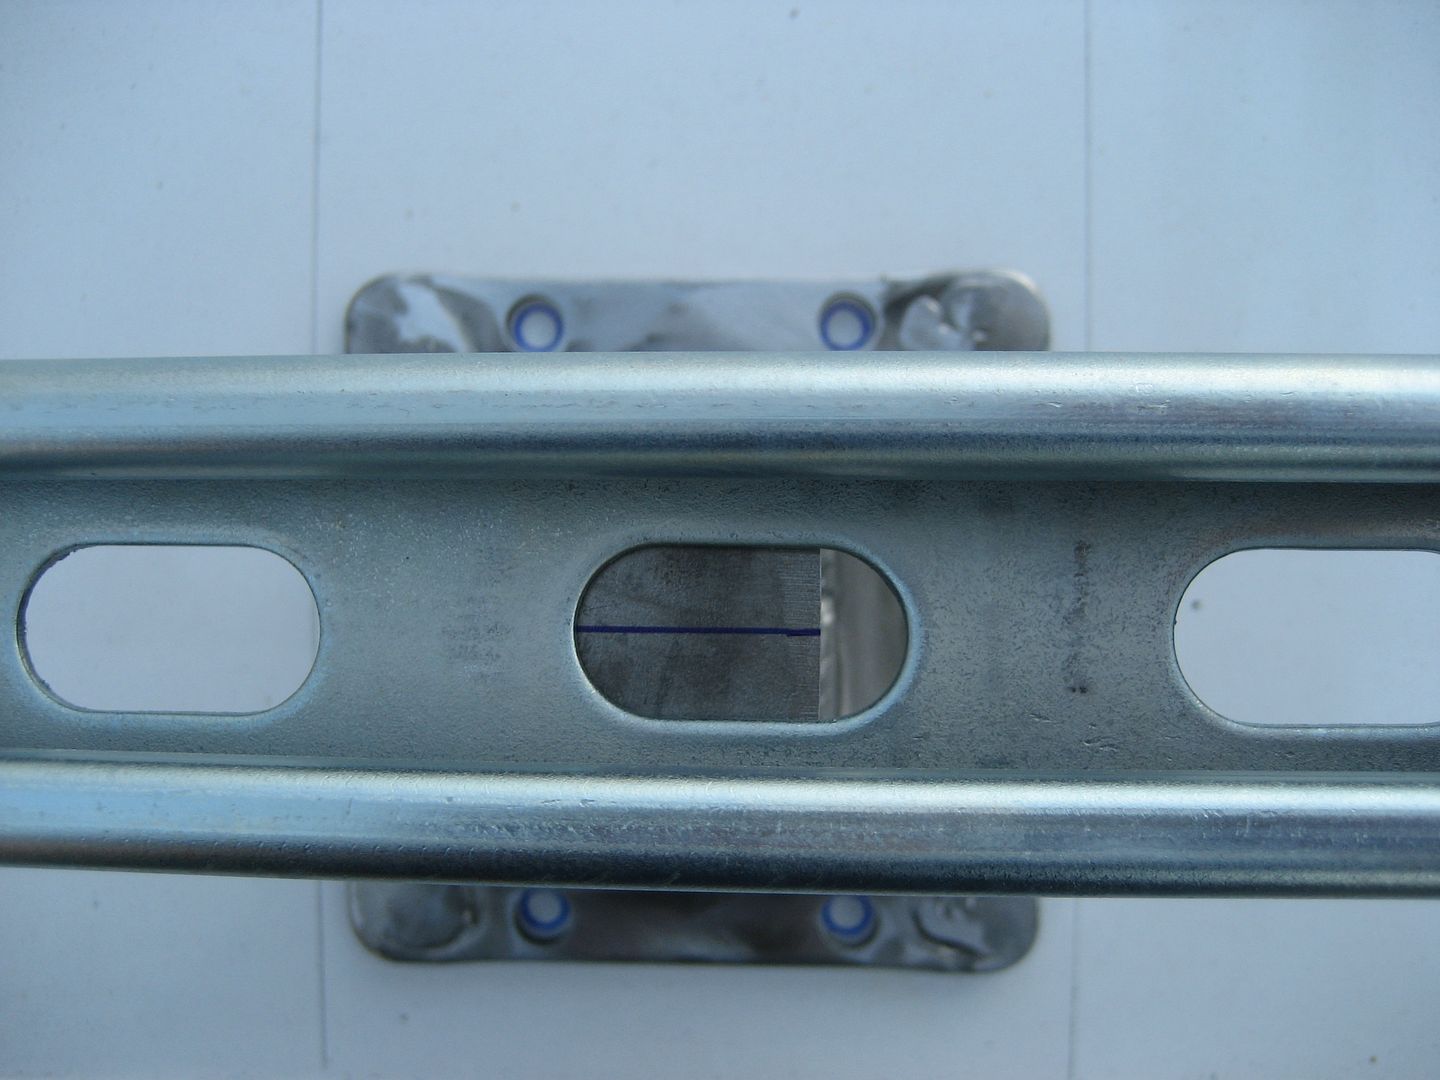
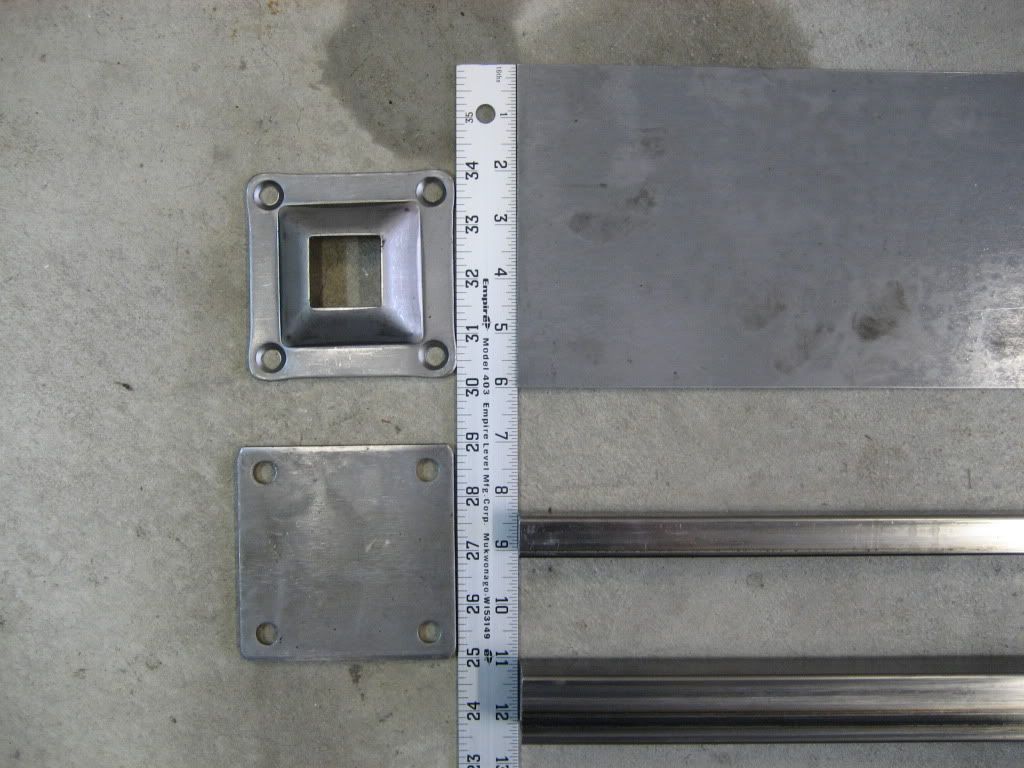
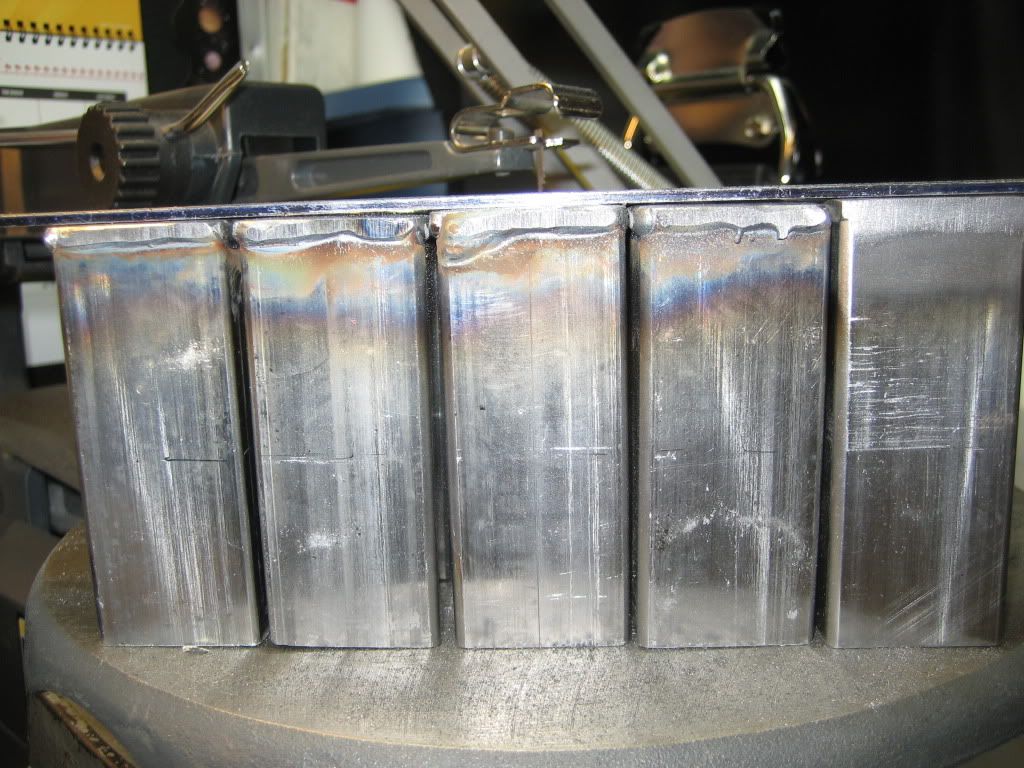
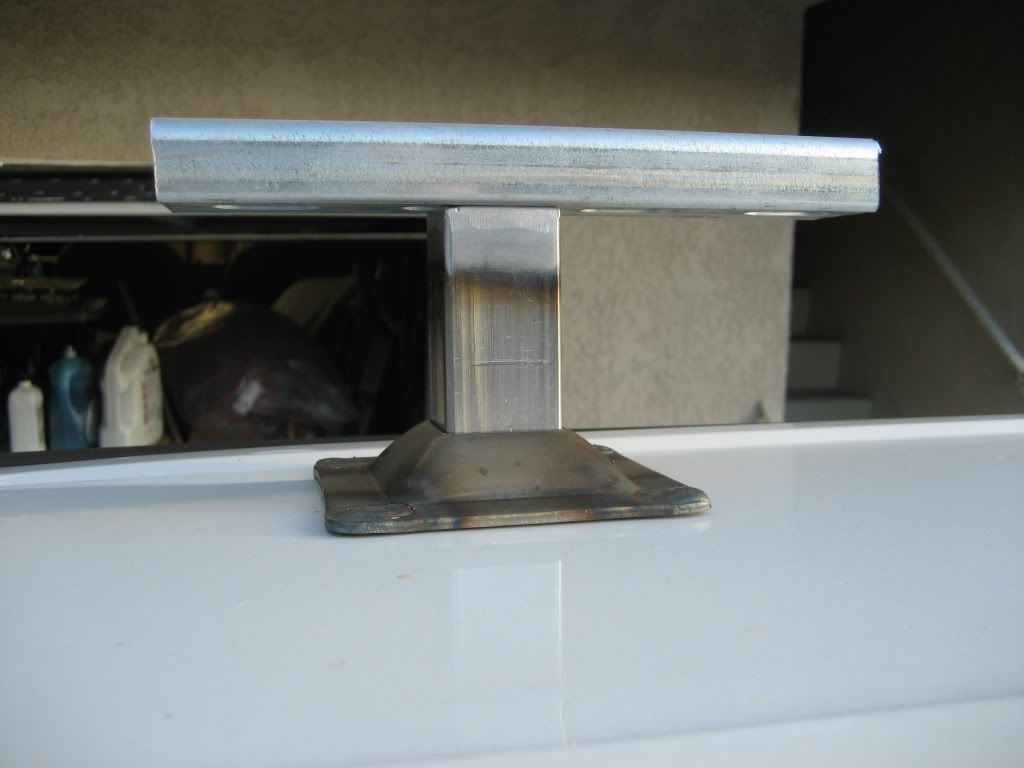
I have been working on the feet for the rack today. They are beefy. 3/16" steel plates with 16ga. 1.25" square steel tubing for the upright leg section. I believe these plates are for fence posts or something like that. They were prefab and just sitting in a bin at the metal shop. Unfortunately the holes are about 1" spaced too far out to match up with the width of the vans roof cross member, or at least the part of the cross member I want to use.
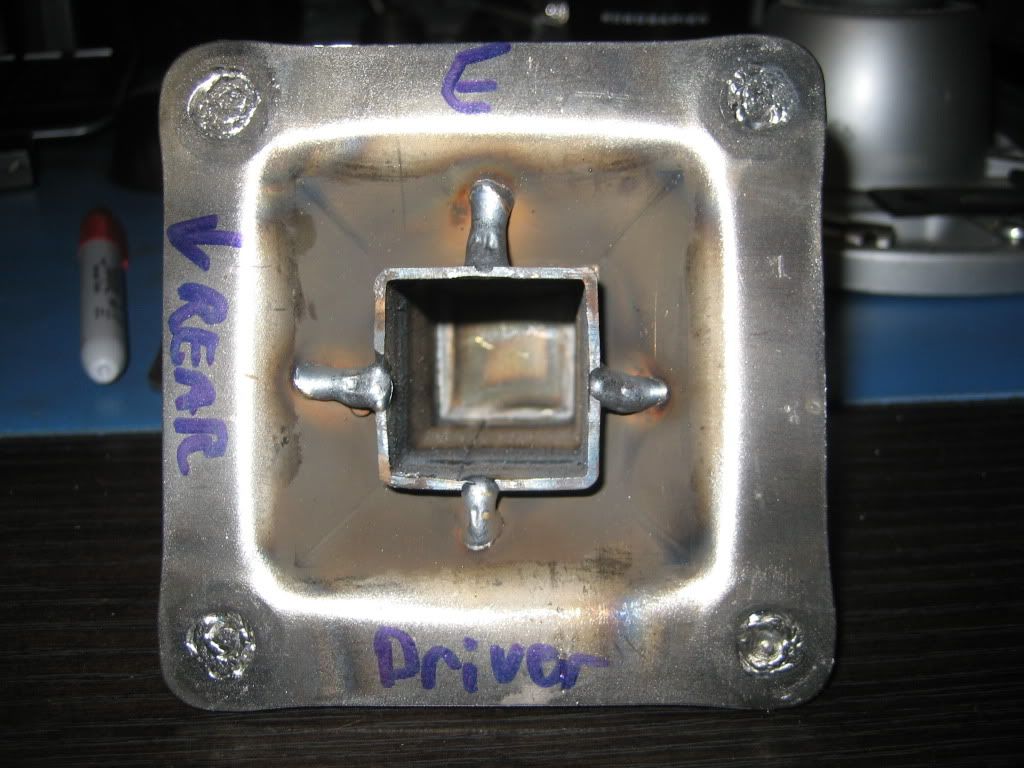
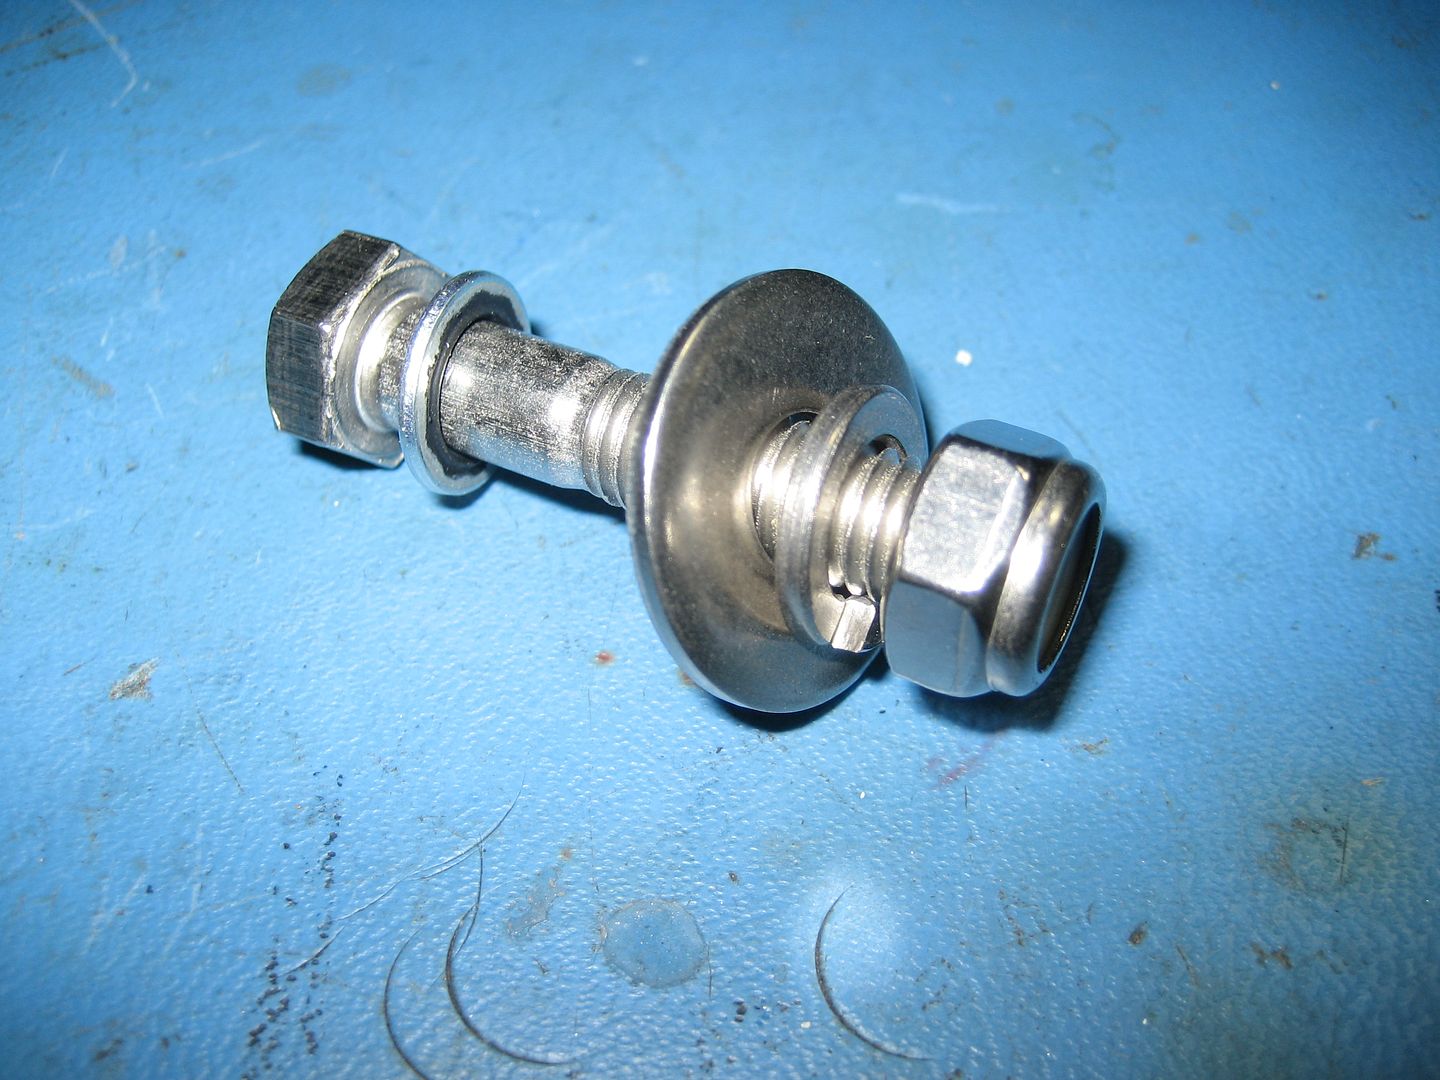
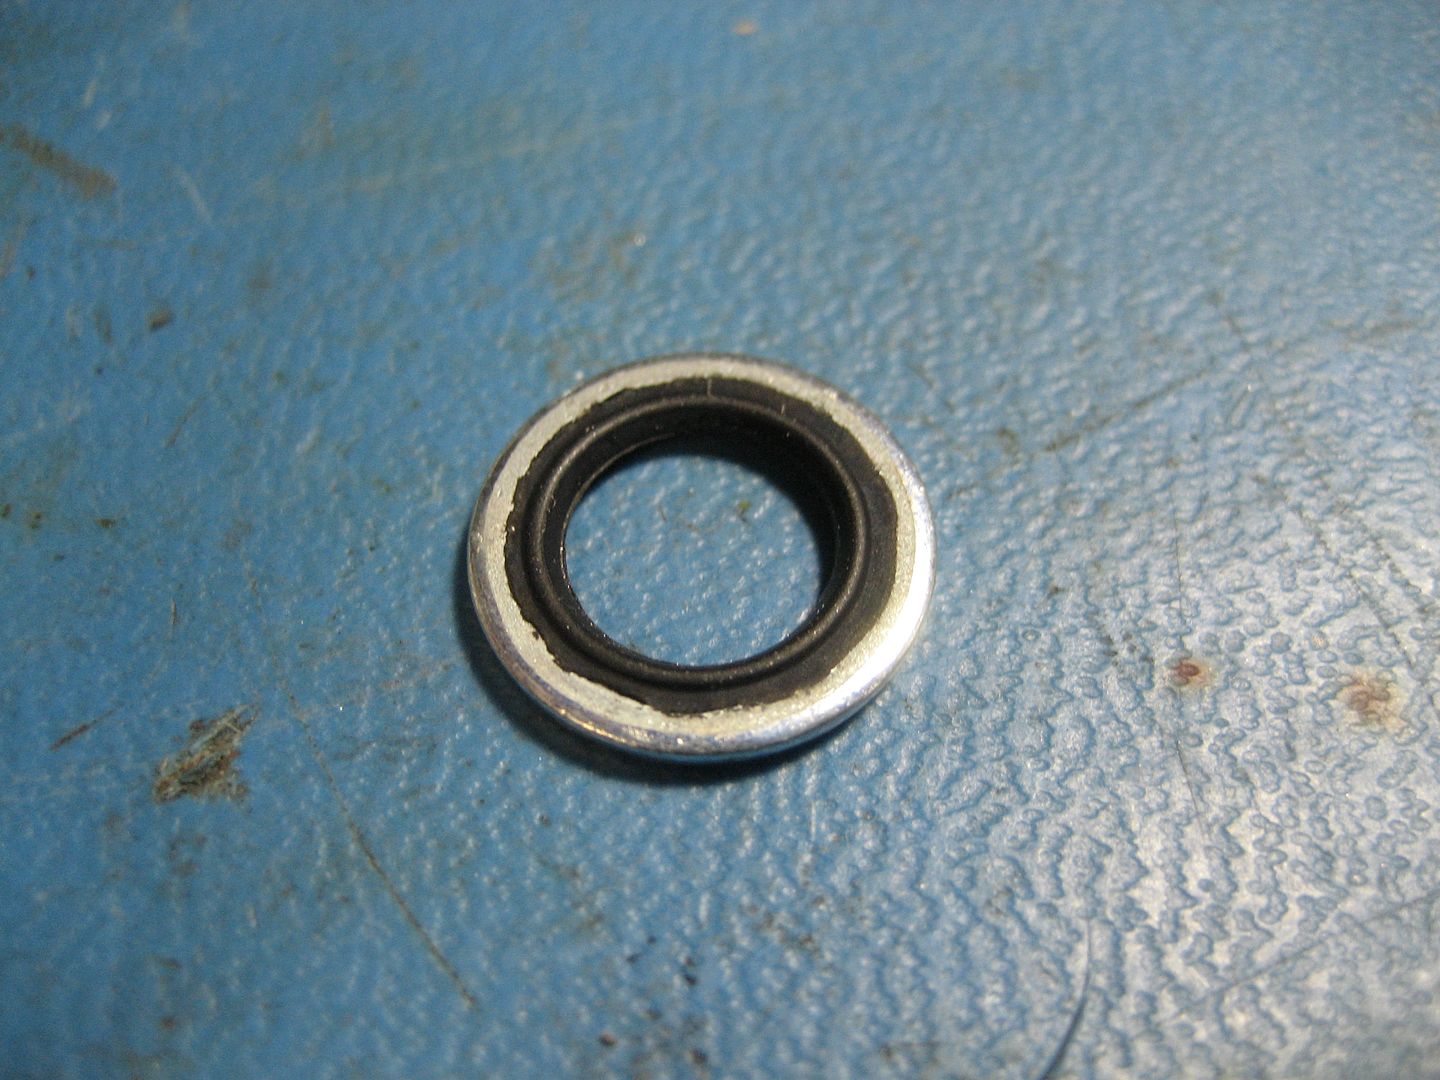
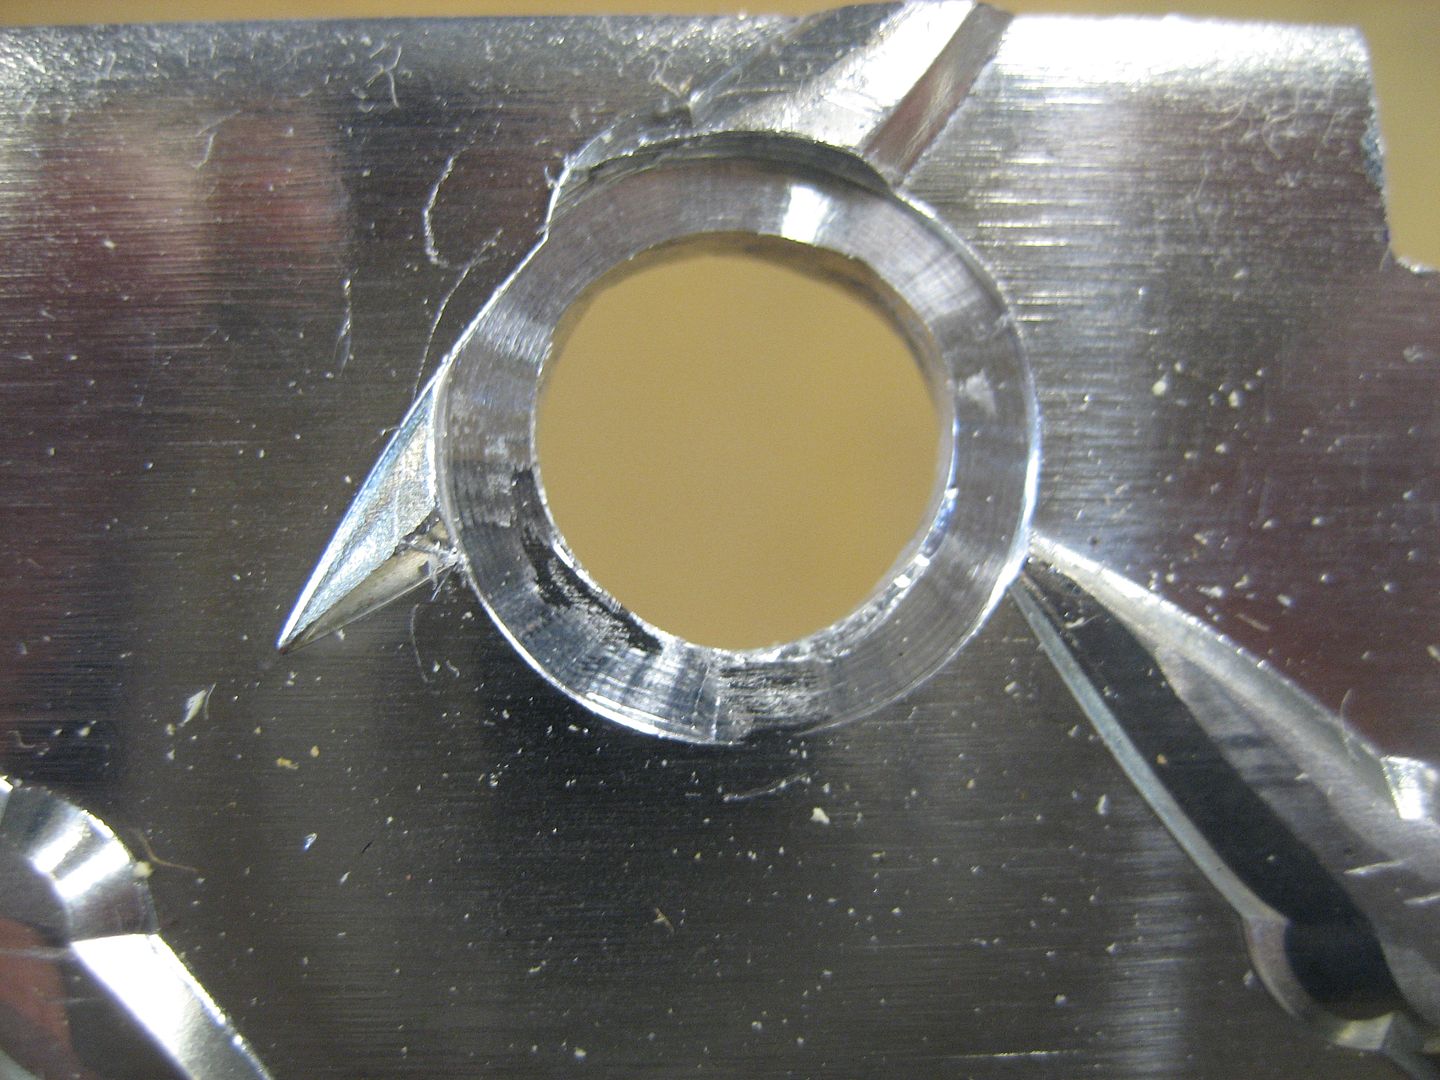
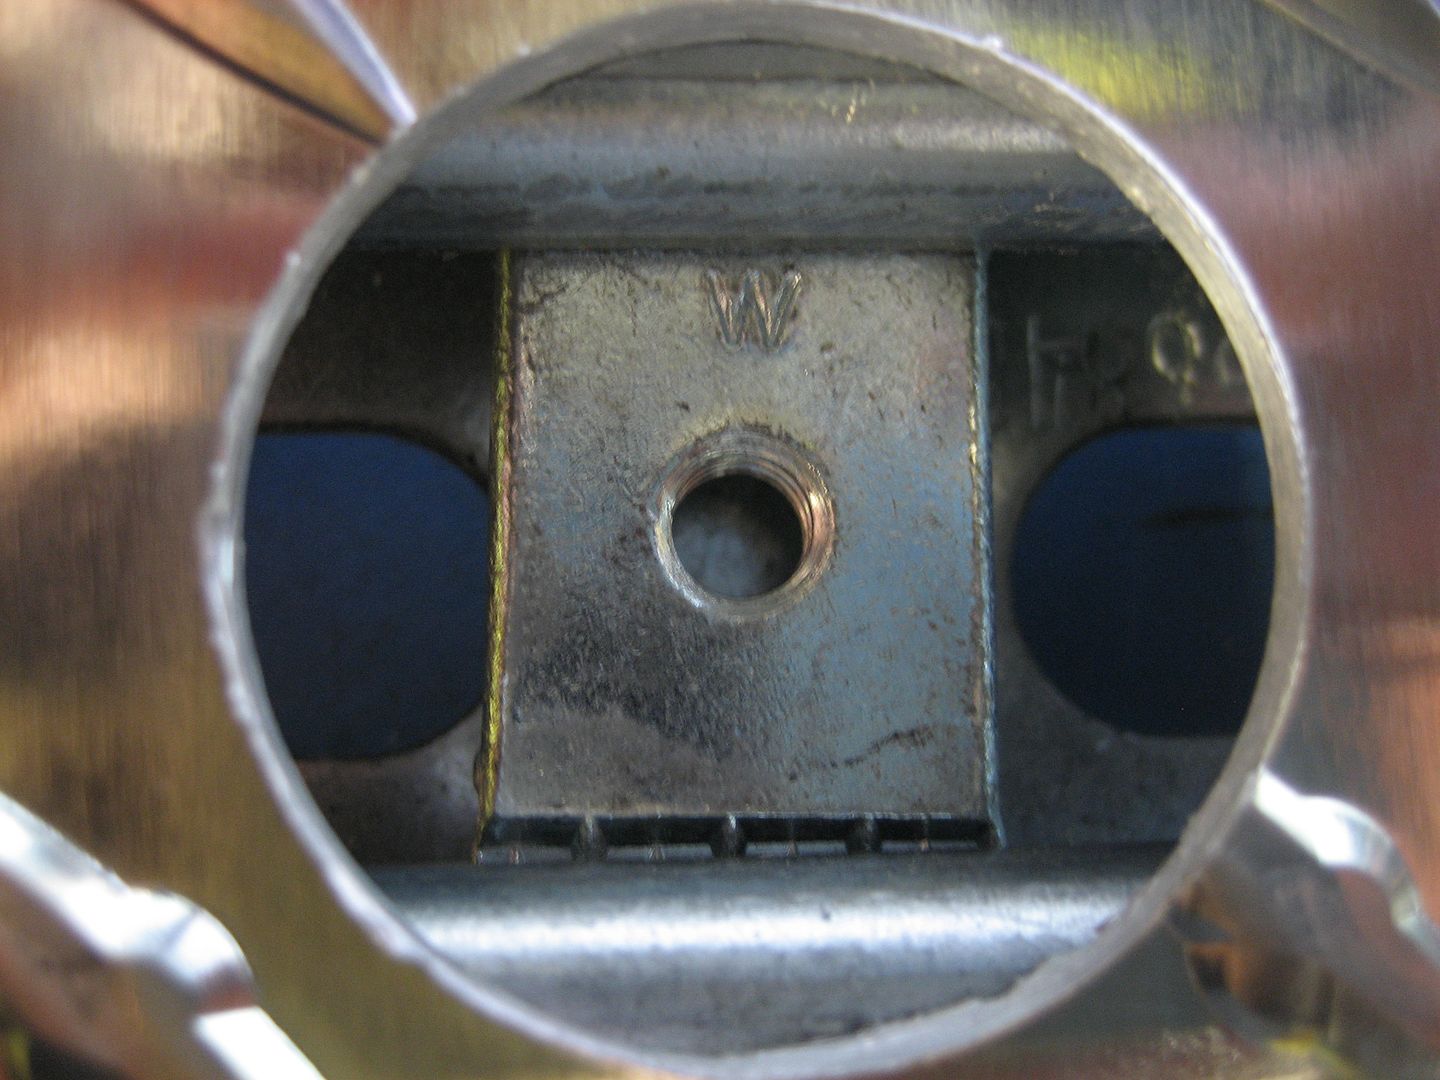
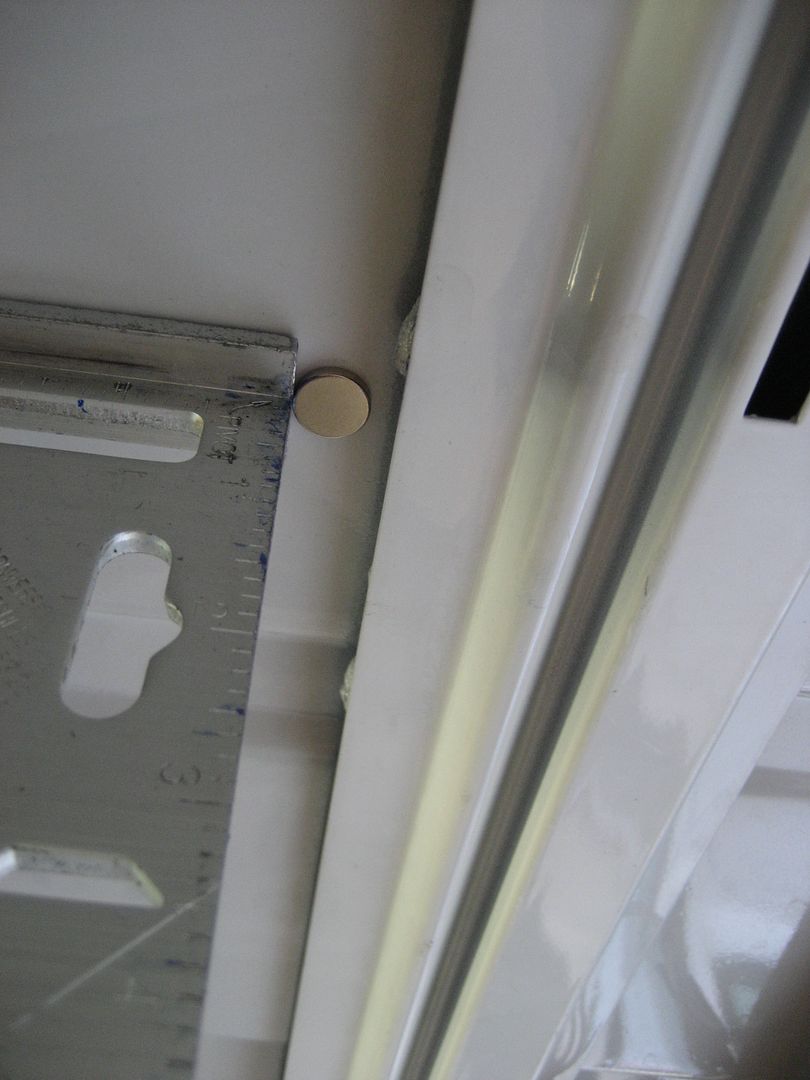
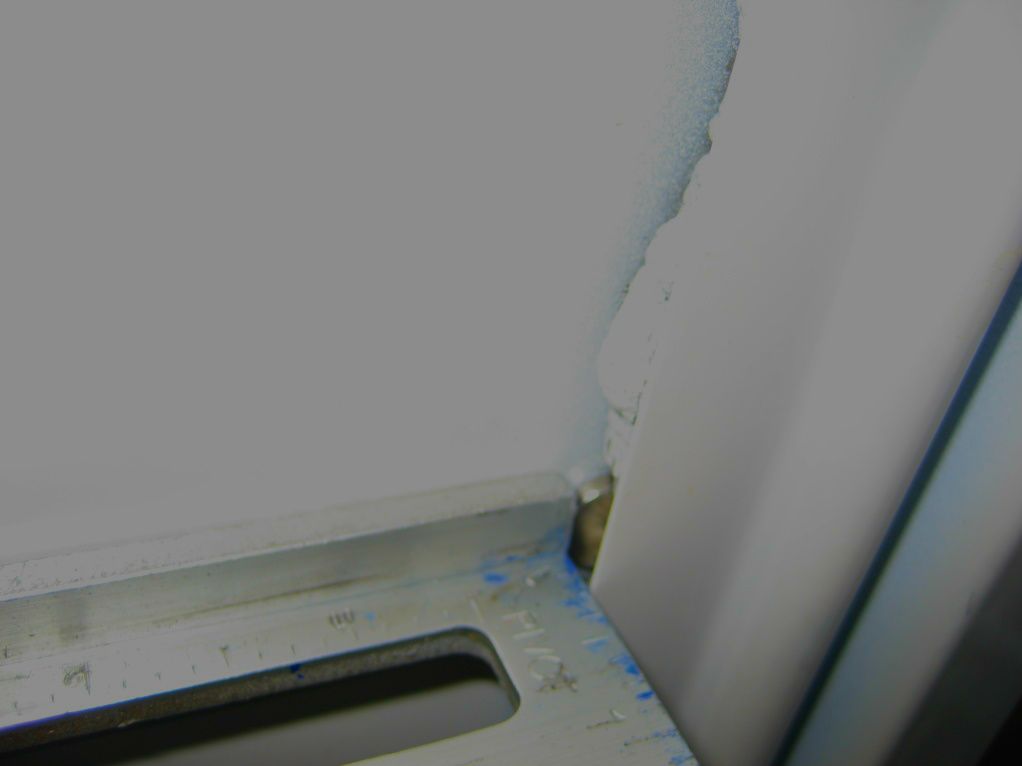
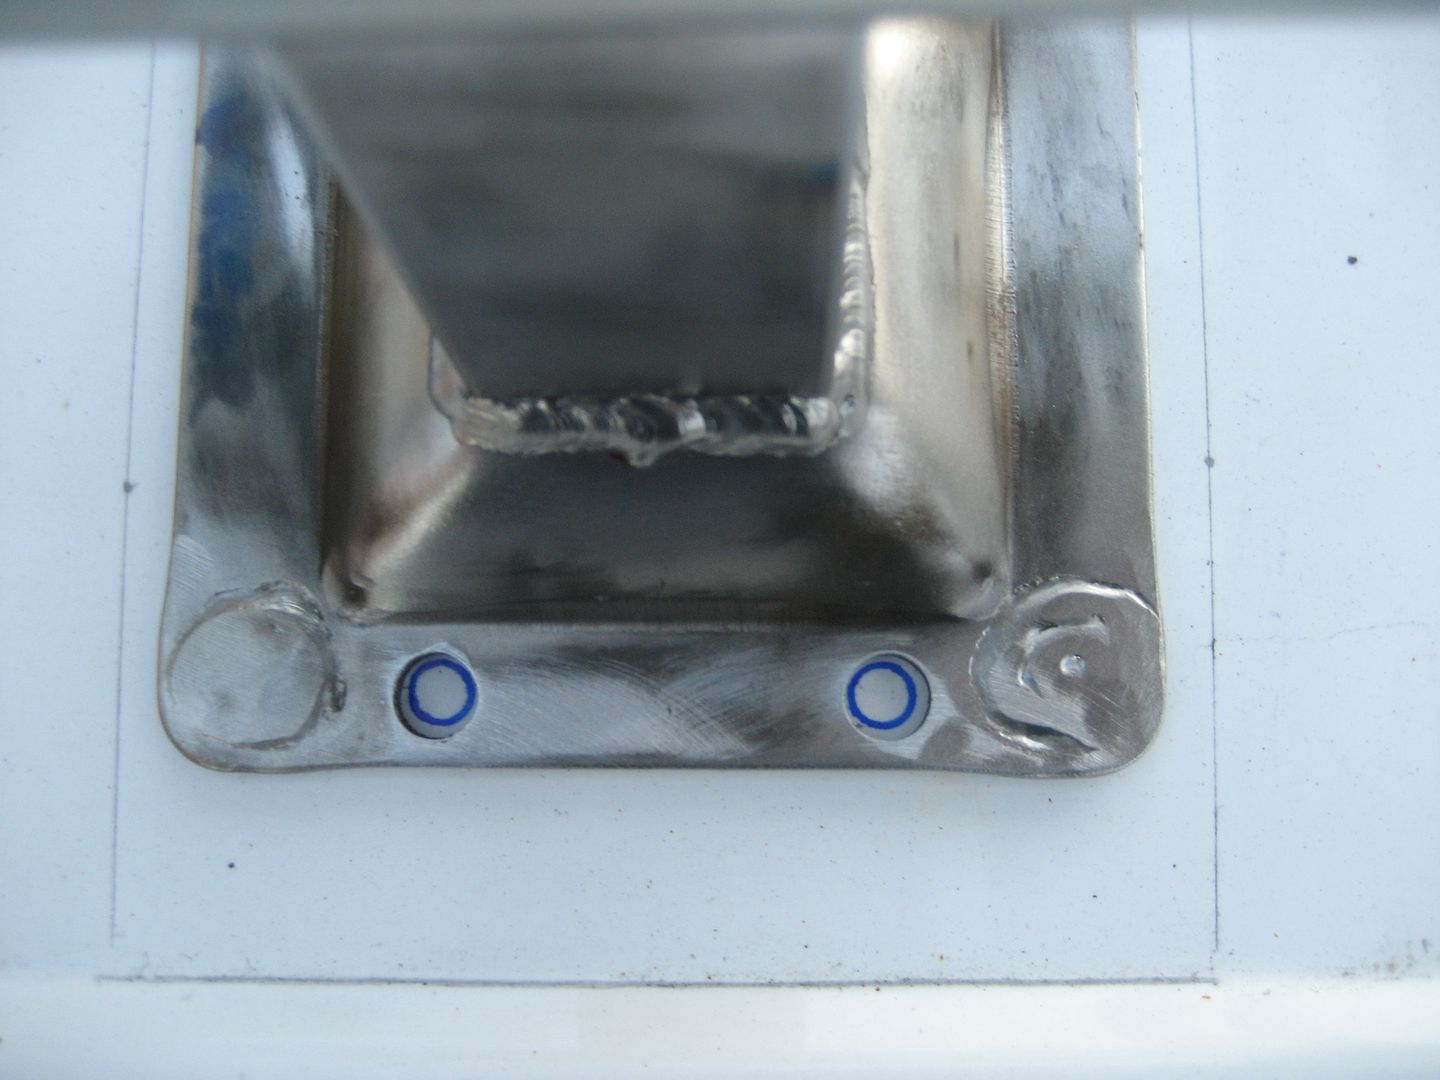
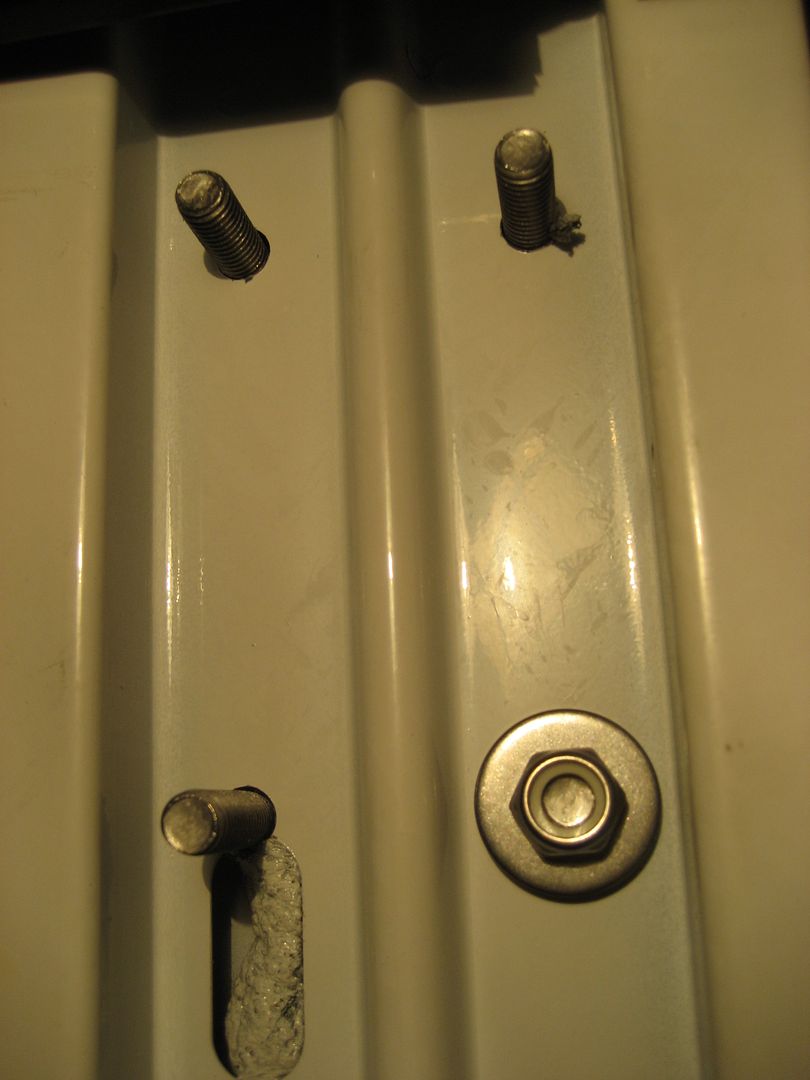
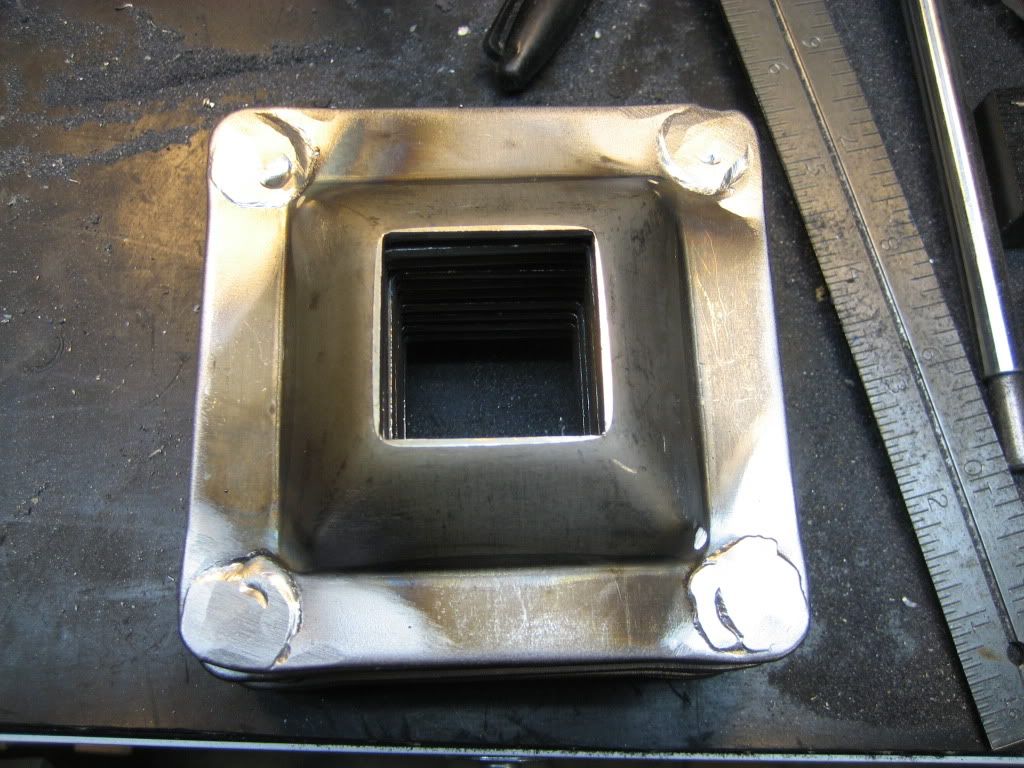
I welded up the holes. The plate needs to be water tight when bolted to the roof. I will use rubber pads and lots of silicone underneath the plate too. You can see the plate with holes here (I'm not using the matching flat backing plate):
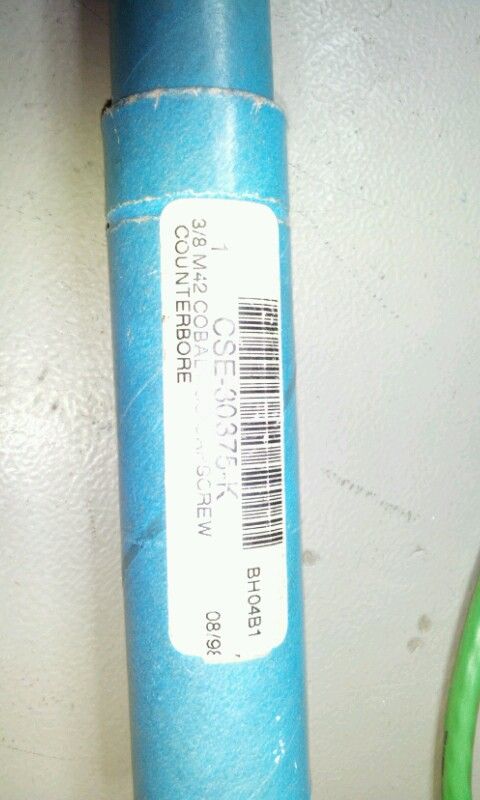
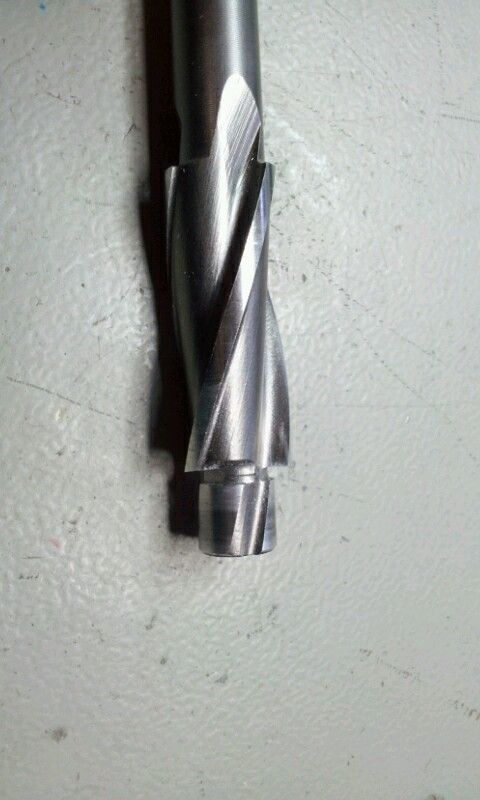
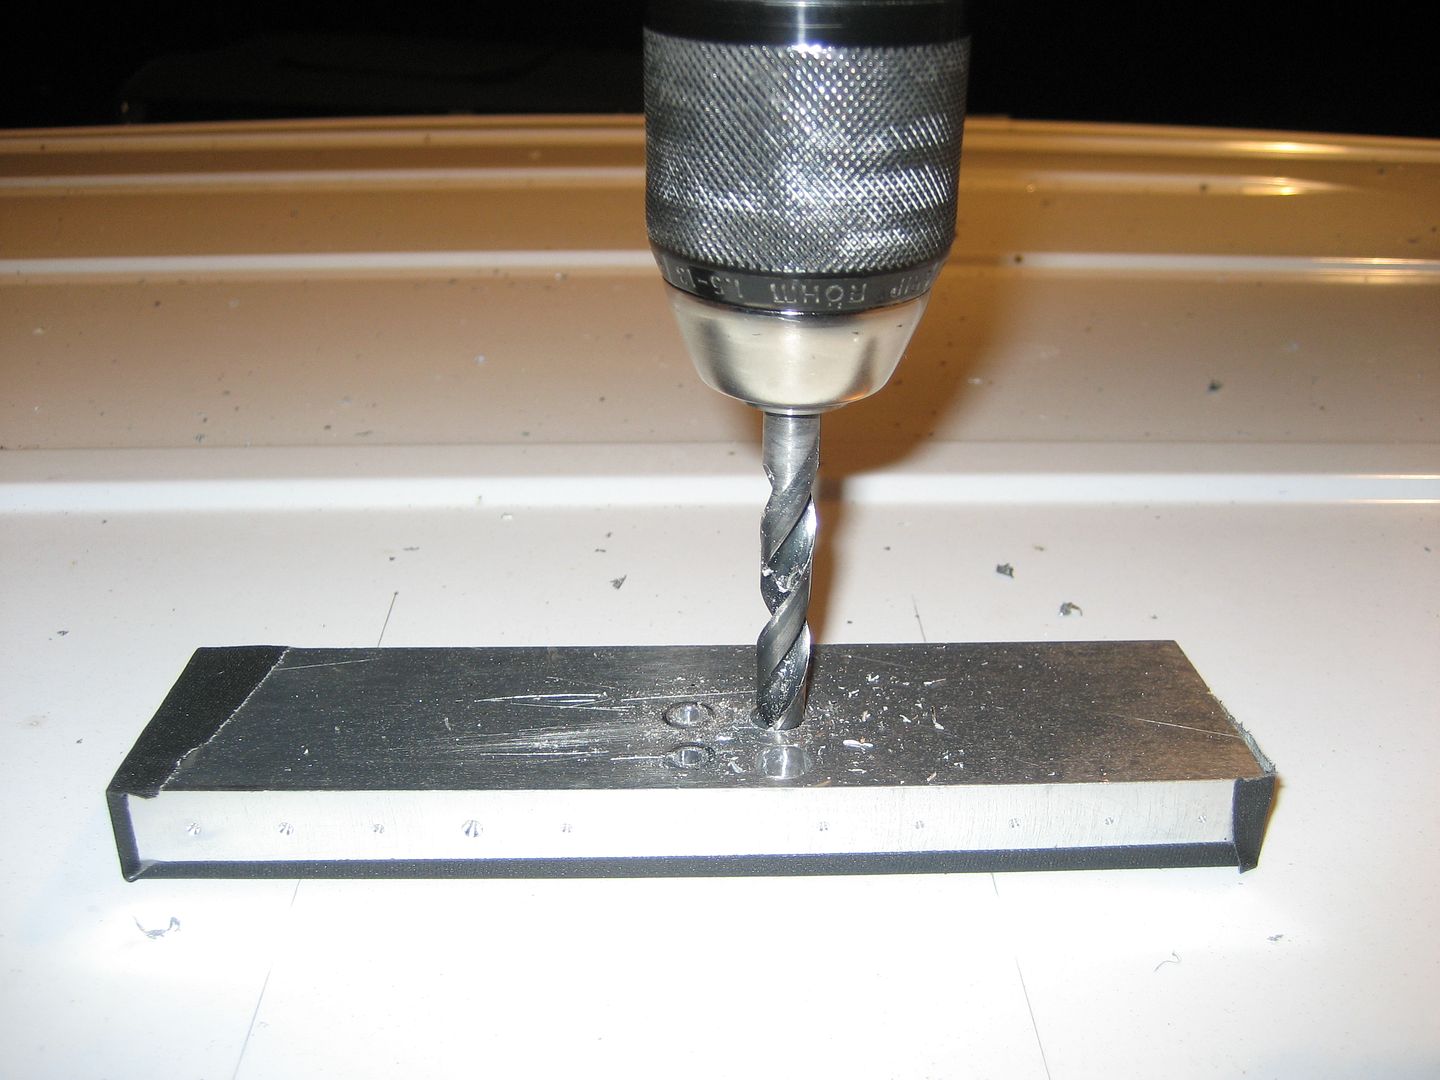
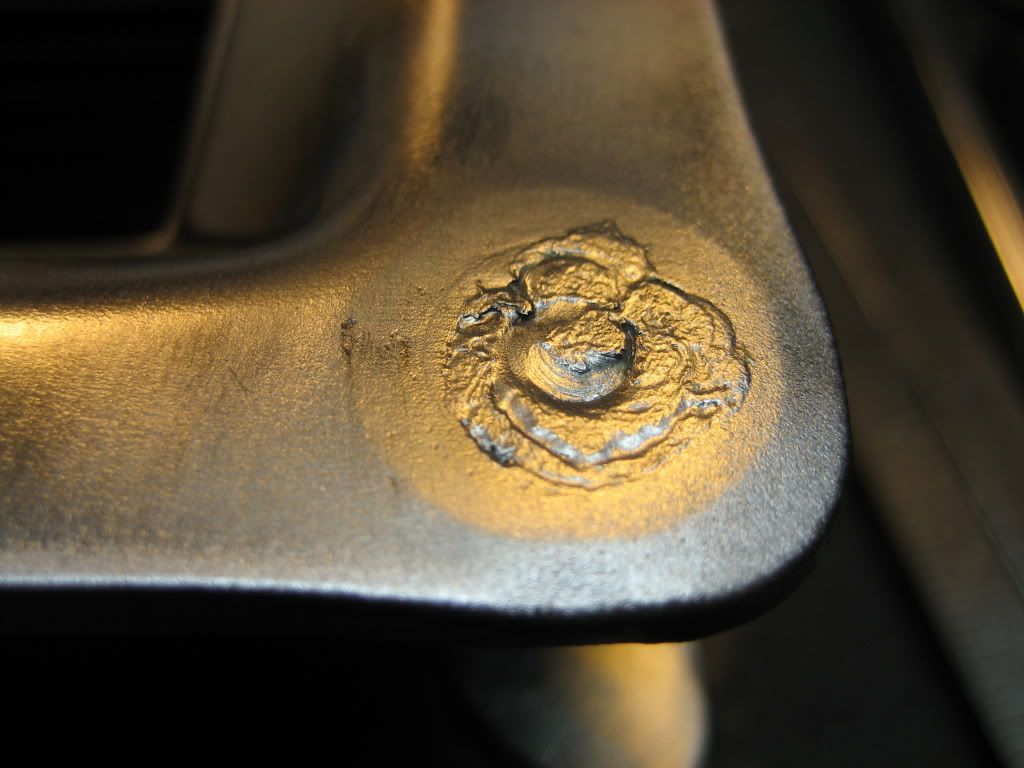
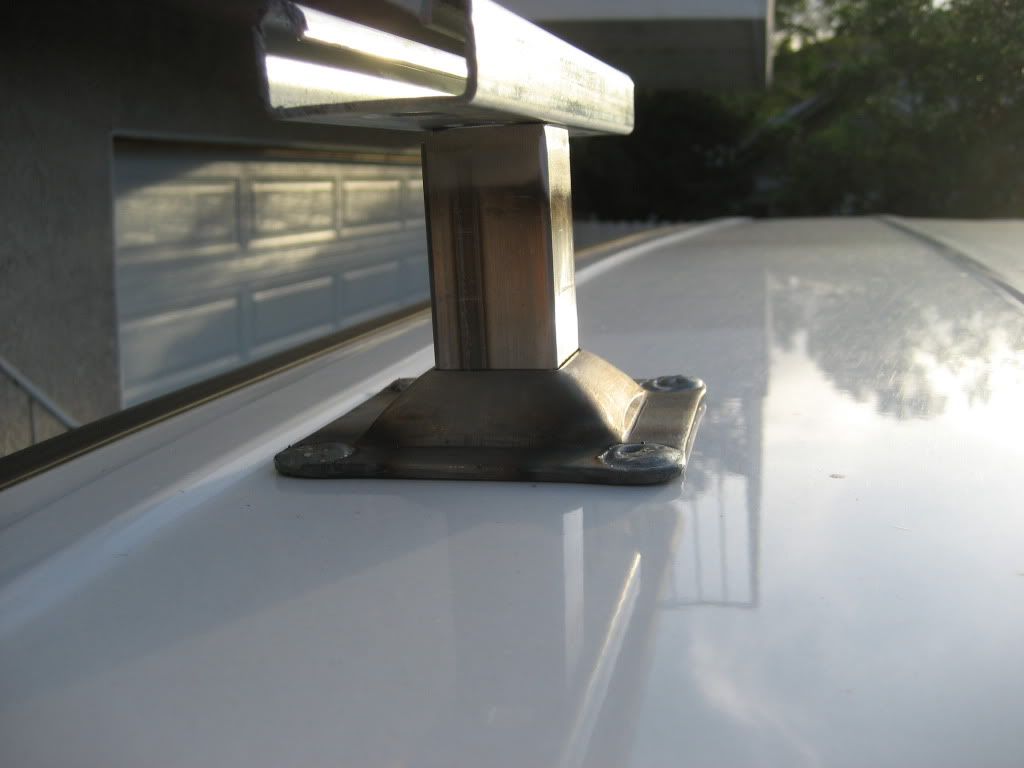
I still need to drill new holes in these plates but here you can see how much work is going into each one (note the copper backing so I could fill in the holes with no sticking):
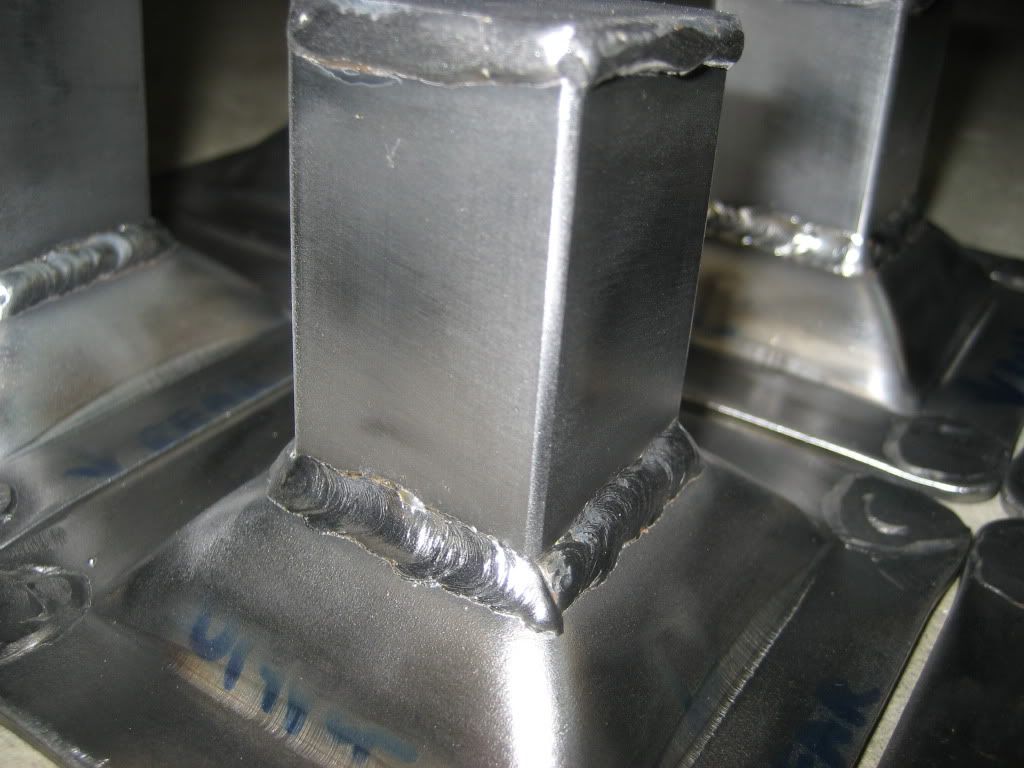
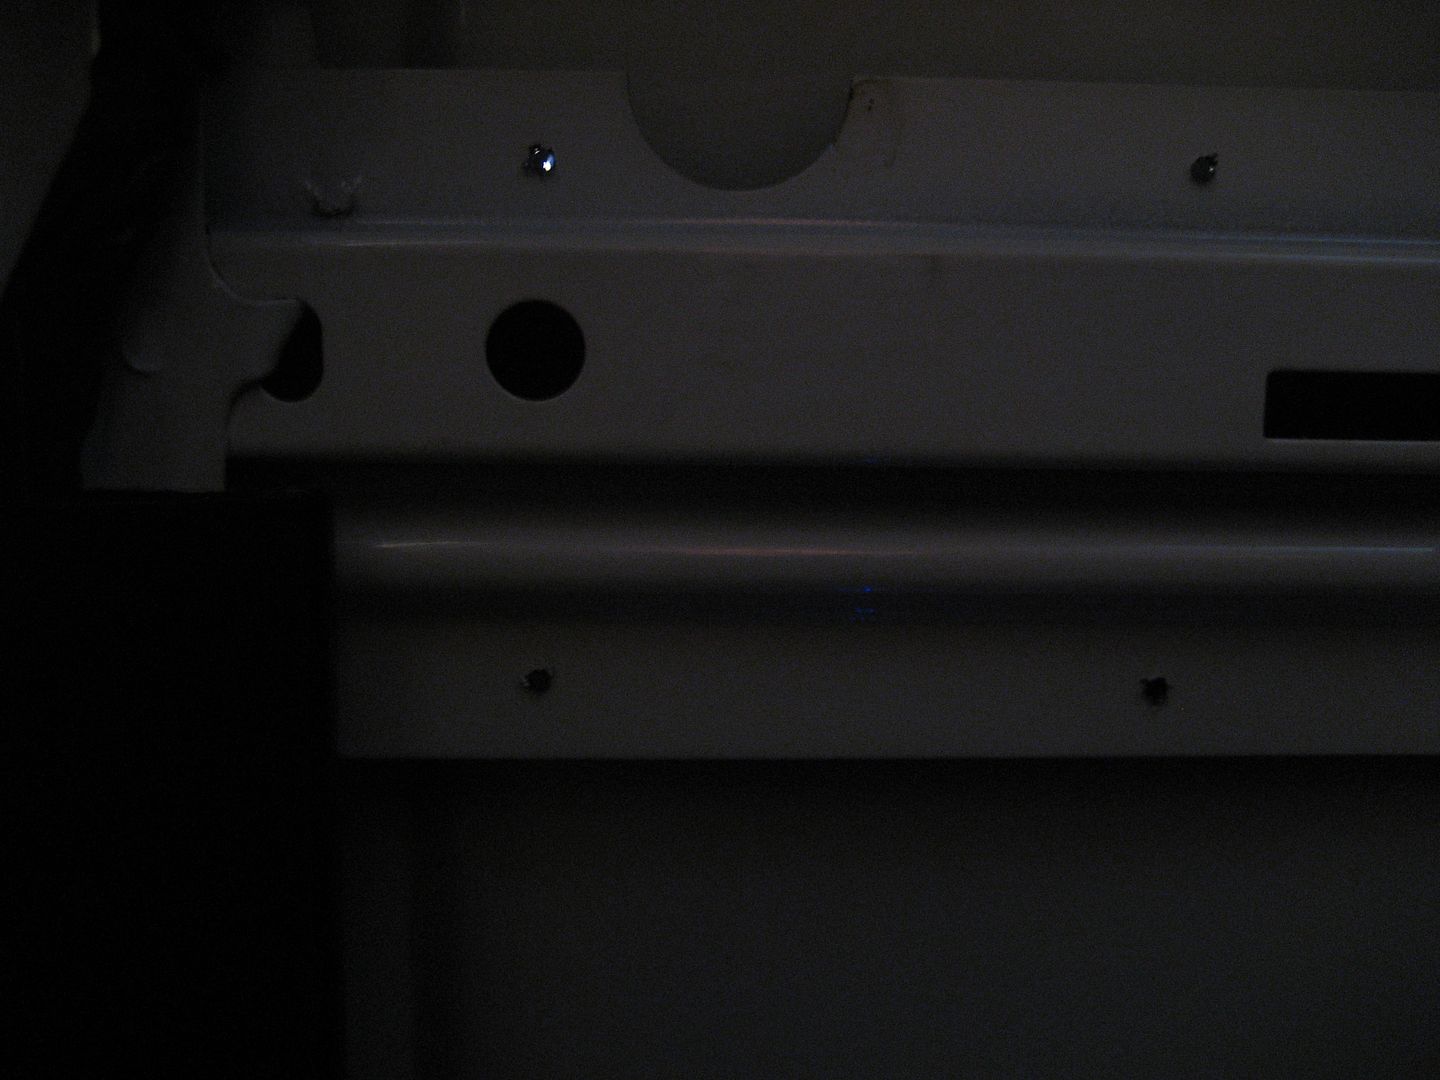
The top of each leg needs a cap to be water tight. The legs might fall under one of the holes in the strut and I don't water getting down inside these:
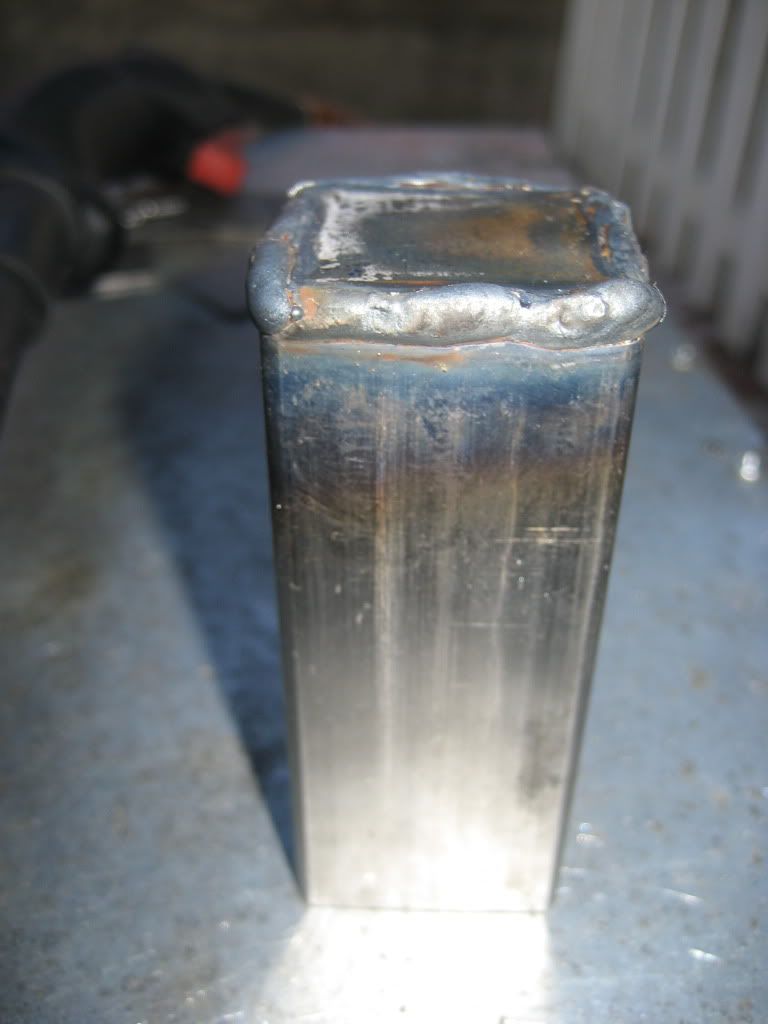
It wasn't necessary to grind them nice and square considering each side is going to have a fillet weld over it to the strut that will sit on top of the leg:
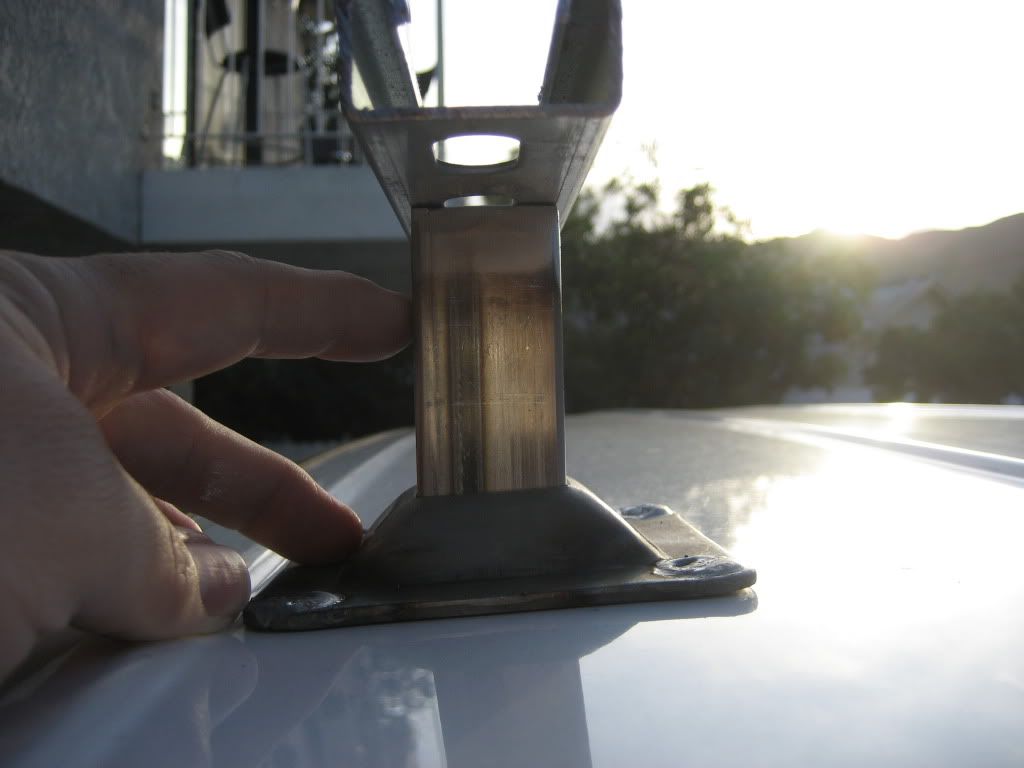
I ground the welds in the plates down just a bit. These pieces are not really cosmetic being on top of the roof but I did it anyway. They are not perfect because they don't need to be:

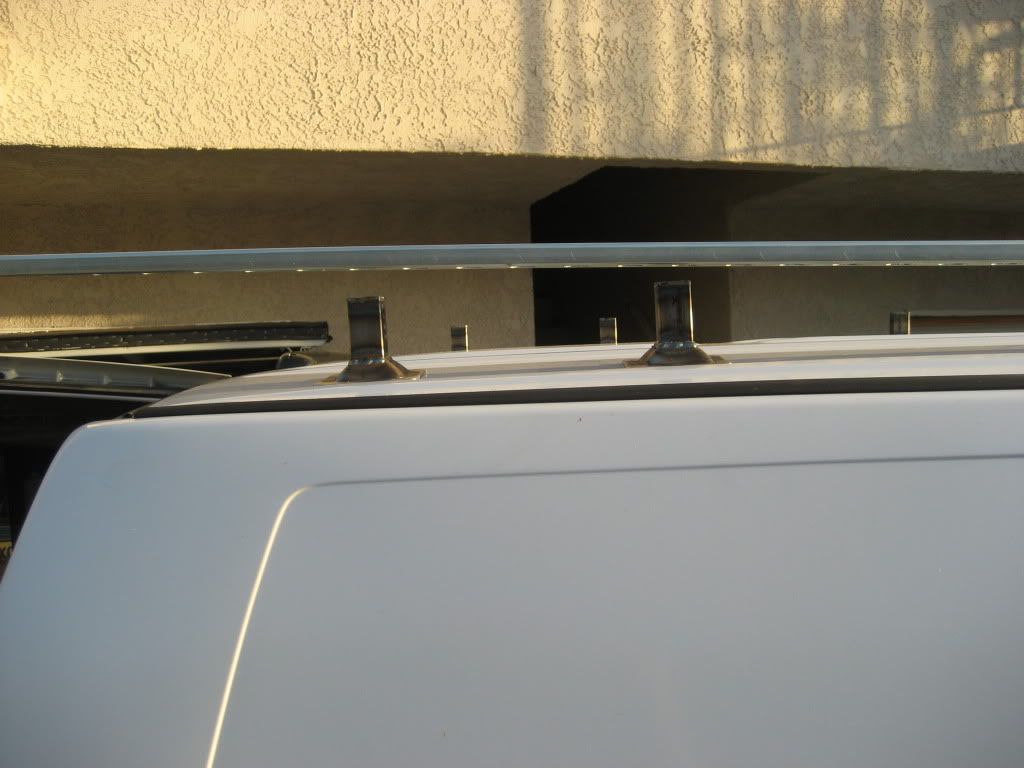
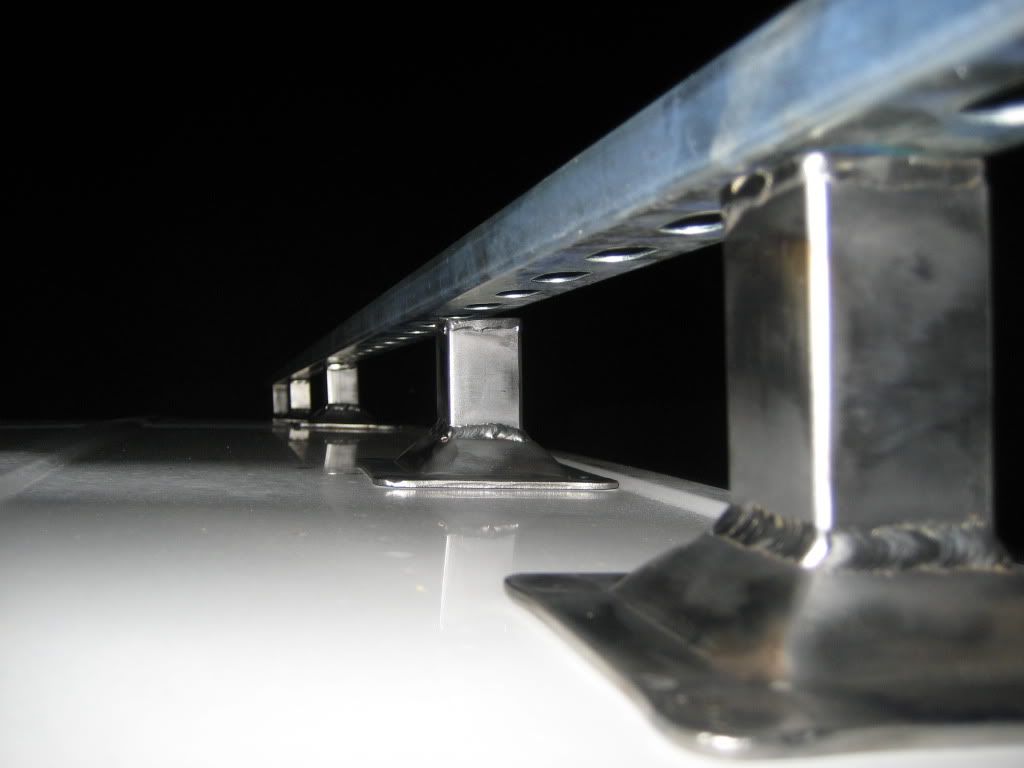
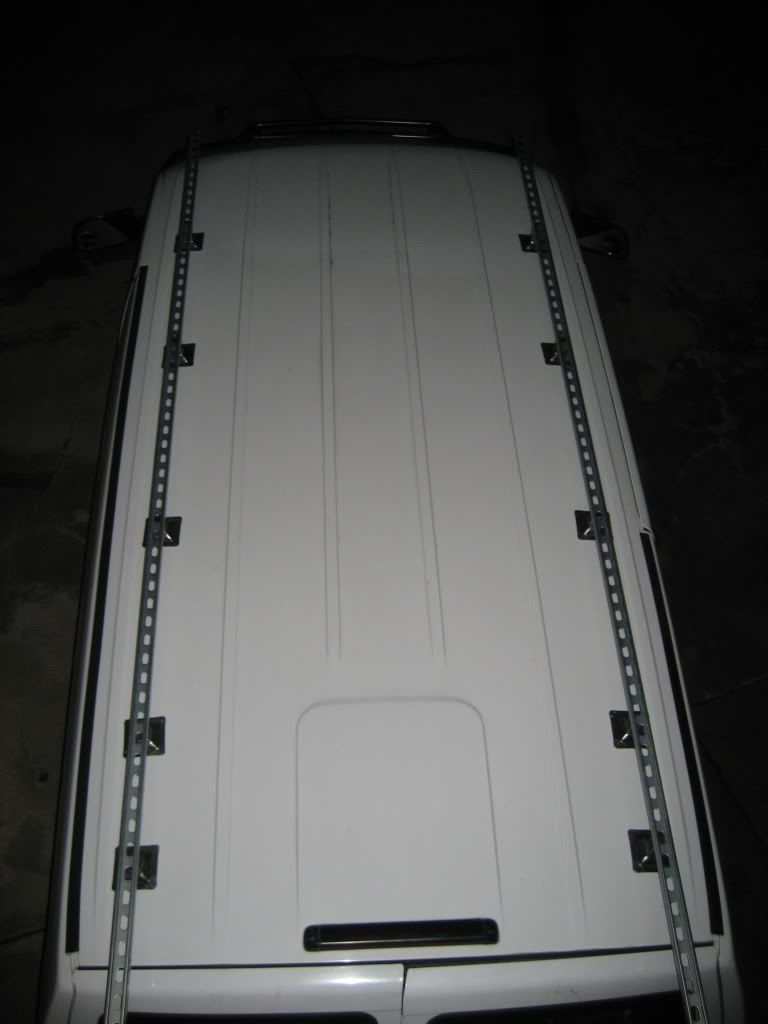
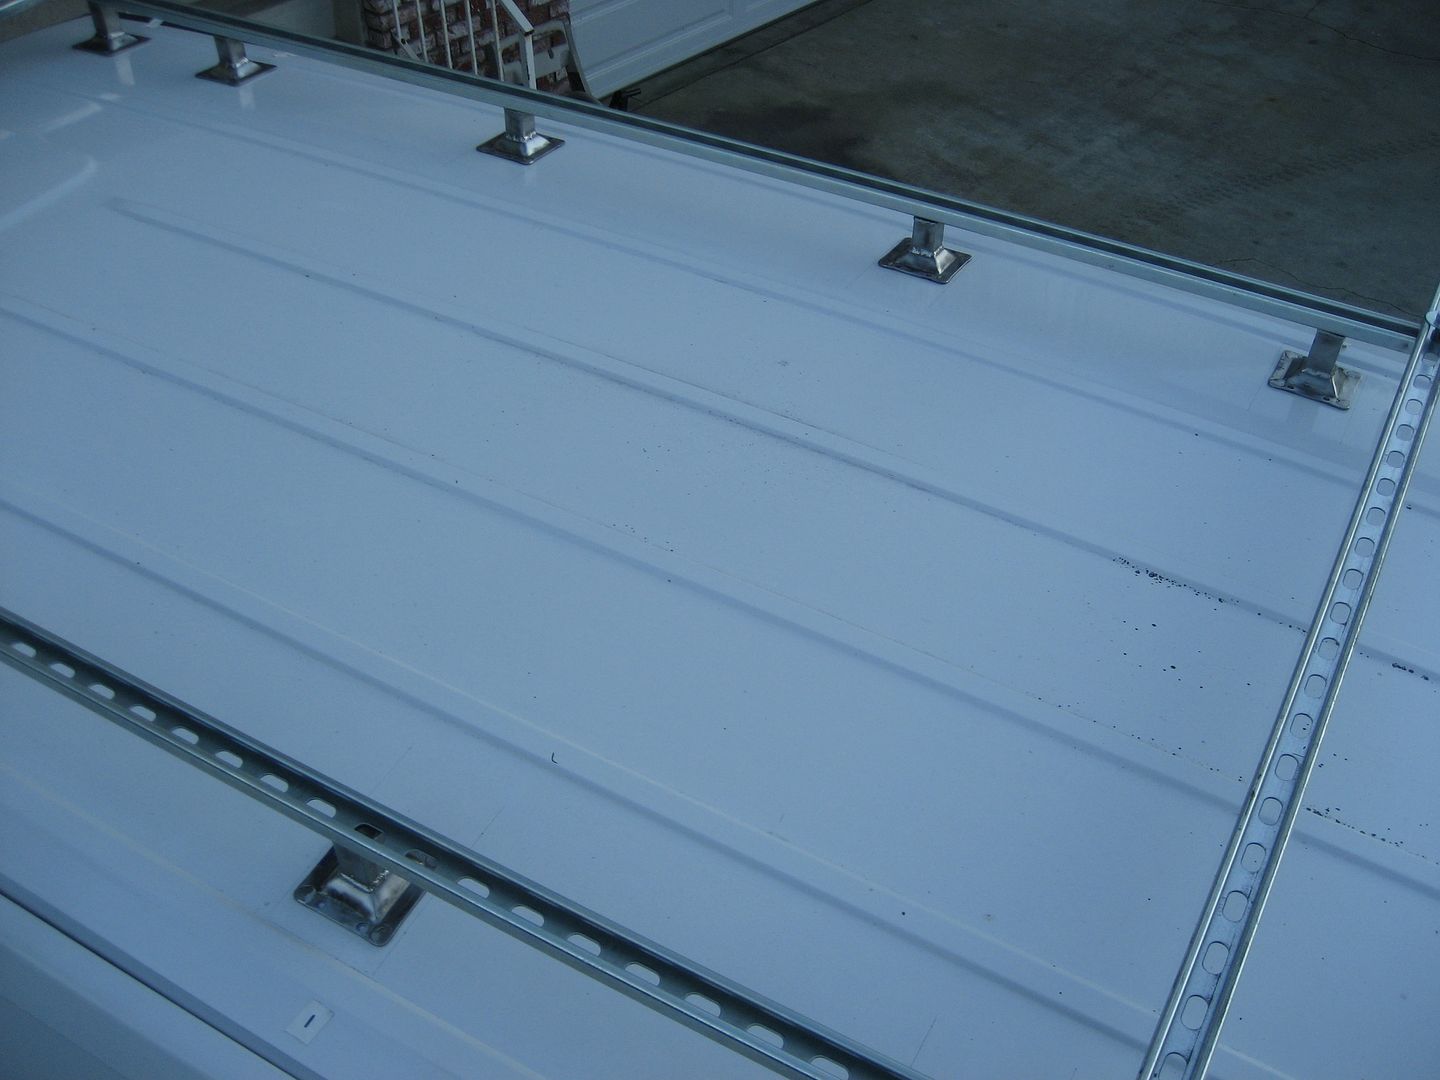
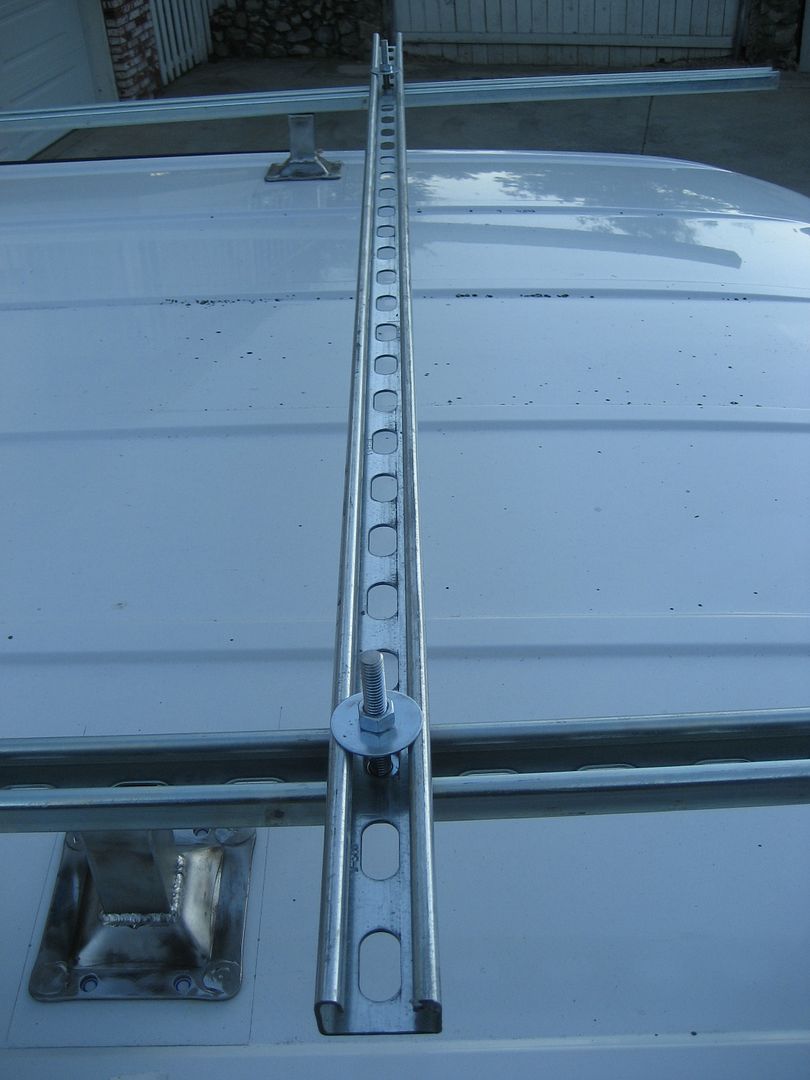
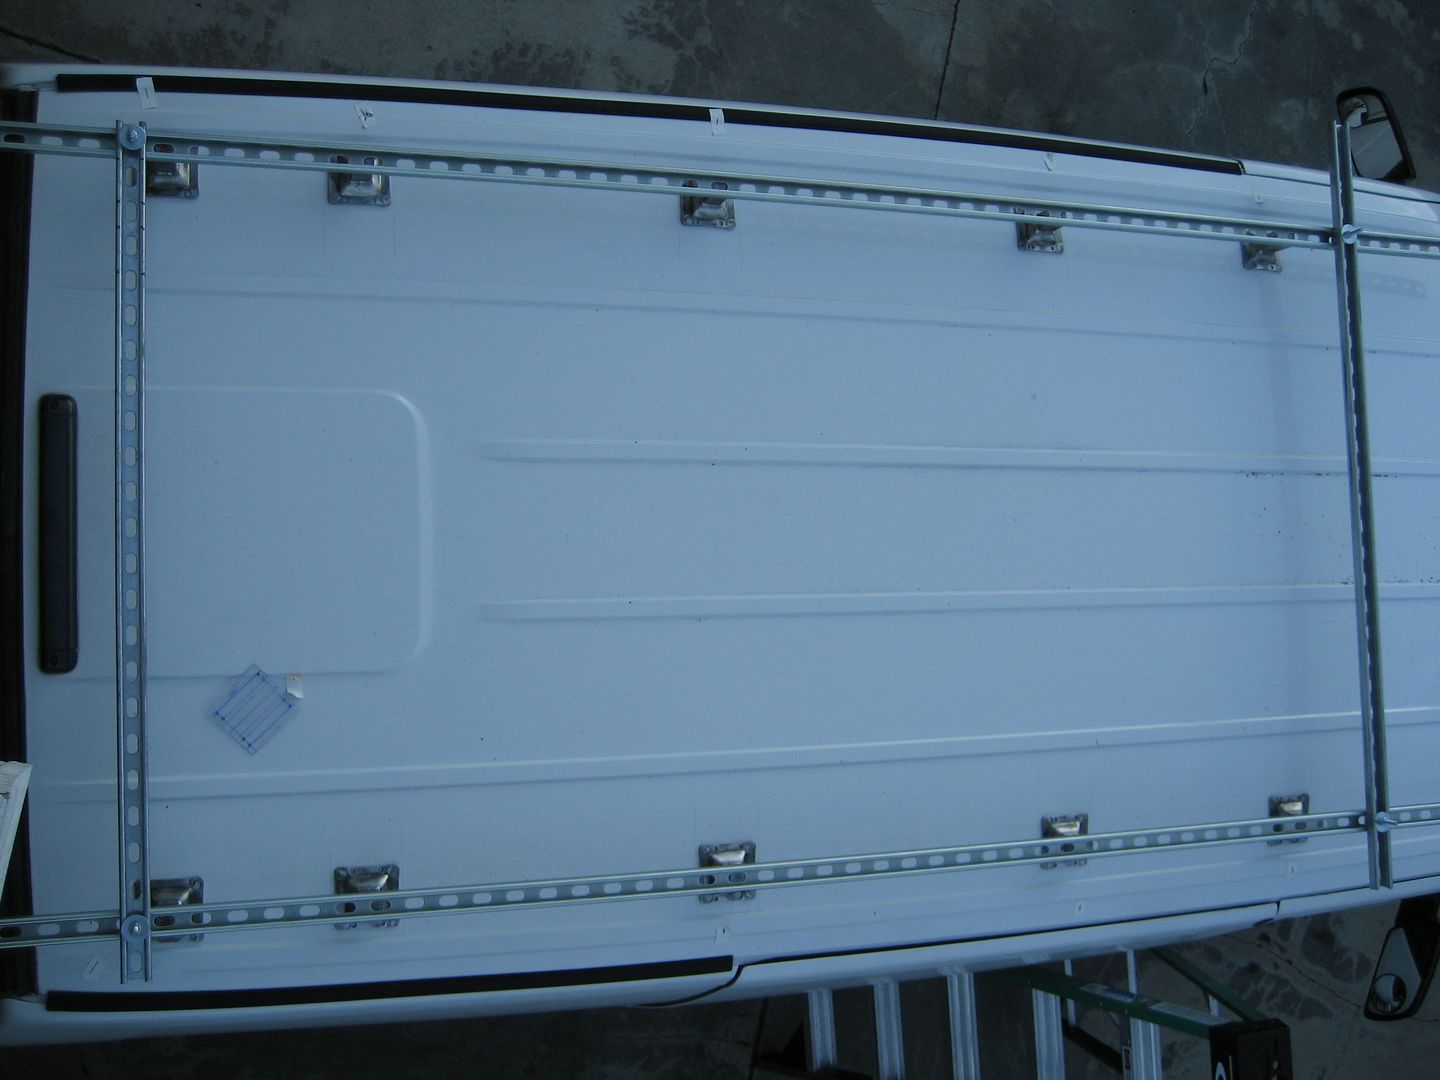
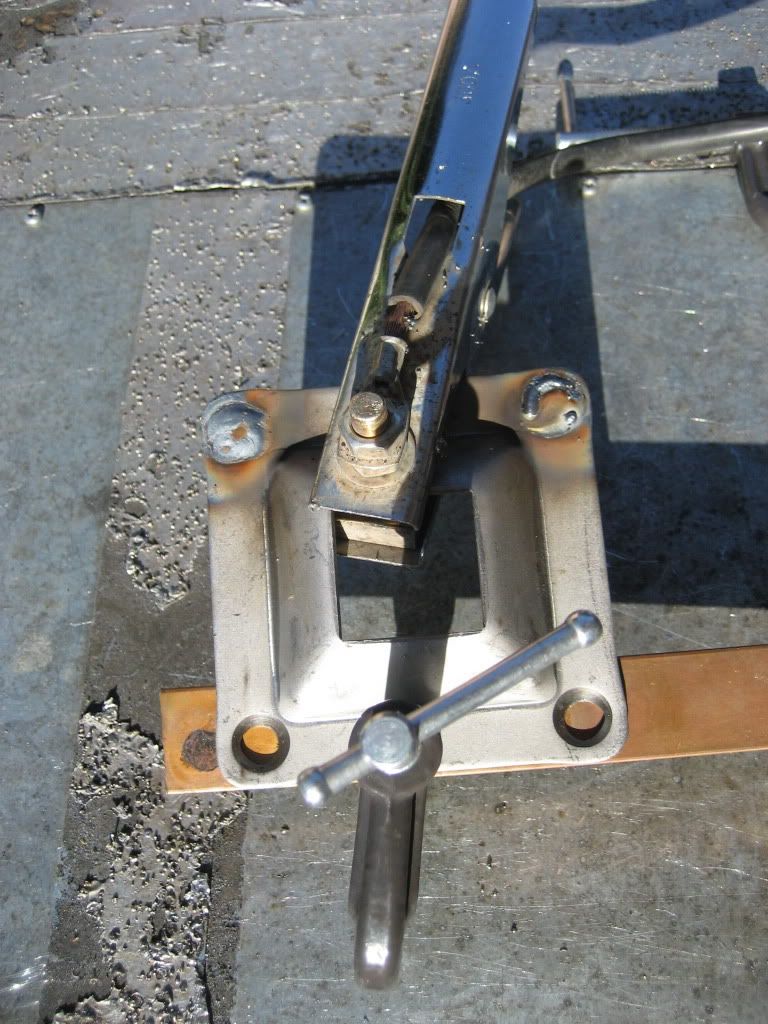
I like this design because it allows me to easily account for the curvature of the roof. The tubing can sit at an angle inside the plate. All I need to do is place it on the roof, bolt a bar across the roof to a foot on the other side and tack weld them in place to get the correct angle. Once I have the angles set then I need to figure out the spacing that corresponds to the vans roof cross members and weld these feet to a strut rail that will stretch lengthwise down each side of the roof. The general idea:
I'm leaving about 3" of space between the roof and the bottom of the rack. I want to be able to get in there to wash the roof and I also have a vent/roof hatch that's going on top too. I don't have it in my possession yet so I'm not sure exactly how tall it is, but regardless I don't want more than 3". This puts the top of the rack at almost 10" off the roofs surface.
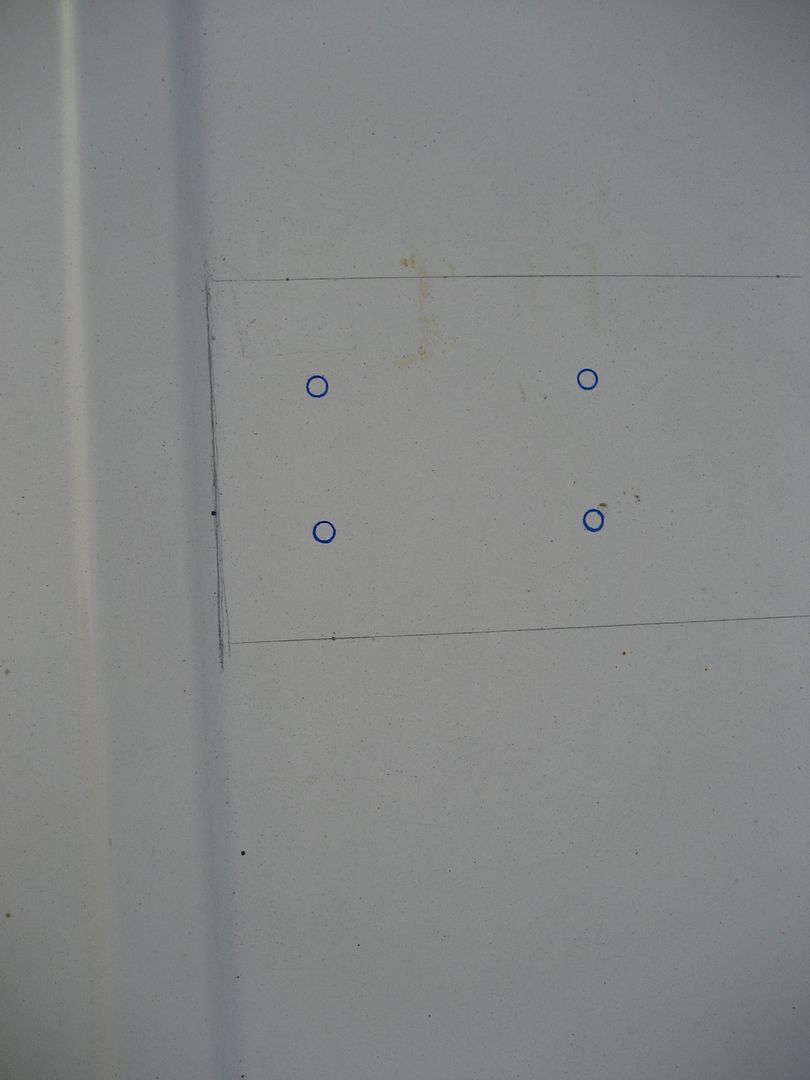
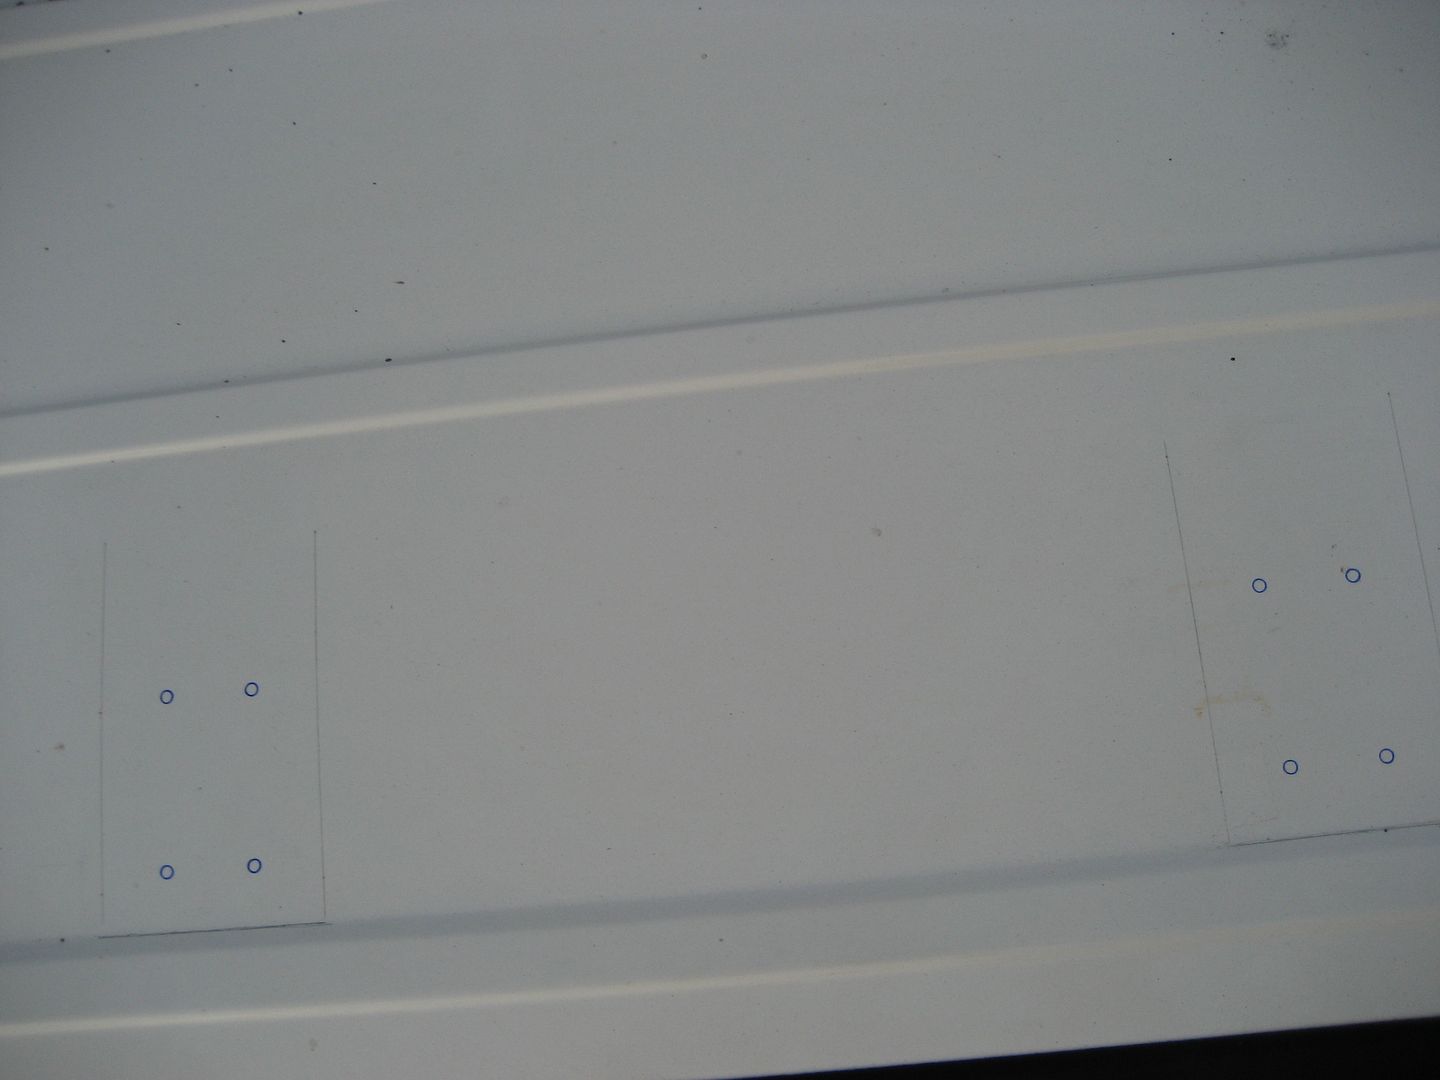
Tomorrow I will figure out the new hole spacing for the plates and get the tubes angled properly and welded in place. Then I need to figure out where to drill the holes in the roof. Once I have all of these in place and bolted to the roof I can set the strut channel down on top and mark where the feet fall along the rail. I might tack it in place while they are on the roof.
I'd say I'm about 3/4 done with the whole project. Exciting!