
Fast forward a to February 2011 and a little accident caused me to strip the entire van down for paint and body work. I even removed the body harness and door harnesses. I noticed that on one front door one of the ground wires had been spliced and run to a sheet metal screw into the door shell. I thought: "Hmm, that wire must be broken in the flexy part near the door hinge. The shop my parents used to take the van for service must have done this before I started taking care of the vehicle." Then I thought: "Holy crap! There's probably more wires damaged in there and that's probably why my locks are lazy!"
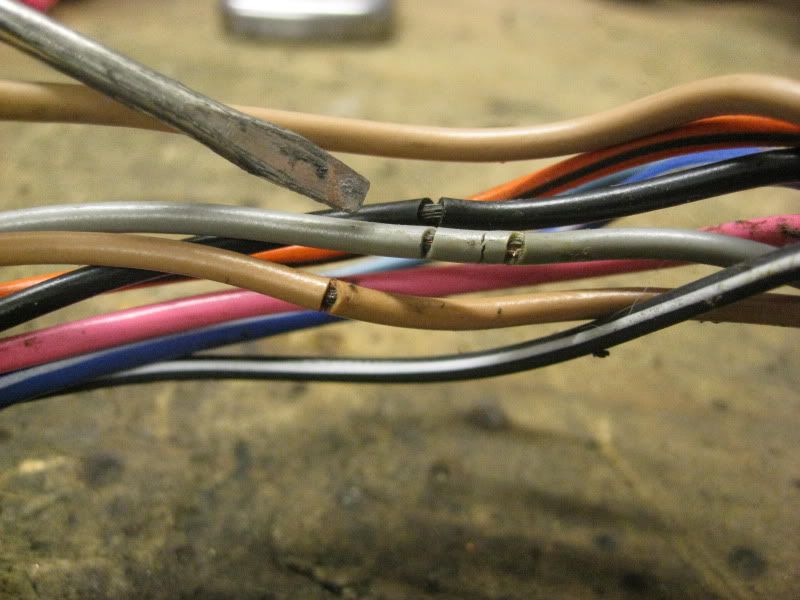
I don't know why I never thought of it before. It's the obvious answer, both front doors have problems, on an old vehicle... Anyway, I stripped the driver's side harness open and this is what I found:
The insulation is cracked but the conductors are not yet broken. This allowed humidity to get into the wire and cause corrosion all over the copper conductor, severely limiting its current carrying capacity.
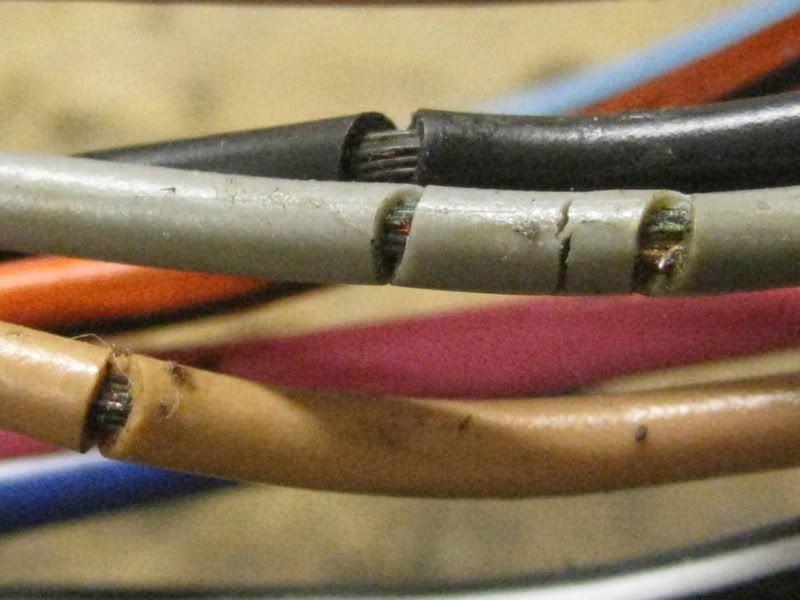
Here's a closer look. Digital Macro!
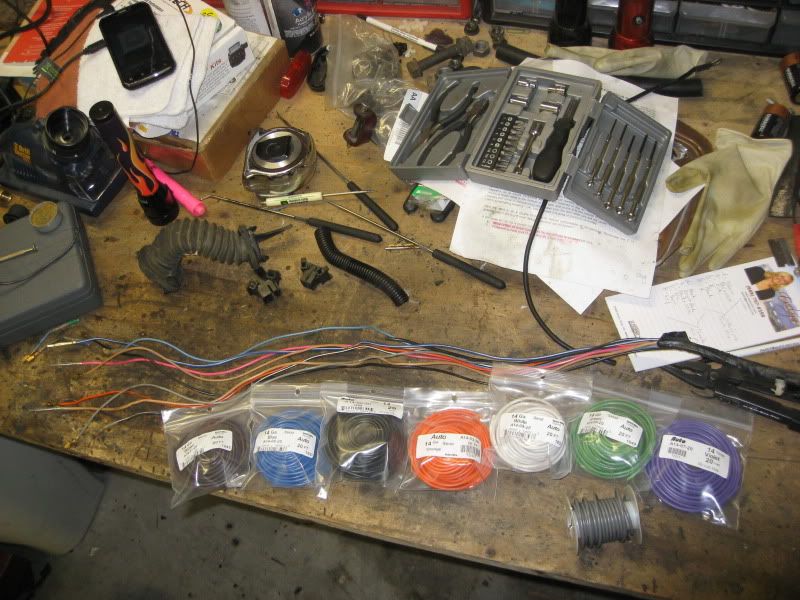
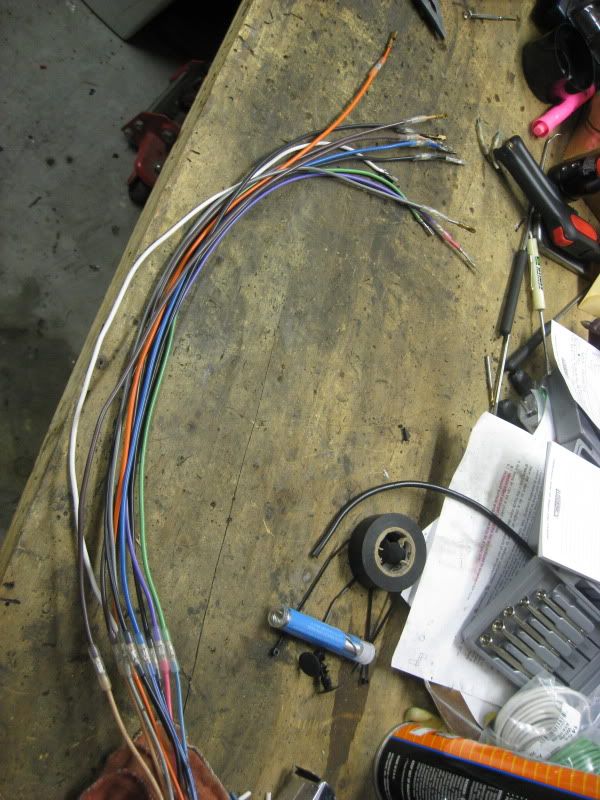
Here's how I fixed it. I went out and bought a bunch of new wire, I matched the colors the best I could.
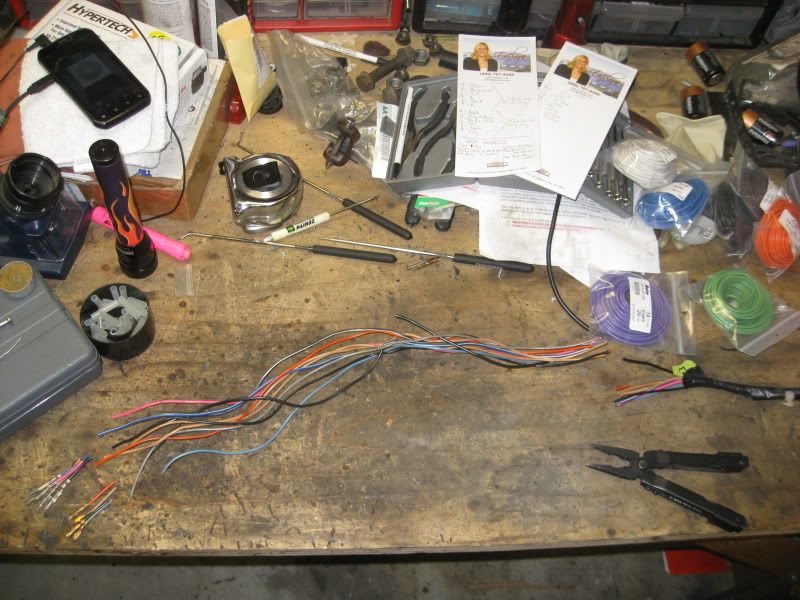
I made detailed notes about which wires went to which position, which connector they went into, and if I couldn't match the wire color I noted what the color changed to. Some colors are duplicated in the harness so I marked them with tape so I wouldn't get them mixed up.
Then I measured, and cut nearly two feet out of the harness!
Next, I spliced...
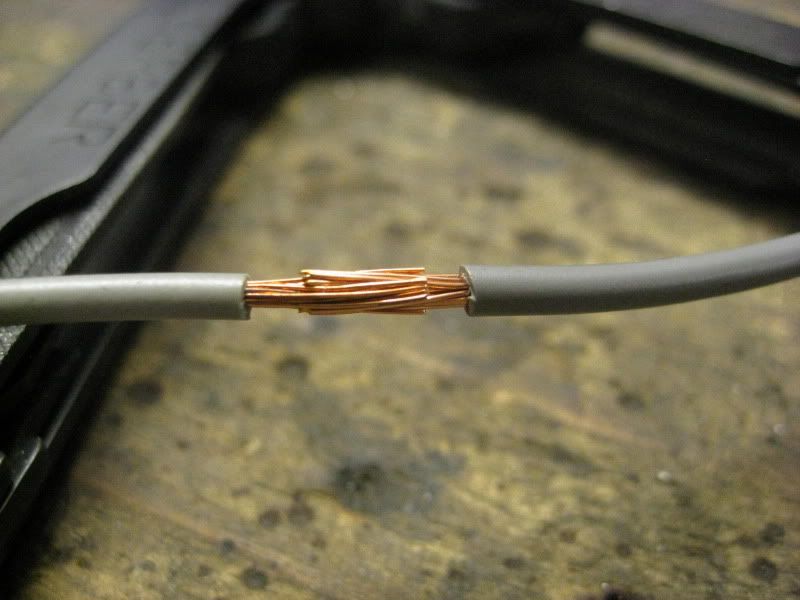
Soldered...
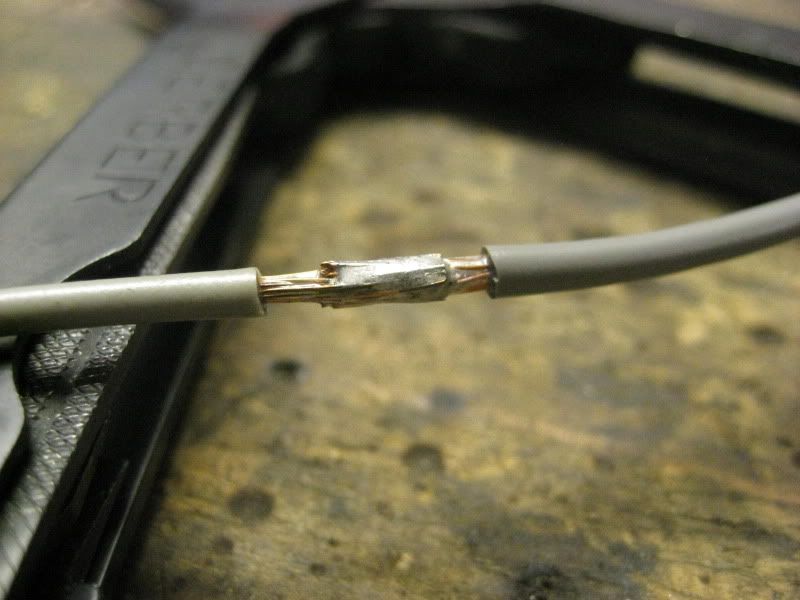
And heat shrinked the repairs.
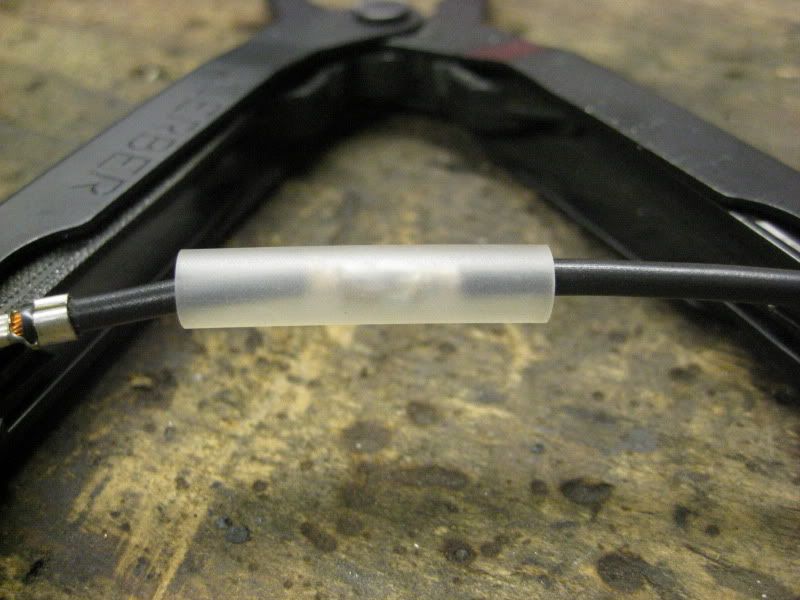
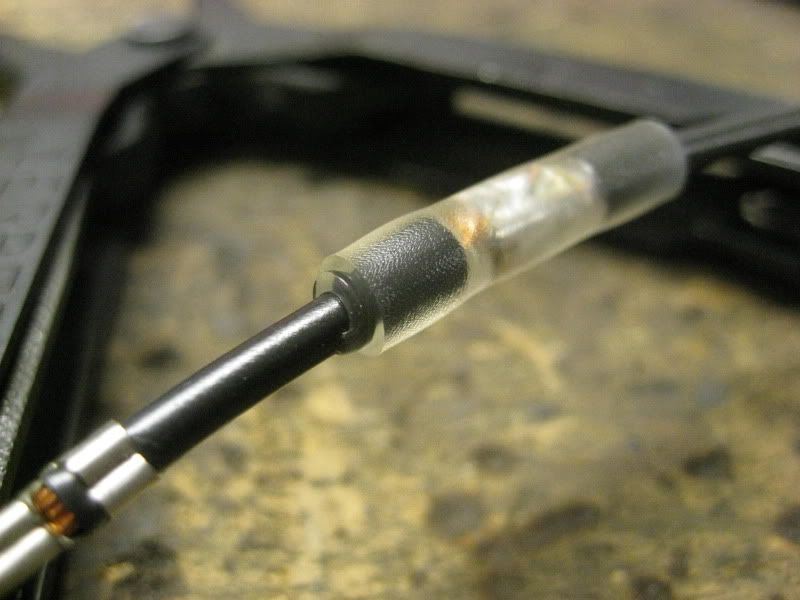
So that it would be well sealed and moisture couldn't creep in and cause problems again, I used this fancy shrink tube that oozes some kind of goo when it shrinks to seal it up nicely.
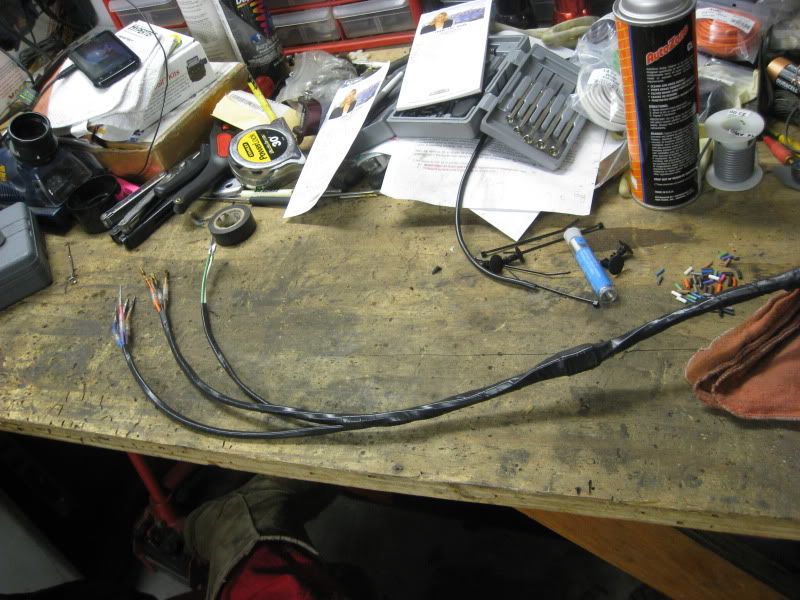
Here's the harness all repaired:
Taped up again:
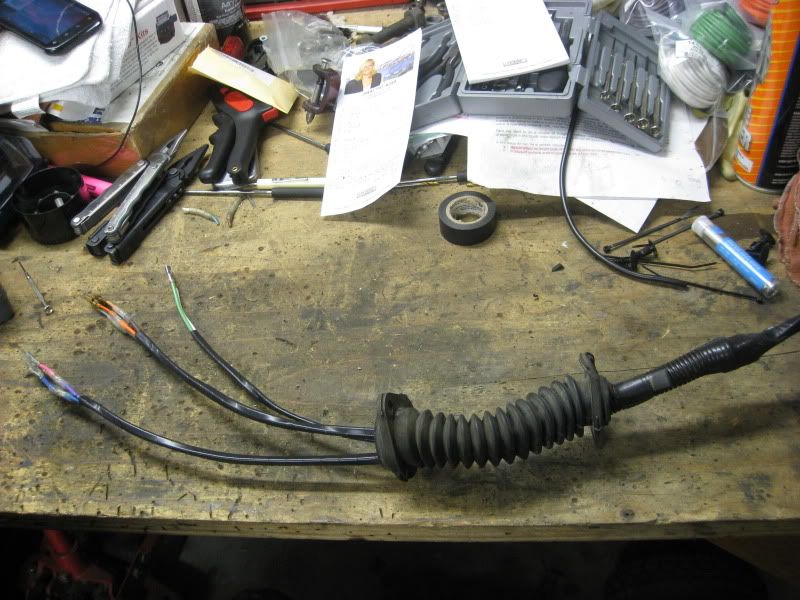
Flexy boot installed:
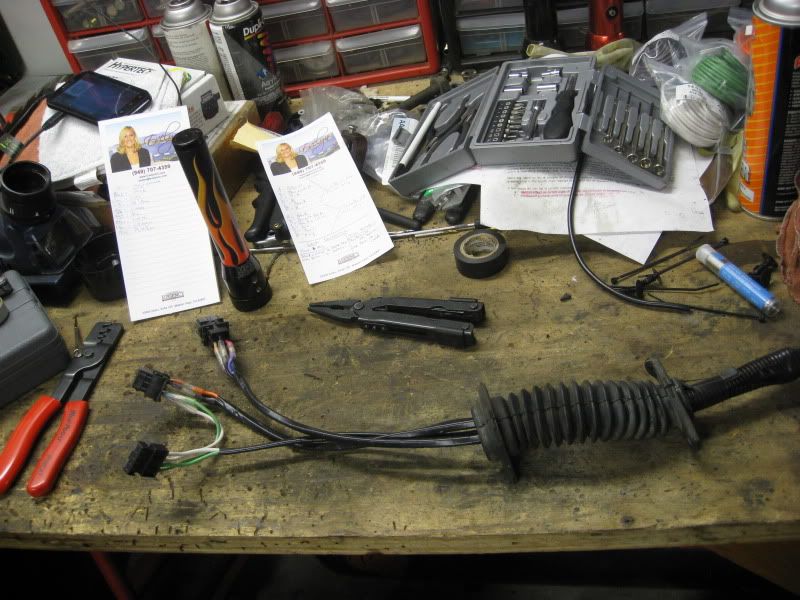
And done, with the connectors installed. Good as new!
If you're wondering why I cut and replaced so much of the harness, there were two reasons.
A) The corrosion had spread pretty far up the wire. It was at least six inches on either side of the crack before I found clean copper.
B) A solder and heat shrink repair is not very flexible at all, and the old wires are pretty stiff as well. I was concerned that if I made the repair right in the middle of the hinge the old wires would soon crack again near the repair. So, I planned it out so that the repairs - two in each wire - would be in and area that doesn't move when the door is opened and closed.
I'm pretty excited to have good strong locks at all the doors. But, I haven't gotten to the stage where I can reassemble the doors and put them back on the van, so unfortunately I don't even know if all this actually worked!
I'll let you guys know when I find out.


