Page 2 of 2
Re: Upper Ball Joint replacement 95 Astro RWD
Posted: Sat Aug 22, 2009 8:22 am
by SoCalli V8
Lube those nipples.... guys.
Re: Upper Ball Joint replacement 95 Astro RWD
Posted: Sat Aug 22, 2009 8:38 am
by astrozam
I just wanted to address the coil spring safety issue for a quick second and explain why I didn't use any chains or spring compressor in this particular case.
As I had not read any replys dealing with the coil spring by the time I was going to go out to do the repair I had to take a careful look at this to see what my options were. Now this only applies to this particular case where my upper ball joint had already seperated from the upper control arm ( any different scenario would have to be looked at individually )
1, I knew that if I put the van on a jackstand and put a jack under the lower control arm and jacked it up excessively then I would indeed lift the van off the jackstand ( a situation I didn't want )
2, when these vans are sitting on all 4 tires there is never a concern about a coil spring dislodging, so my plan was to only raise the van up enough to remove the tire ( approx 3-4 " ) put the jackstand in place ( where I show it in above picture )
put floor jack under lower control arm and raise up just slightly more than where it normally sits ( this would insure that the jack was in fact holding the lower control arm )
3, Remove tire and lower van jack ( about 1.5" ) onto the van jackstand, what we now have is basically a normal condition minus the tire. In looking at the coil you can see that with the amount buried in the subframe above and with the depth of the pocket on the lower control arm that in this particular case the coil would not be able to dislodge. At this point I felt confident to go ahead and do the work.
There are always several ways to go about a repair, hopefully this explains why I went this route and the facts I considered, However if you don't feel comfortable or if you are doing additional repairs to the lower control arm or removing the coil then definitely follow Darren's advice

And Yes, I did lube ALL the nipples

Re: Upper Ball Joint replacement 95 Astro RWD
Posted: Sat Aug 22, 2009 10:18 am
by LiftedAWDAstro
Nice job Zam! =D> Especially considering the rust and doing it in the watchful eyes of the neighbors.
Re: Upper Ball Joint replacement 95 Astro RWD
Posted: Sat Aug 22, 2009 2:37 pm
by Smiliesafari
Your method of controlling the coil spring is the same as mine. As long as the weight of the vehicle is on the spring it won't go anywhere. The only time I use a spring compressor is when the spring has to come out or be put back in. As for the bushings.......the outside (the part you see) can look pretty dry rotted and the inside can be just fine.

Re: Upper Ball Joint replacement 95 Astro RWD
Posted: Sat Aug 22, 2009 4:09 pm
by Rileysowner
So Keith, what was that nice little tool you put together to separate the BJ from the Spindle made out of? I see that as a way to separate the joint without endangering the boot of the BJ.
Re: Upper Ball Joint replacement 95 Astro RWD
Posted: Sat Aug 22, 2009 8:13 pm
by astrozam
Rileysowner wrote:So Keith, what was that nice little tool you put together to separate the BJ from the Spindle made out of? I see that as a way to separate the joint without endangering the boot of the BJ.
I'll try to get some additional pics and dimensions for you tomorrow Jim.
Re: Upper Ball Joint replacement 95 Astro RWD
Posted: Sun Aug 23, 2009 10:55 am
by Rileysowner
Thanks.
I see the pic, but it would be good to have an idea on bolt sizes and the like.
Re: Upper Ball Joint replacement 95 Astro RWD
Posted: Sun Aug 23, 2009 1:17 pm
by astrozam
As promised...

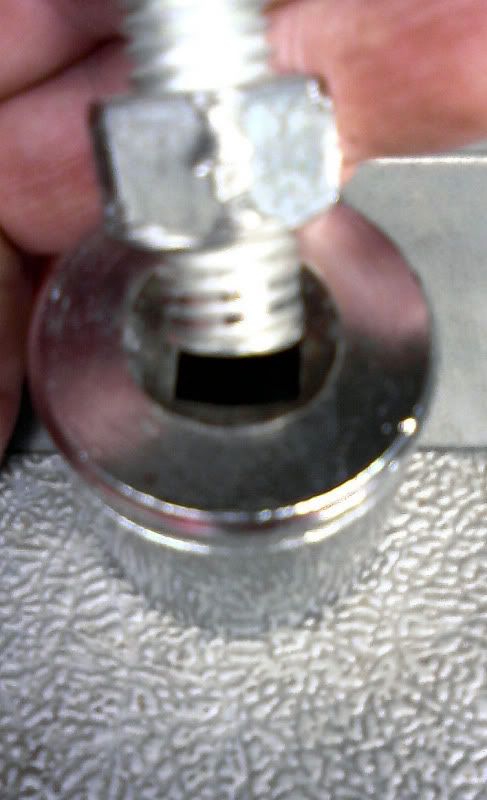
mini press assembled...
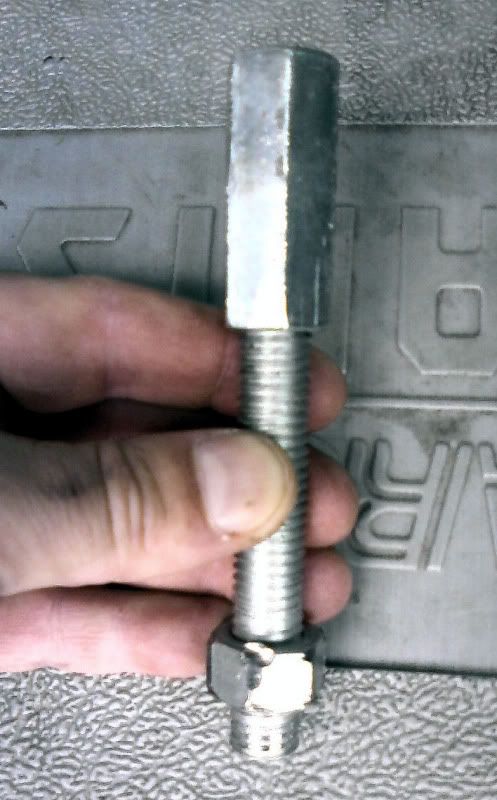
I could have used a bolt but had none, so this threaded rod actually worked out better as there was a small indent for the ball stud end to fit in with no worries of it slipping off...
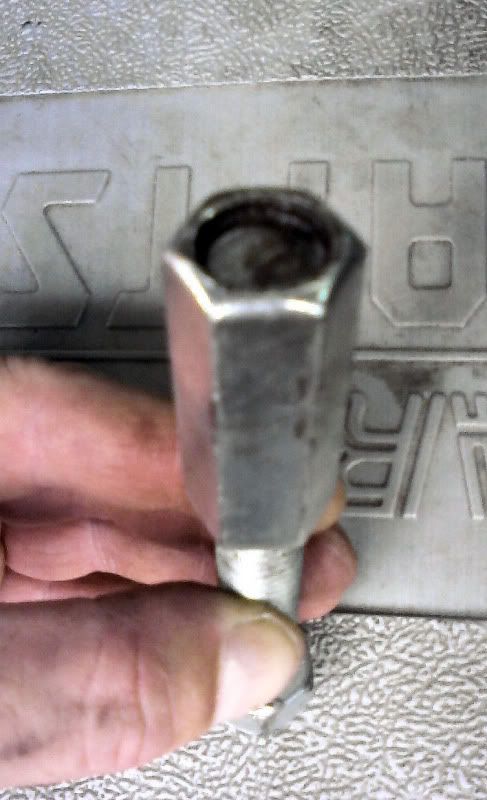
Here is the length 4.5"...
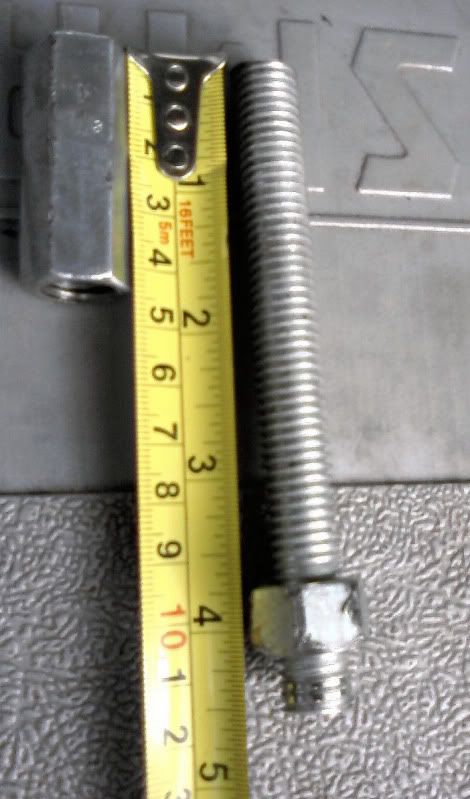
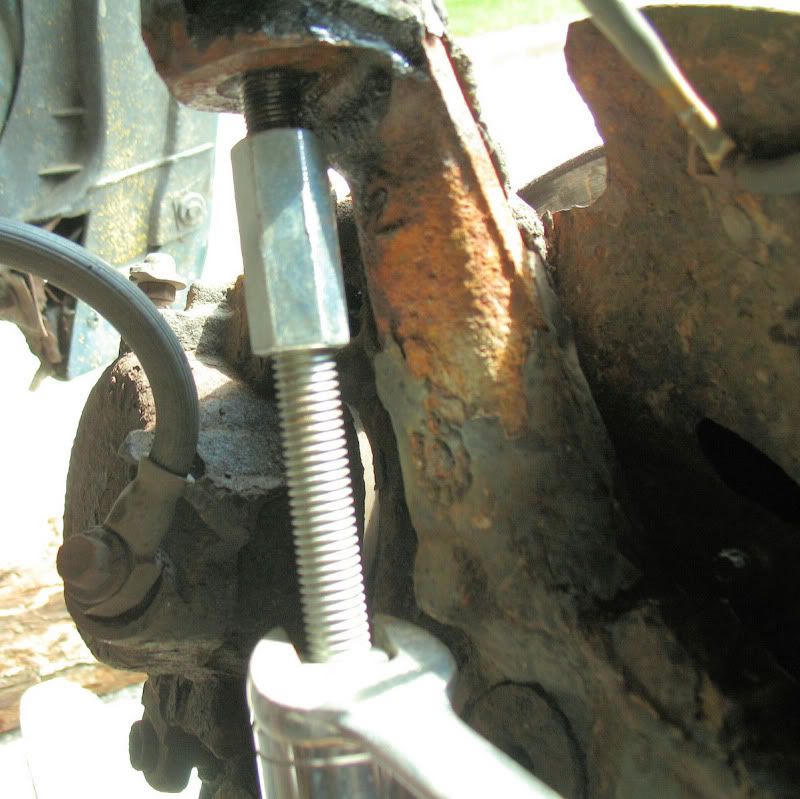
This rod was 3/8" the important thing to consider is you need a socket big enough to fit over the castle nut of the lower ball joint ( this socket is 1 1/8" ) and a rod thin enough to fit in the end of the socket. I didn't have a washer for the rod but i would recommend putting one between the nut and the socket, would make for easier turning of the nut.
Once again the mini press in action...
I changed out the serp belt today ( its almost easy without any fan shrouds

) it was def past due...You can just see a bit of the new belt to the left above my hand
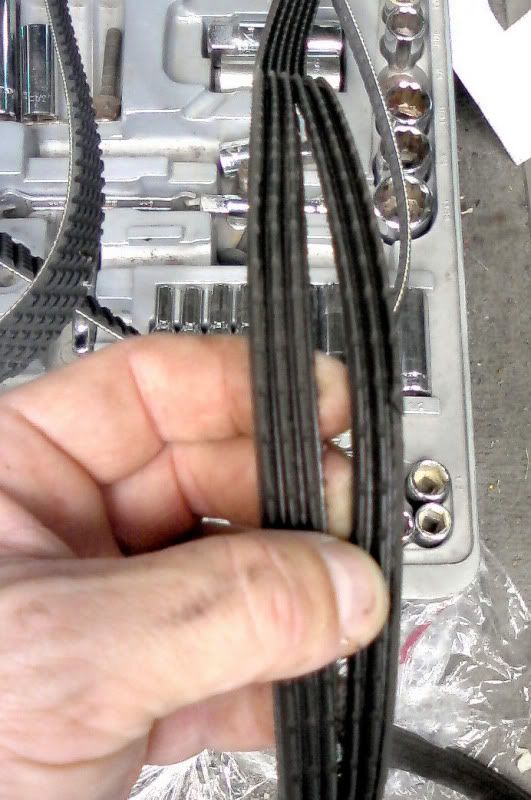
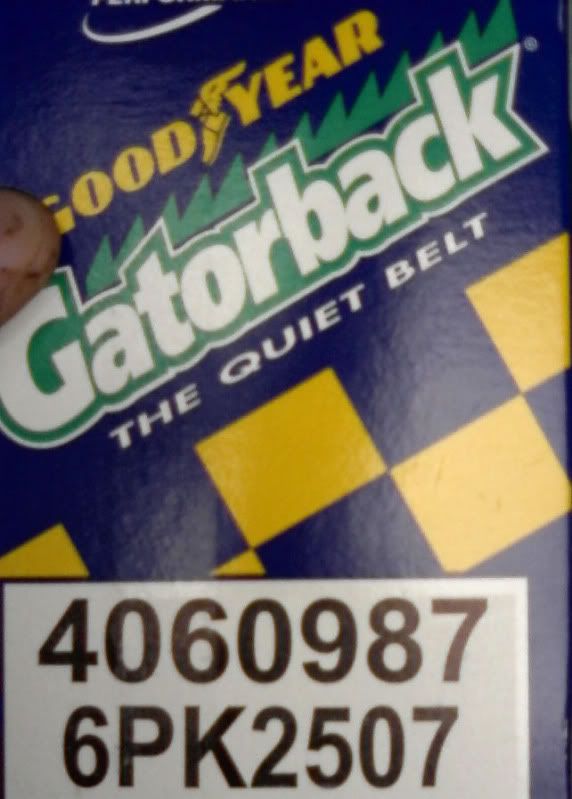
And here is the new belt I went with, in case anyone is thinking of replacing theirs anytime soon...
