OK, let's get back to the interior.
Here is what the floor looked like after the cuts were made. Notice how spacious it seems...
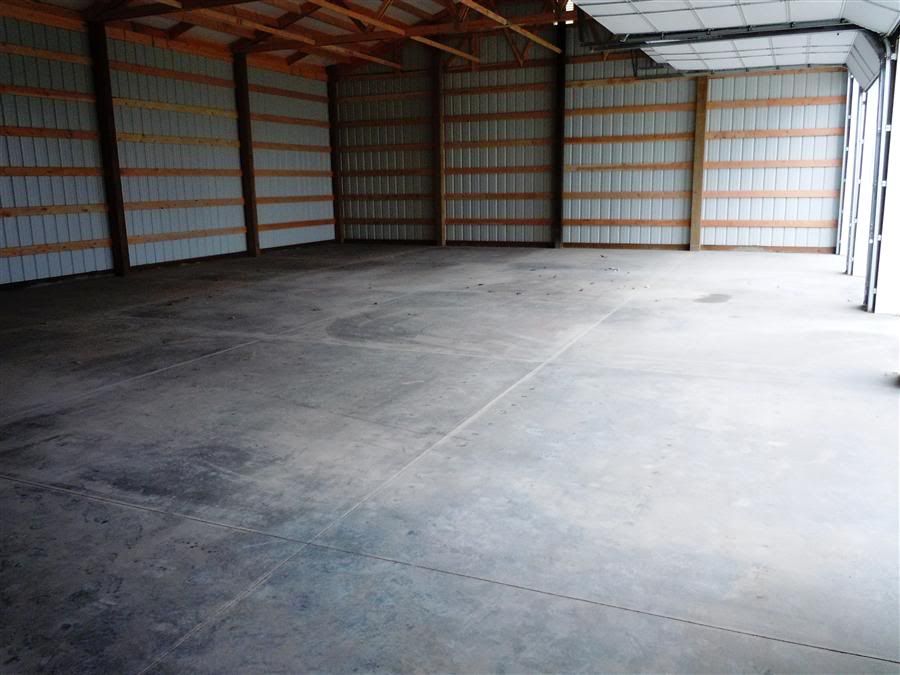
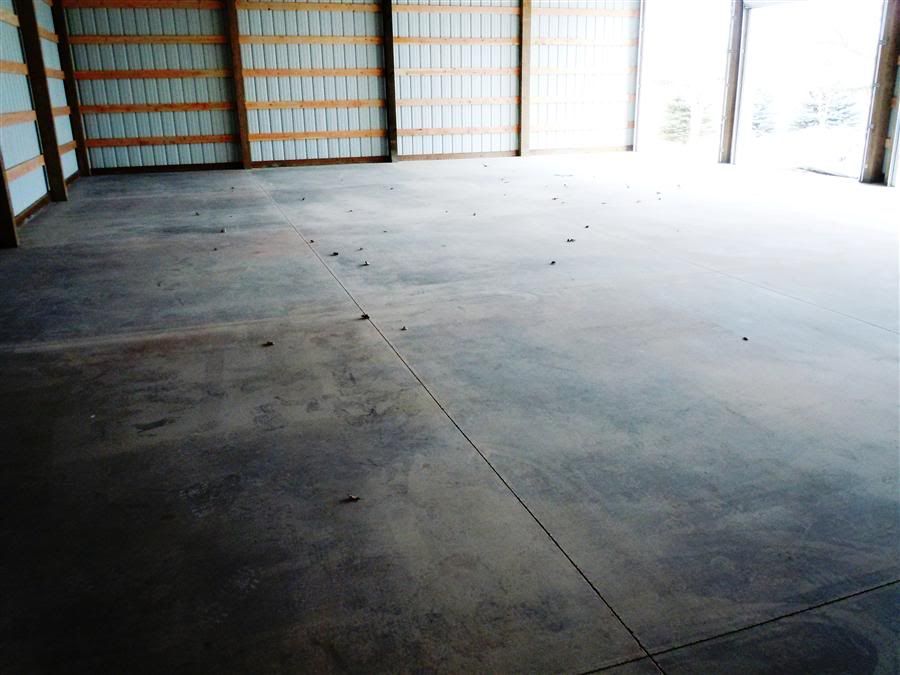
While I was initially not happy with my floor, and only time will tell how it holds up, so far all seems well. I occasionally find a new blemish, or area less than perfect, but overall I'm satisfied.
I quickly started moving stuff in as soon as the floor was strong enough. Not really in an organized way though, but to just get it in.
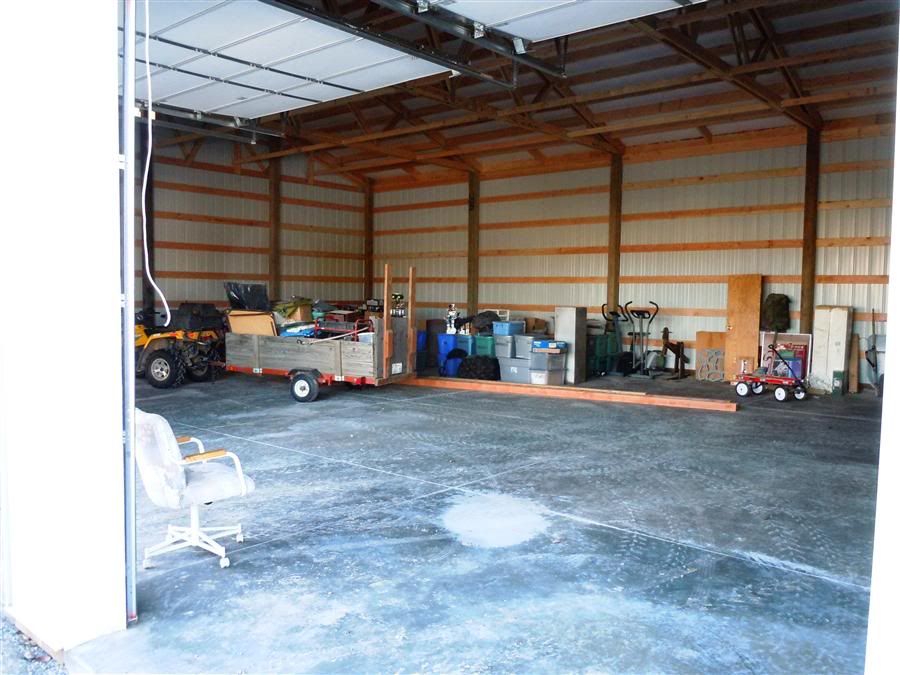
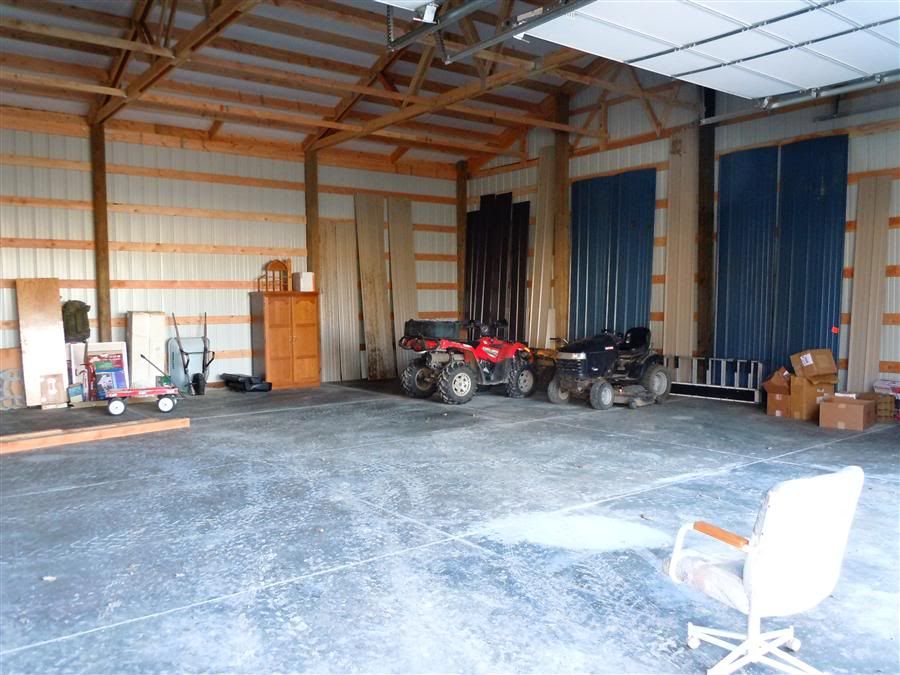
Storage is key!
And at our house, life revolves around plastic storage tubs. We've got a lot of 'em!
So I have figured a way to build reasonably cheap shelving to accomdate all of our tubs.
Each unit takes seven 2x6s, two sheets of plywood, and handfulls of both 1 1/4" and 3" exterior screws. The 2x6s are ripped to more like a 2x3. The plwood is cut down the middle making two 2' (approx) wide sheets.
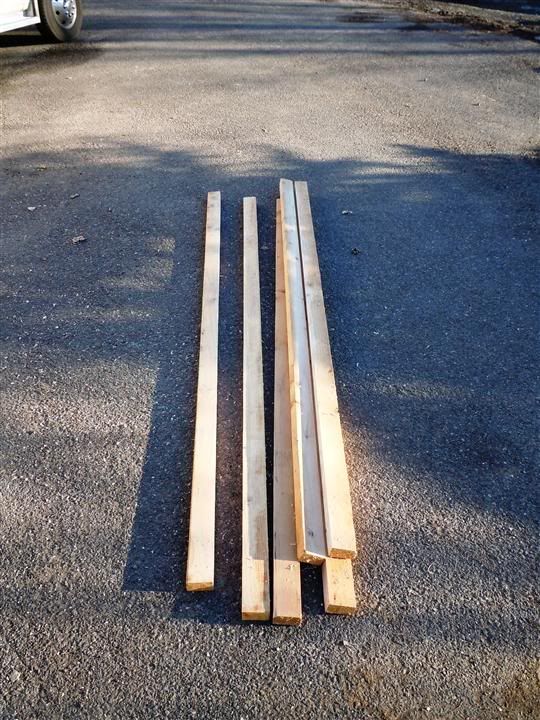
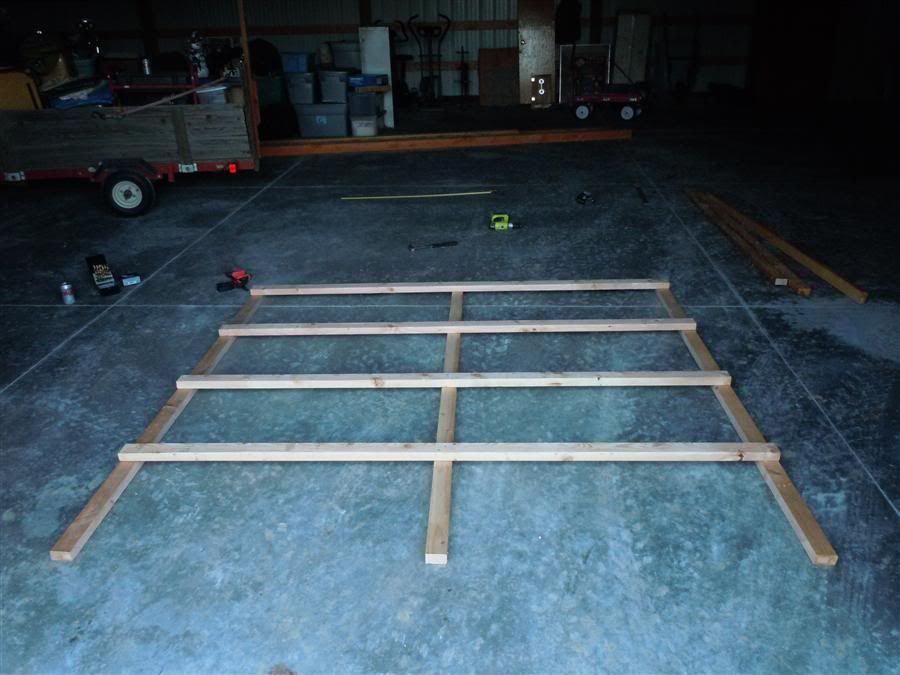
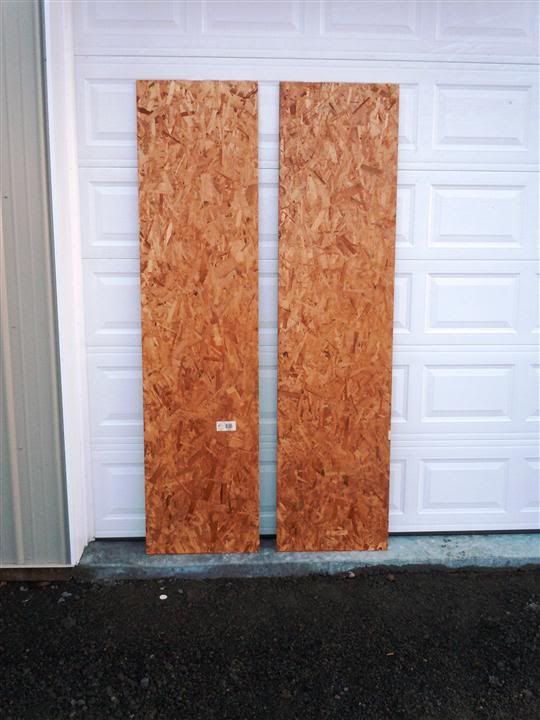
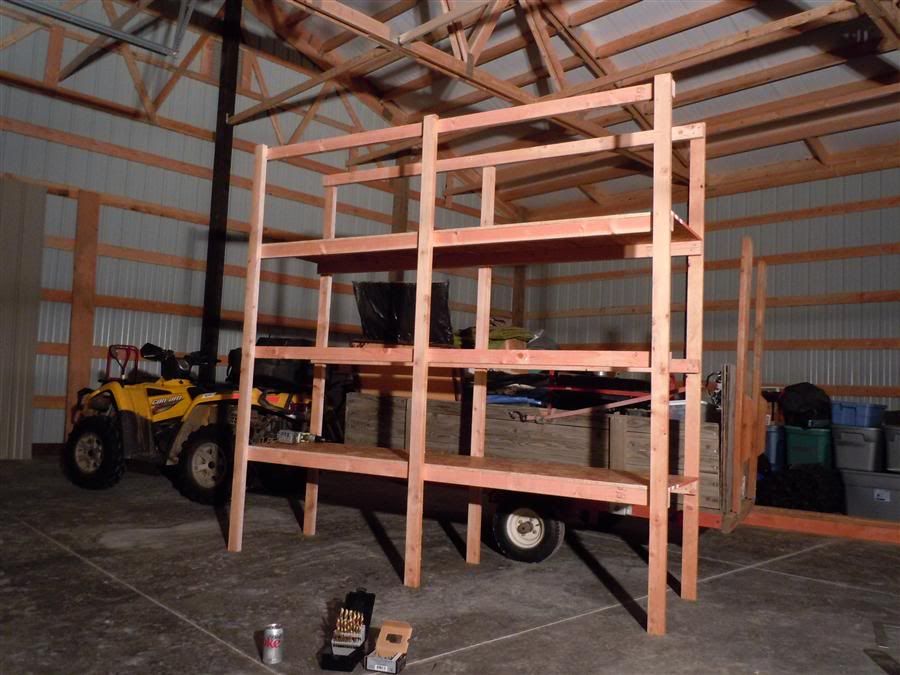
Here is the first one located in place...
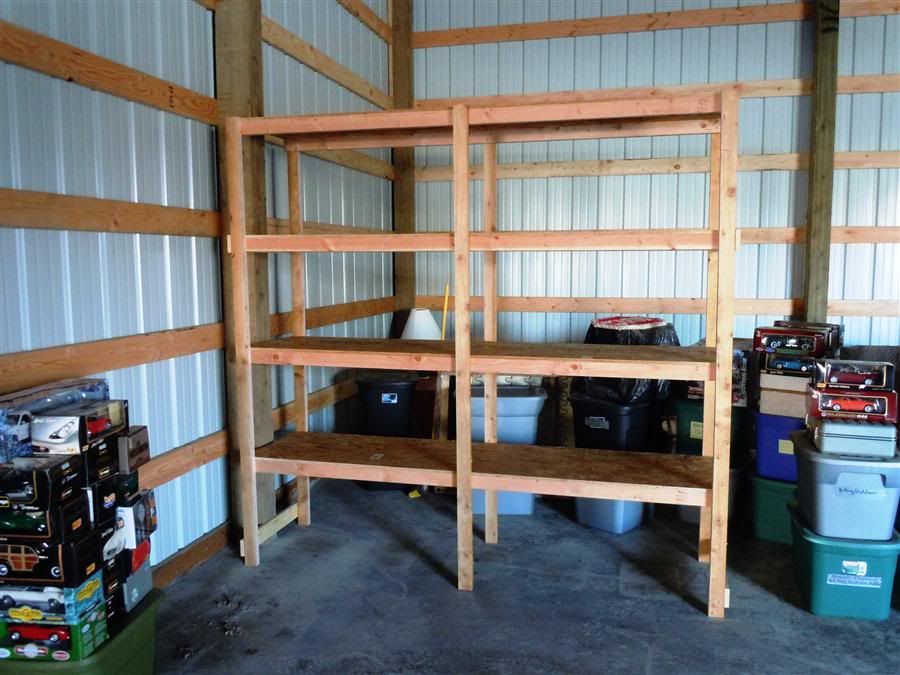
And loaded up.
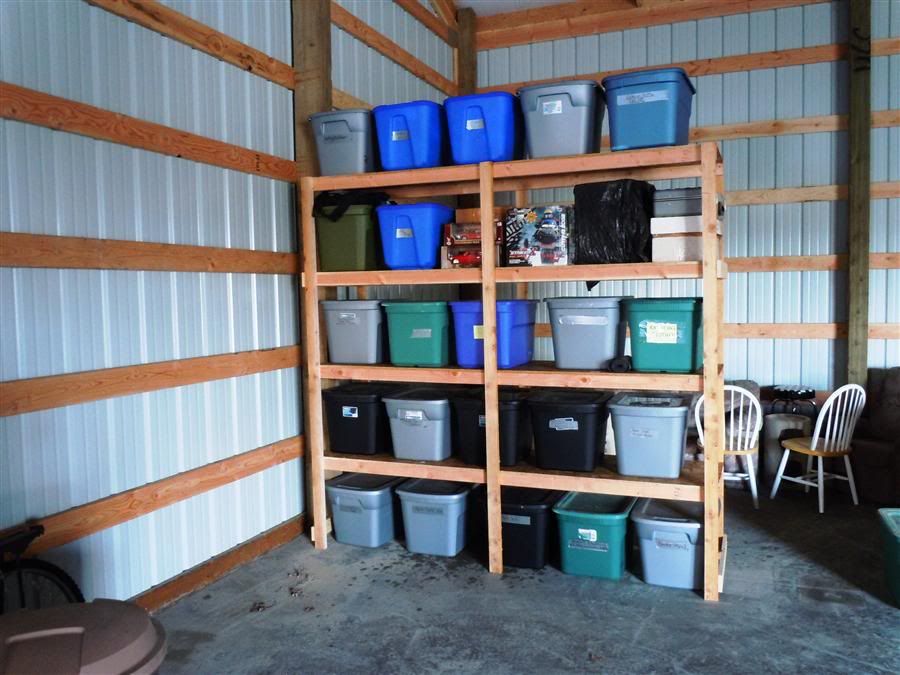
Here is how it looks today with three of them running east to west, and then one running along the wall to the north.
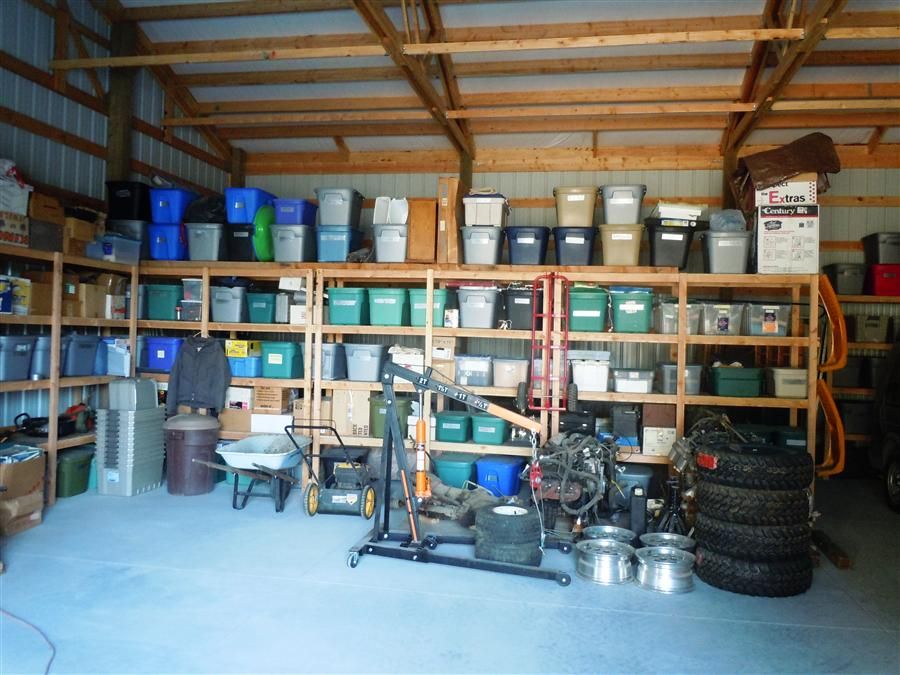
You'll notice the ones running east/west are not up against the back wall. They are actually about 10' from the back wall. I told Ryan she could use this area and it currently holds some old furniture we finally got around to upgrading last winter. (There are also a couple of display cases... stay tuned for my plans with these!) Eventually I plan on doing something with this area... I'm kind of thinking an elevated office with storage underneath.
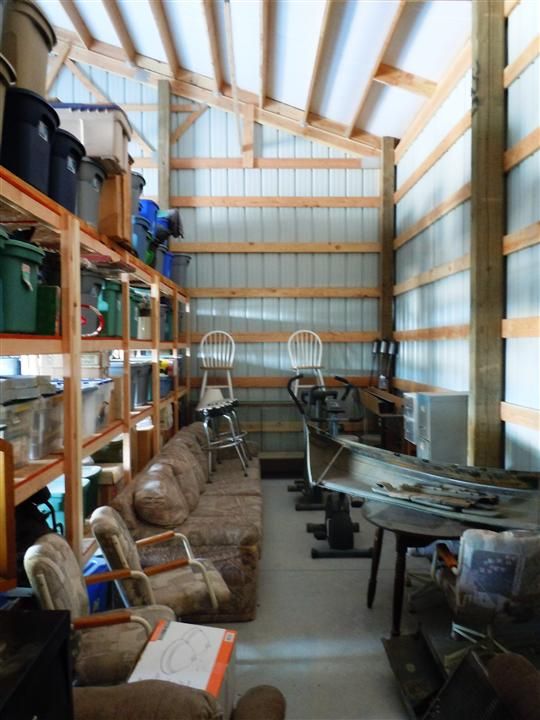
I've since built two more of the racks for plastic tubs. One was sized for smaller tubs (picture to follow) and the other is clear back against the east/west wall. I have materials for another which will also go against the east/west wall.
I'm not putting up these pictures/projects in order, as this next one I just completed about two weeks ago. I'm doing more work in the shop now, but all my tools were still in my small garage. I was getting tired of making so many trips back and forth, so decided to move my hand tools over to the shop. Of course I needed a place to put them...
This is the wall between the walk-thru door and the first garage door. It's just under 8' wide.
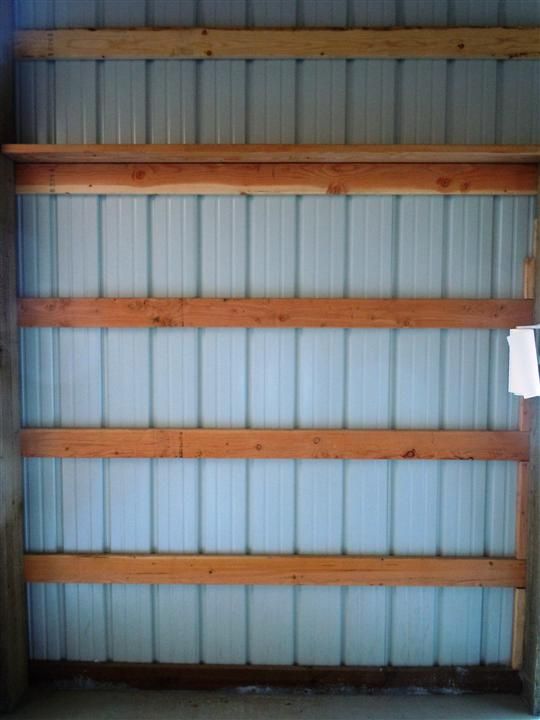
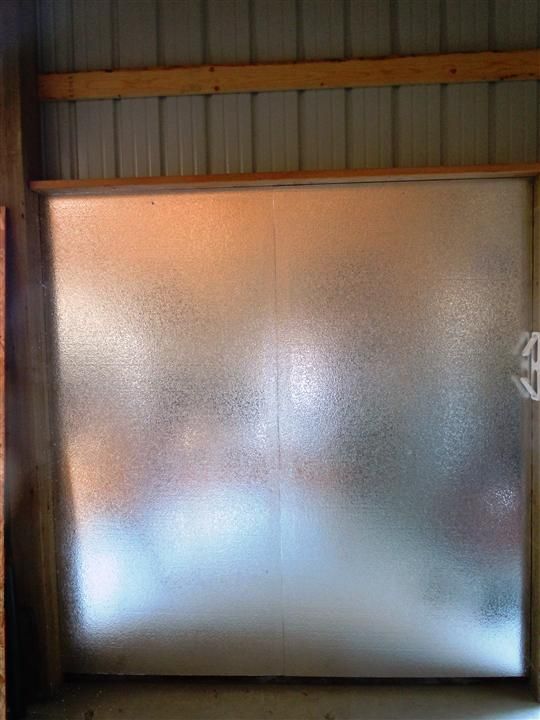
While a long-term goal is to inslulate the entire shop, I don't expect it to come quickly. I also don't expect it to ever be as tight or as warm as a house. I decided 1 1/2" rigid foam would be a reasonble way to go. It's easy to work with, and while not cheap, not ungodly expensive either. So two sheets of foam were nailed up.
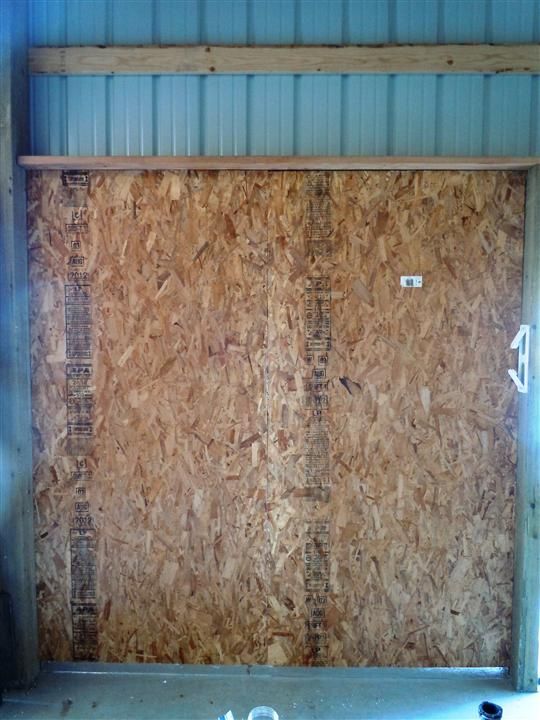
Followed by a couple of pieces of OSB screwed through the foam and into the wall framing.
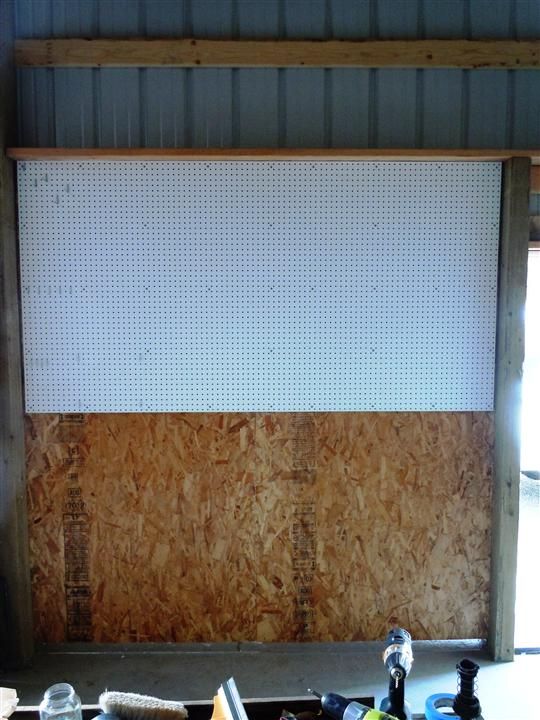
Next up was a sheet of white pegboard. (I usually use the brown stuff, but splurged this time.)
And here it is loaded with tools.
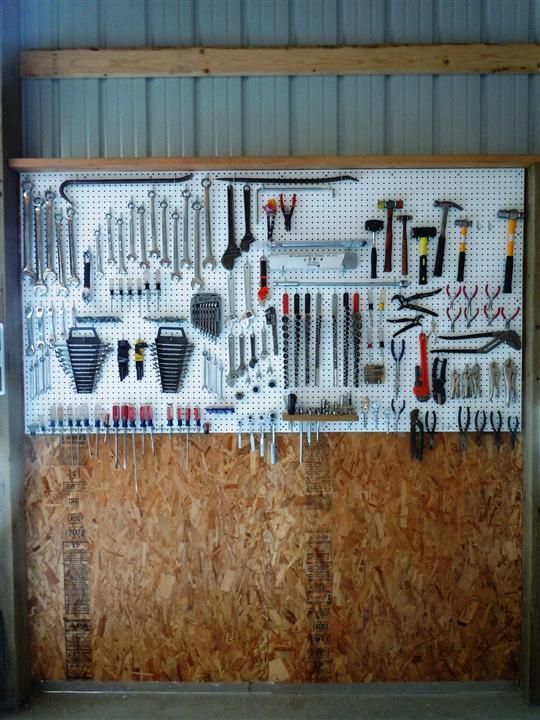
Here is how it looks today. I will build a workbench along this wall and the table will meet the burn pile eventually.
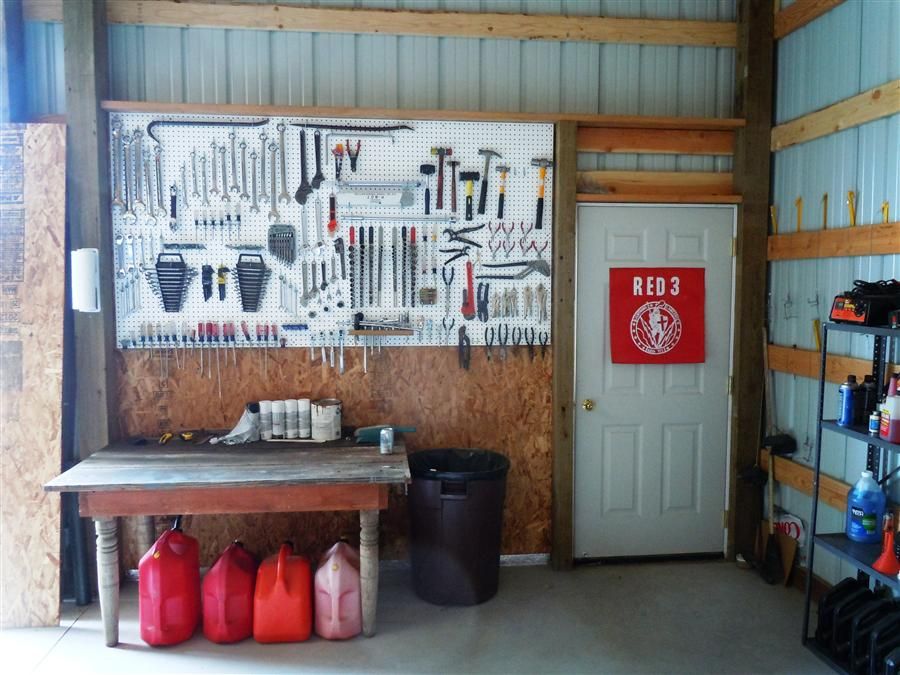
The one thing I didn't do was prep for electricity on this wall. I'm not going to do any more wall work without running some wires. I think I can fish wires down from the top right now for this area, and the plan is to have an outlet on either side of this wall.

