Page 2 of 9
Re: Project Astrolade
Posted: Mon Oct 20, 2008 10:26 pm
by GEJ
Sure doesn't look like a rust free van like that came out of NYS.Where he get that one??.
Re: Project Astrolade
Posted: Tue Oct 21, 2008 6:15 am
by crash
very cool. do you know if the escalade front end is a kit or did he buy all the pieces separately?
Re: Project Astrolade
Posted: Tue Oct 21, 2008 8:57 am
by Mcfly Minis
crash wrote:very cool. do you know if the escalade front end is a kit or did he buy all the pieces separately?
He bought the pieces separately. I will have to remove sections of the core support, modify the fenders to match the headlights, make mounting brackets for the grill, and headlights. Along with sectioning the bumper in 3 places to correct the width and depth. I will be taking/posting pictures of the whole build for those guys who are interested.
Re: Project Astrolade
Posted: Tue Oct 21, 2008 8:58 am
by Mcfly Minis
GEJ wrote:Sure doesn't look like a rust free van like that came out of NYS.Where he get that one??.
It's from Newark, it was his grandmothers and wasn't driven much. It's very clean for all the salt they use around here.
Re: Project Astrolade
Posted: Wed Oct 22, 2008 2:50 am
by GEJ
Mcfly Minis wrote:GEJ wrote:Sure doesn't look like a rust free van like that came out of NYS.Where he get that one??.
It's from Newark, it was his grandmothers and wasn't driven much. It's very clean for all the salt they use around here.
He might not want to show it to grand mom after your done with it.She might it back.

Re: Project Astrolade
Posted: Wed Oct 22, 2008 4:18 am
by nitropyro
looks real good man! nice little setup you have going
Danny
Re: Project Astrolade
Posted: Fri Oct 24, 2008 6:22 pm
by d3athm3talh3ad
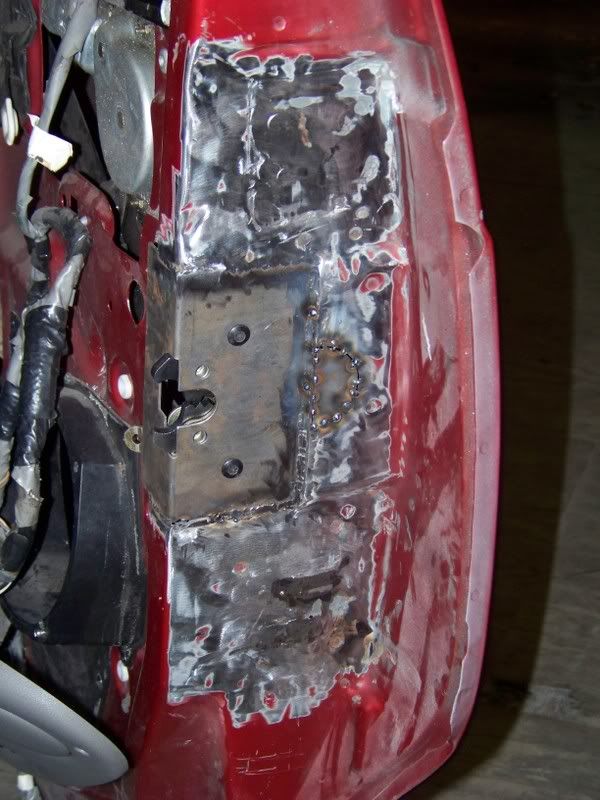
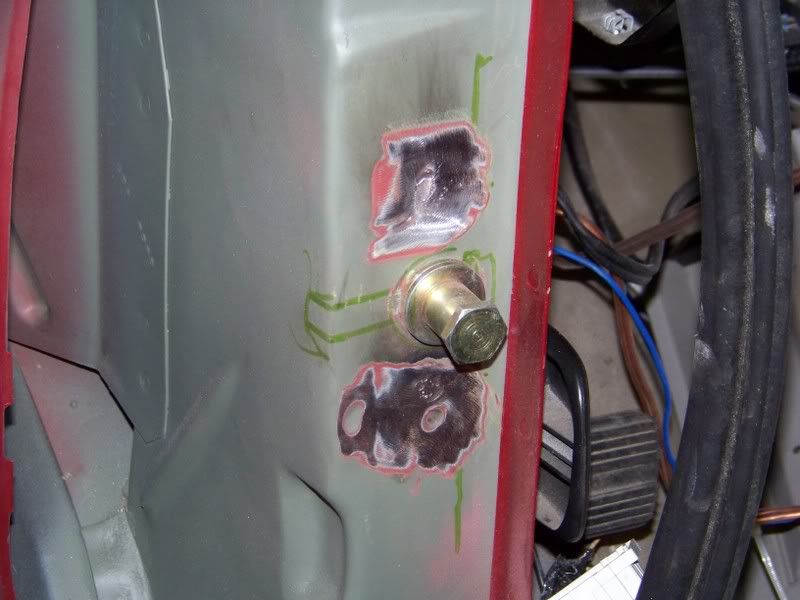
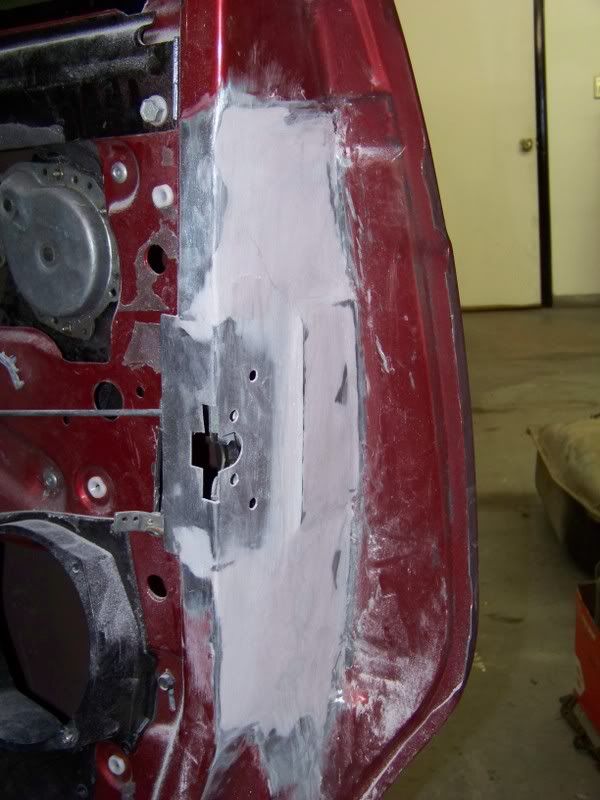
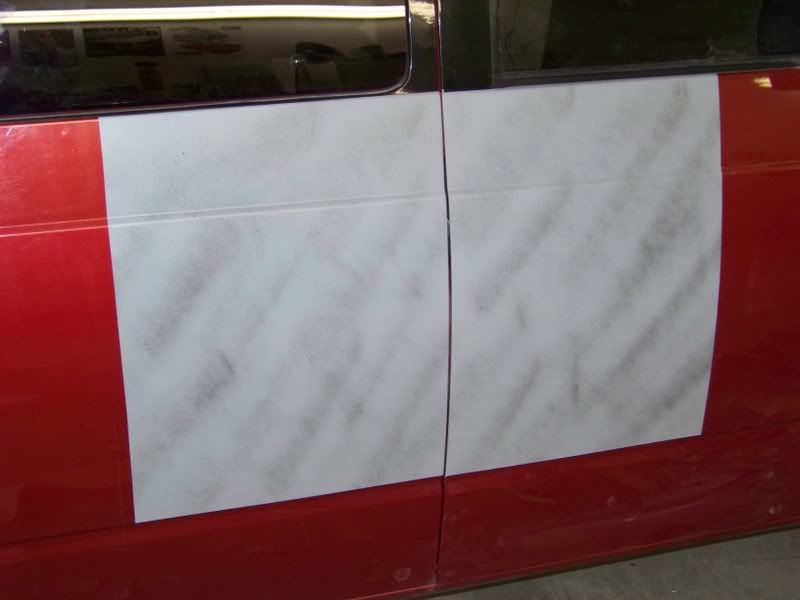
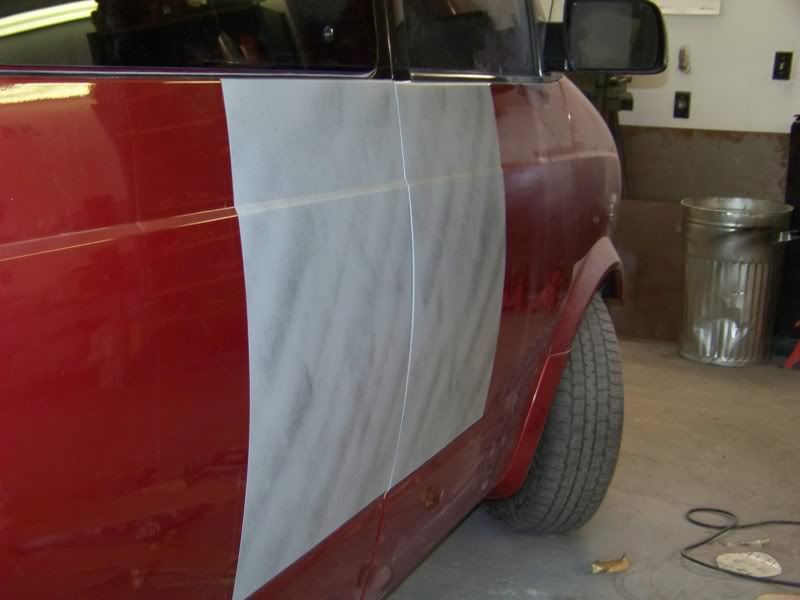
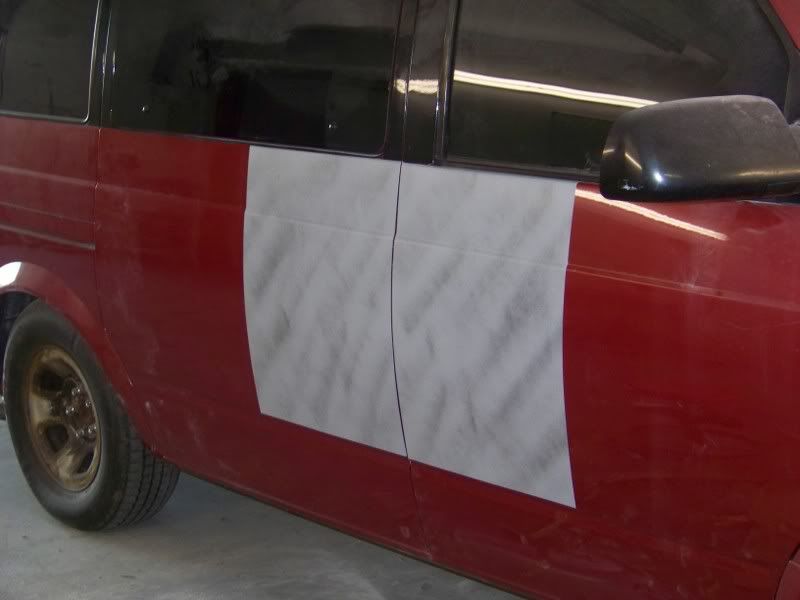
very nice work!! i didn't think the b-pillar on the passenger side would be strong enough for suicide doors, i guess i was wrong!! i'll definitely be watching all the updates on this one...keep up the good work...

did the customer say what color they were going to go with when all is done?
Re: Project Astrolade
Posted: Tue Oct 28, 2008 8:20 pm
by Mcfly Minis
Re: Project Astrolade
Posted: Thu Nov 06, 2008 3:40 pm
by Mcfly Minis
Re: Project Astrolade
Posted: Thu Nov 06, 2008 5:26 pm
by Rebel
Very nice work,,keep posting those pics.
Re: Project Astrolade
Posted: Thu Nov 06, 2008 8:24 pm
by SoCalli V8
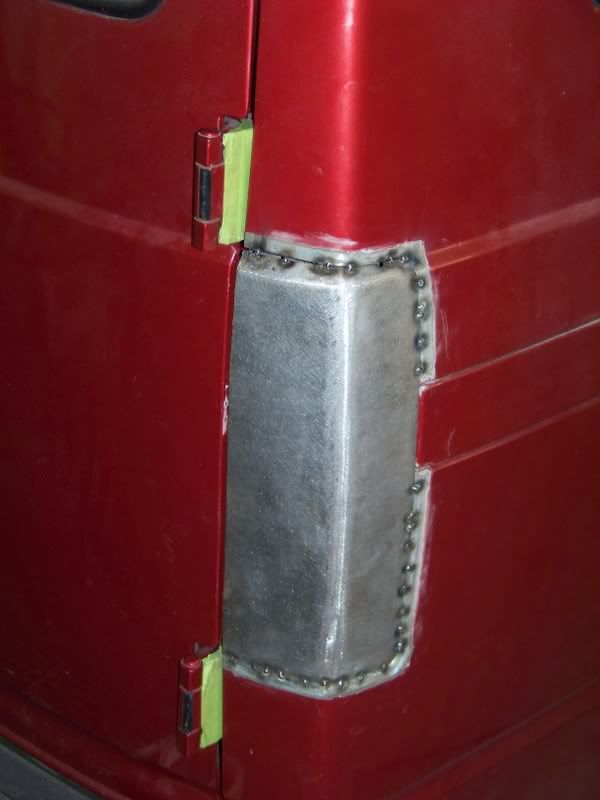
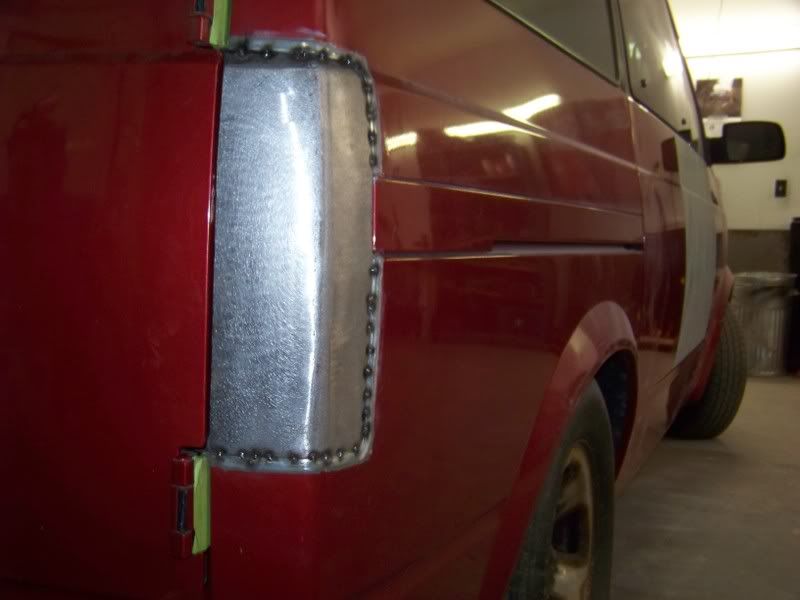
I made my own fillers on an English wheel.
Are you gonna mount the Cadditails high or low?
Re: Project Astrolade
Posted: Fri Nov 07, 2008 6:10 am
by Mcfly Minis
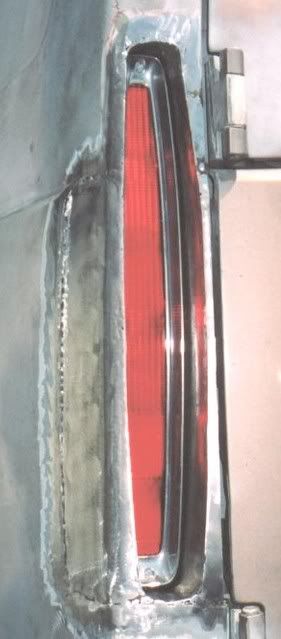
SoCalli V8 wrote:I made my own fillers on an English wheel.
Are you gonna mount the Cadditails high or low?
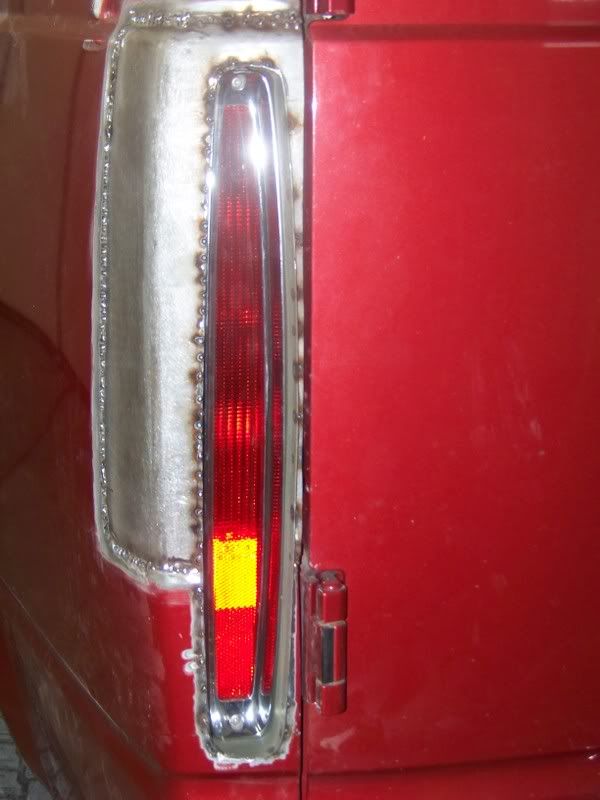
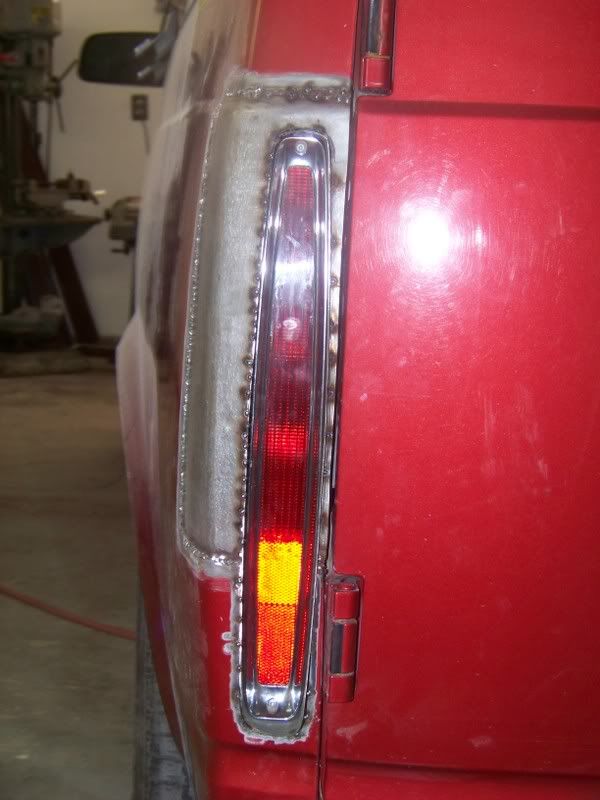
They are gonna be mounted lower than those. I plan on putting the caddi tails inbetween the upper and lower body lines.
Re: Project Astrolade
Posted: Sun Nov 09, 2008 2:01 pm
by Mcfly Minis
Re: Project Astrolade
Posted: Sun Nov 09, 2008 2:20 pm
by Rebel
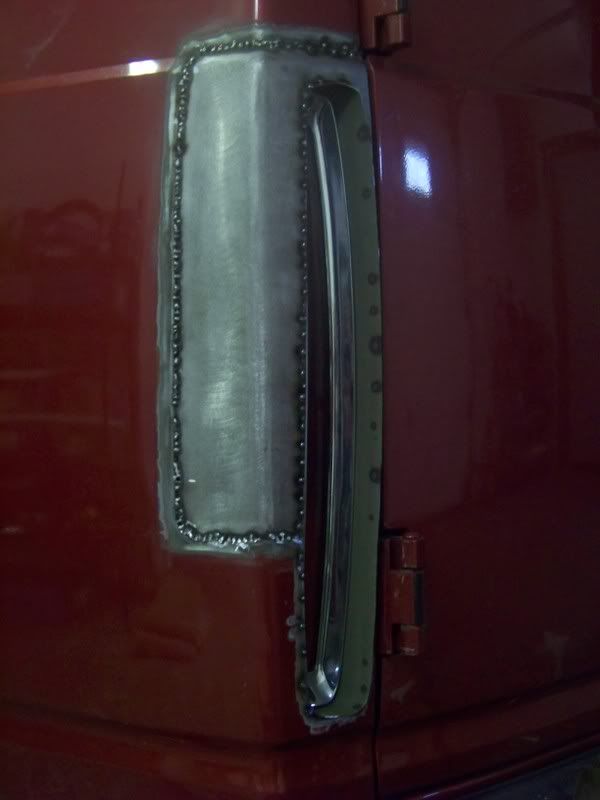
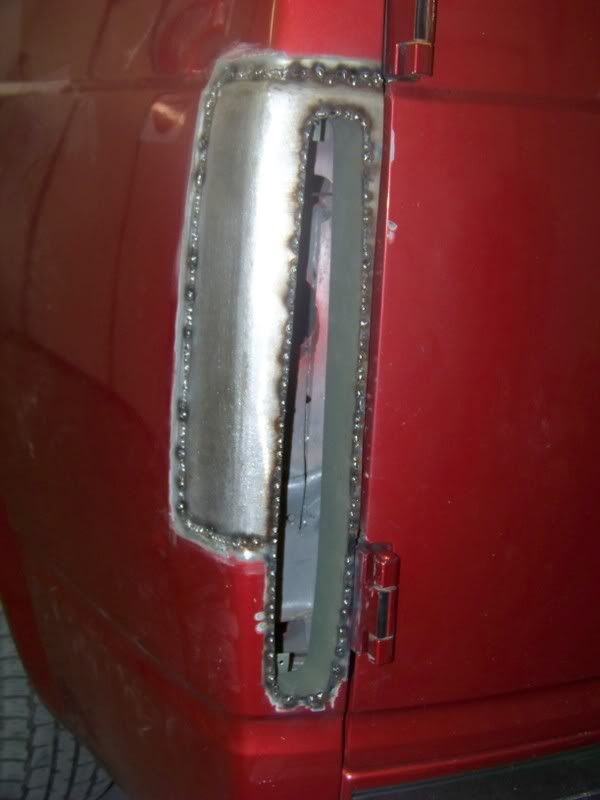
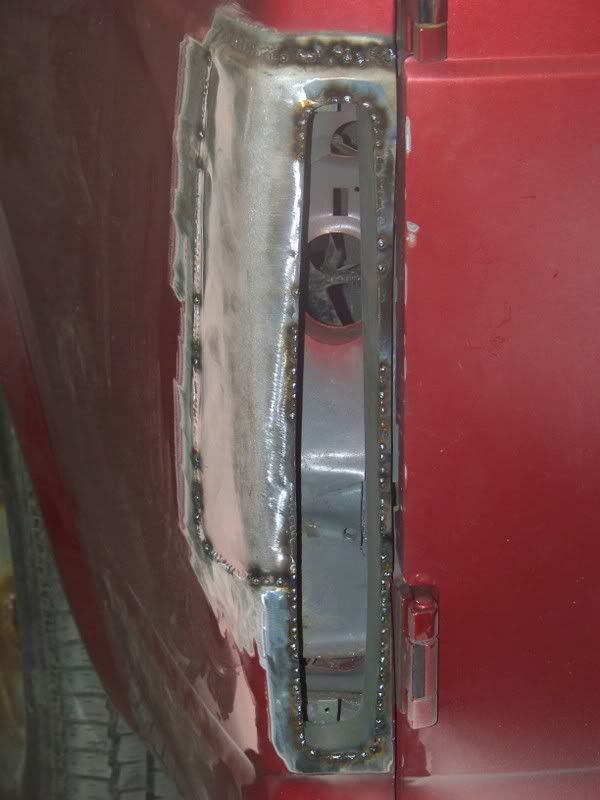
It appears your chrome bezels are as deep as mine but don't understand how you got them that deep without cutting more metal out behind the buckets to allow room for bulb sockets. I used the Astro sockets with a little cutting of the slots on Cad housing,,is that the difference ? I don't remember how large the Cad. sockets were,,guess they could have been smaller which would mean ou didn't have to cut more metal out for depth.
Very nice clean work.
Re: Project Astrolade
Posted: Sun Nov 09, 2008 2:26 pm
by Mcfly Minis
Rebel wrote:It appears your chrome bezels are as deep as mine but don't understand how you got them that deep without cutting more metal out behind the buckets to allow room for bulb sockets. I used the Astro sockets with a little cutting of the slots on Cad housing,,is that the difference ? I don't remember how large the Cad. sockets were,,guess they could have been smaller which would mean ou didn't have to cut more metal out for depth.
Very nice clean work.
I had to cut some metal out behind the buckets. I didn't have enough room at first. I cut some stuff, and used a hammer to make room.
