Page 3 of 9
Re: Project Astrolade
Posted: Sun Nov 09, 2008 2:47 pm
by mattblackratbus
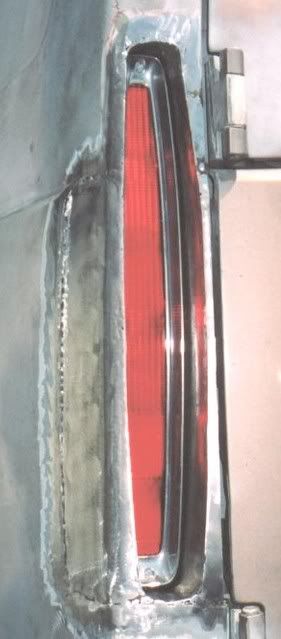
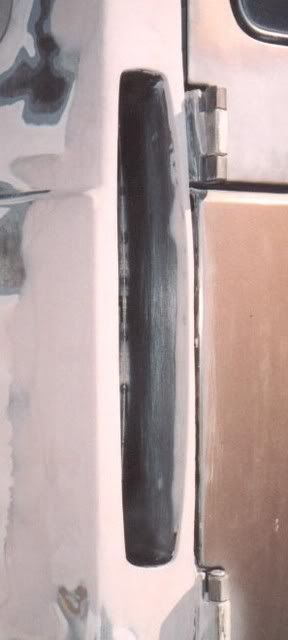
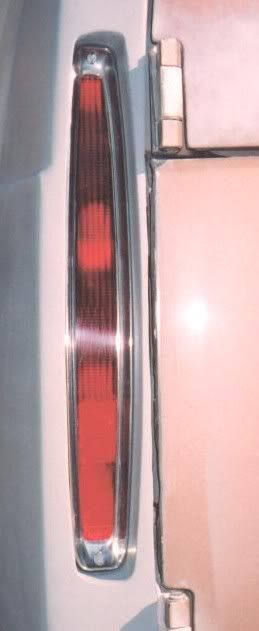
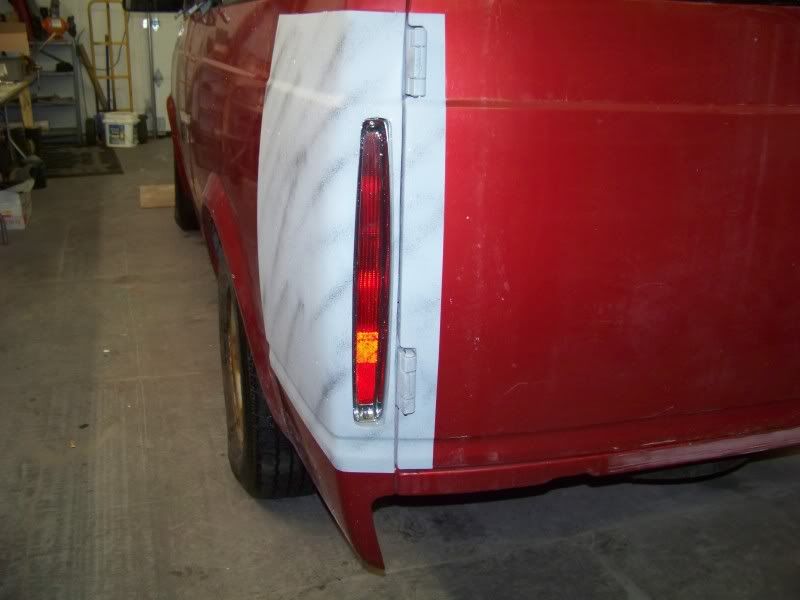
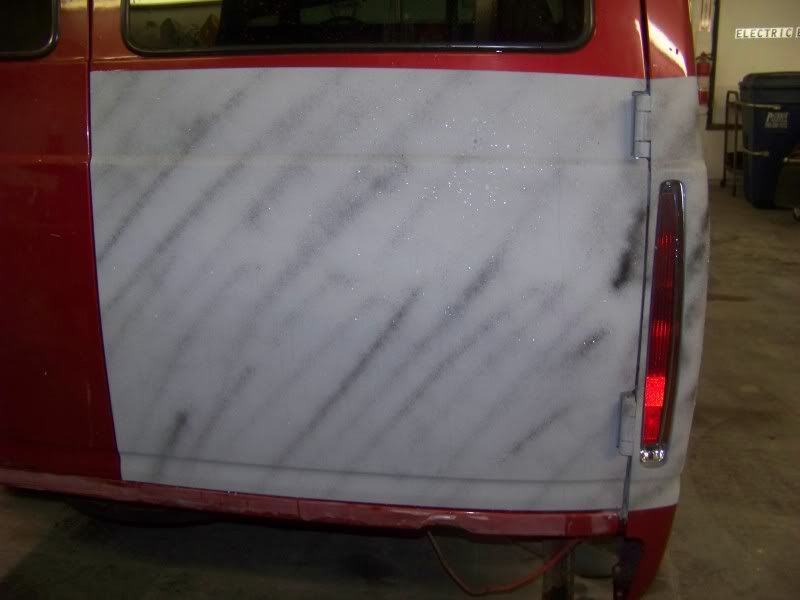
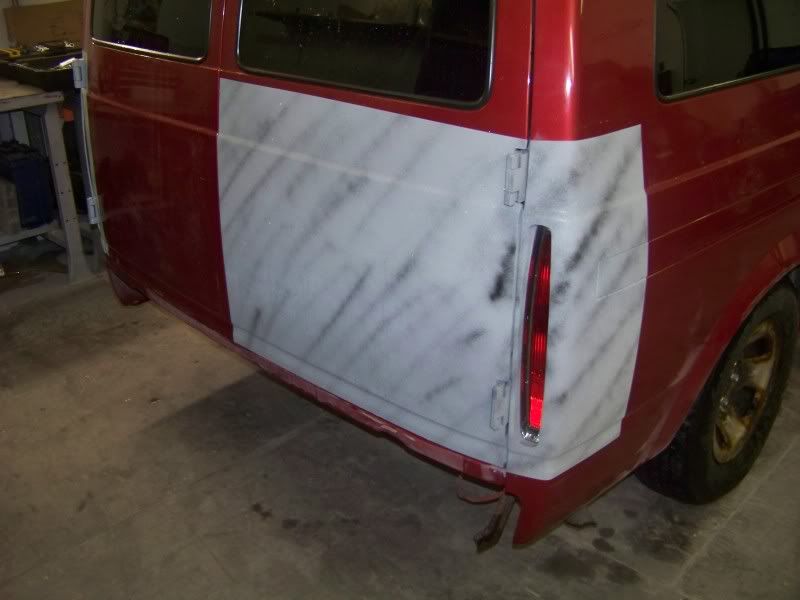
Thats tidy work, thanks for posting and keep it coming

...Johnny
Re: Project Astrolade
Posted: Sun Nov 09, 2008 9:48 pm
by Mcfly Minis
Re: Project Astrolade
Posted: Sun Nov 09, 2008 9:55 pm
by GEJ
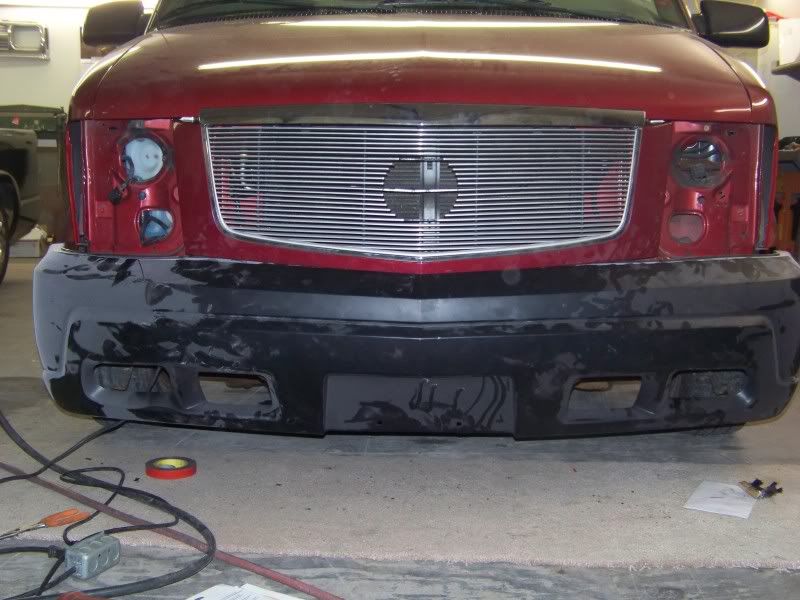
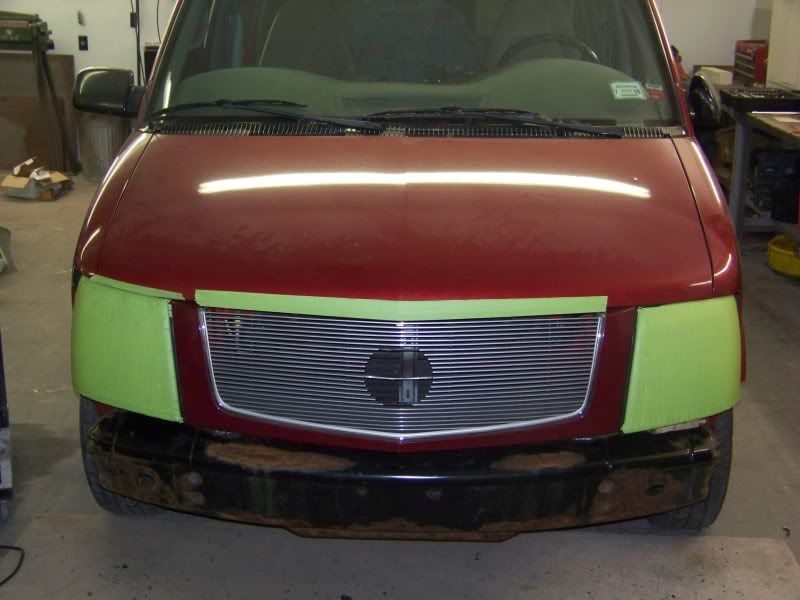
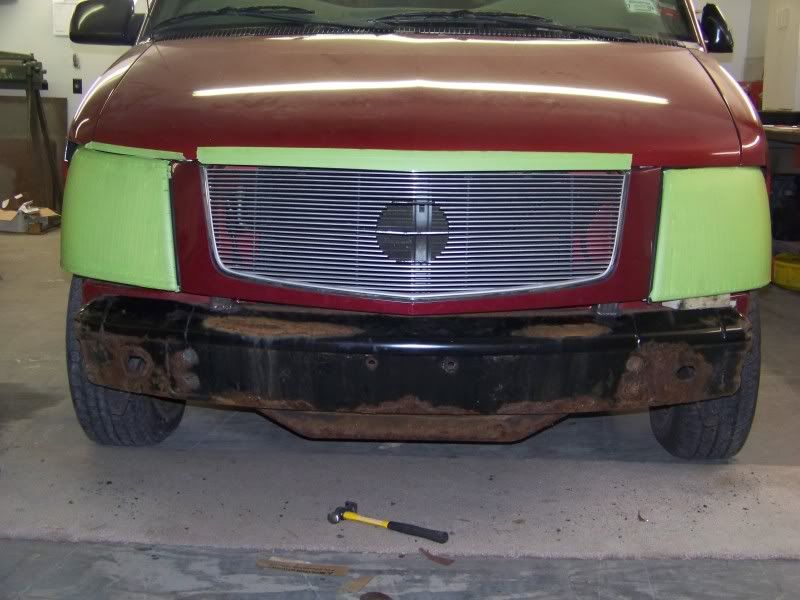
Wow Martin-just like it was made by GM.Looking good,hoping to see you soon.
Gary
Re: Project Astrolade
Posted: Mon Nov 10, 2008 10:40 pm
by SoCalli V8
Re: Project Astrolade
Posted: Wed Nov 12, 2008 7:23 pm
by Mcfly Minis
SoCalli V8 wrote:Nice step by step pictures, here`s some of mine.
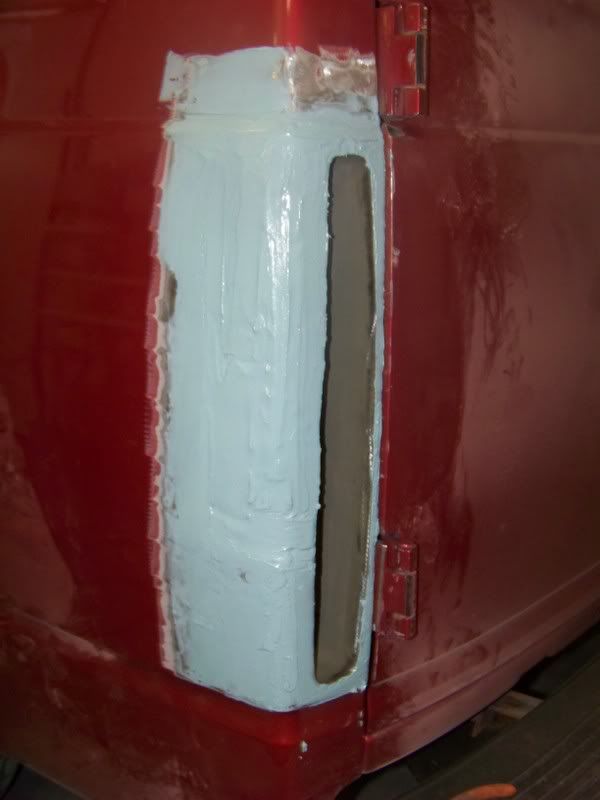
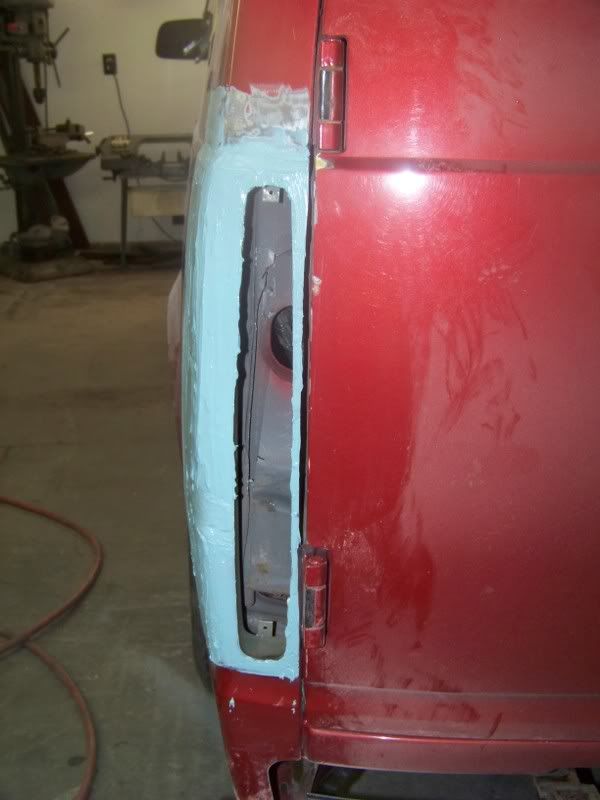
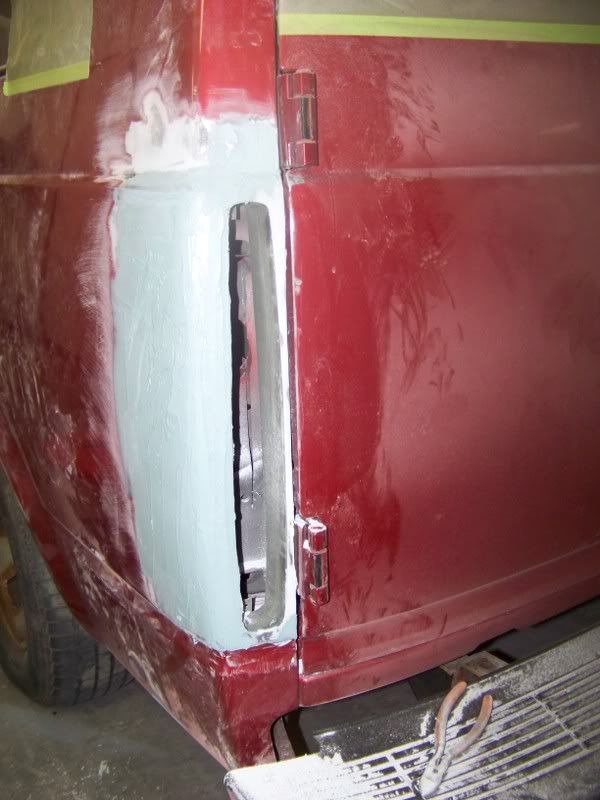
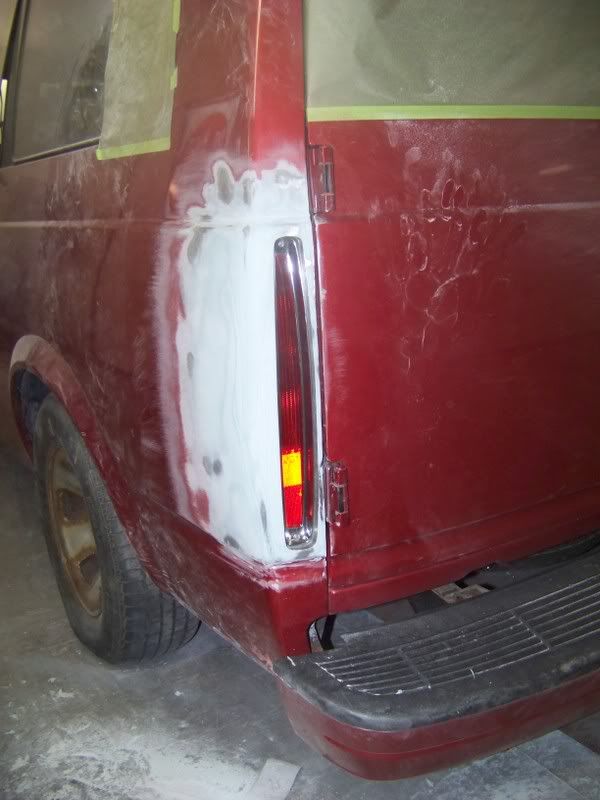
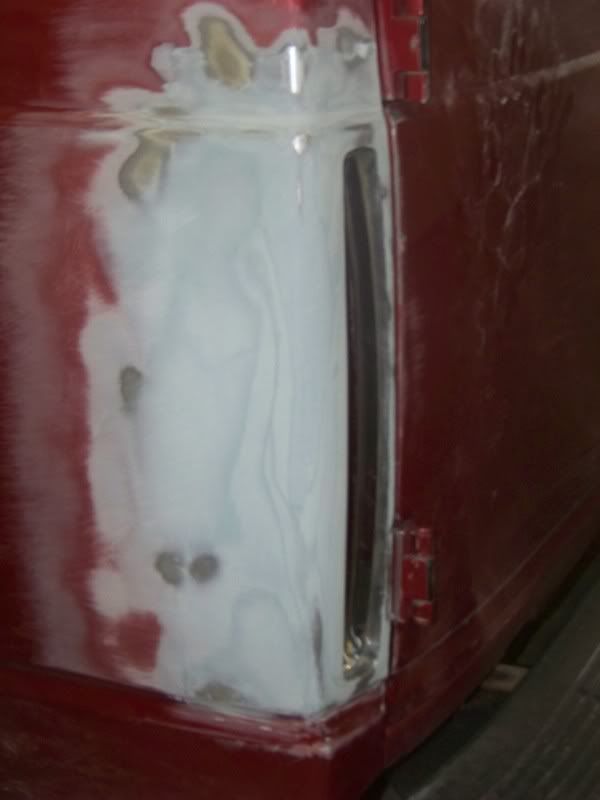
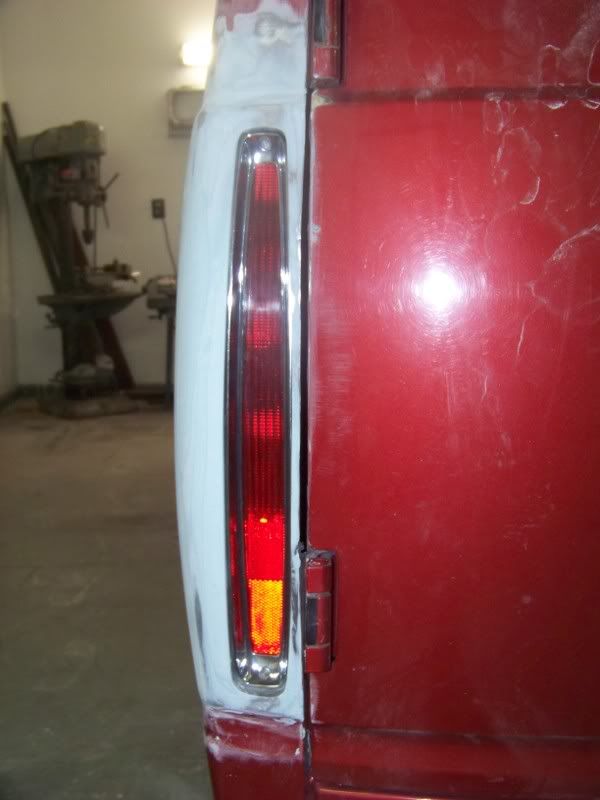
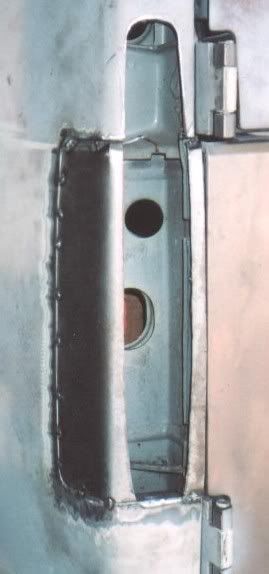
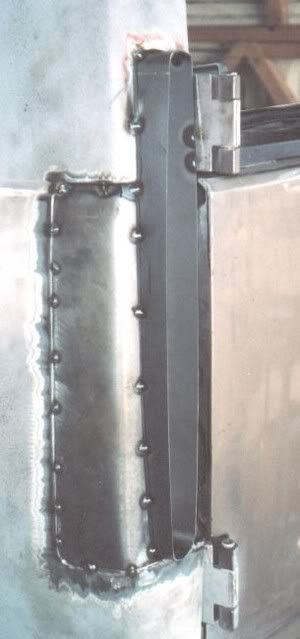
I preferred the look of my Cadditails to sit higher up, so I had lots of extra cutting to do because there is some major reinforcing behind those top door hinges.
Yeah, I found that major reinforcement. I had to deal with it a little bit, but your right, setting them lower was easier. Plus I didn't want to deal with that body line, so I stuck it in between. I like how deep yours are, I was only able to set the buckets so deep cause of the structural stuff in there.
Re: Project Astrolade
Posted: Thu Nov 13, 2008 8:55 pm
by SoCalli V8
No lie, it takes about an extra 4 hours to cut-out that extra reinforcement (using professional airtools) to beable to sink the lights deeper into the body. A Plasma cutter would certainly help, but I ain`t got that kinda ca$h......
Re: Project Astrolade
Posted: Fri Nov 14, 2008 8:02 pm
by Mcfly Minis
SoCalli V8 wrote:No lie, it takes about an extra 4 hours to cut-out that extra reinforcement (using professional airtools) to beable to sink the lights deeper into the body. A Plasma cutter would certainly help, but I ain`t got that kinda ca$h......
I had a plasma cutter when I body dropped my Sonoma, I wish it was still around. They make it much quicker.
Re: Project Astrolade
Posted: Sat Nov 15, 2008 2:26 pm
by Rebel
For future reference to those who do this mod. After clearing out some of the obsticles, you can use a 3 in. hole saw, works pretty well for the areas that need to be deeper for plug clearence.
Re: Project Astrolade
Posted: Mon Nov 17, 2008 1:44 pm
by meetthespeakers
Looking good, can't wait to see future progress. Is he getting a bodykit (sideskirts and rear bumper) on there, or at least a smooth roll pan? I assume some lowering and wheels will be in order. Looks good so far. And that's what happened to my mustang, bought it off a guy from work who wanted a bmw convertible, sold it to me for $1000, after I was done with it, he said never to bring it by his house his wife would kill him.

Re: Project Astrolade
Posted: Sat Nov 29, 2008 9:22 am
by Mcfly Minis
Re: Project Astrolade
Posted: Sat Nov 29, 2008 10:22 am
by SoCalli V8
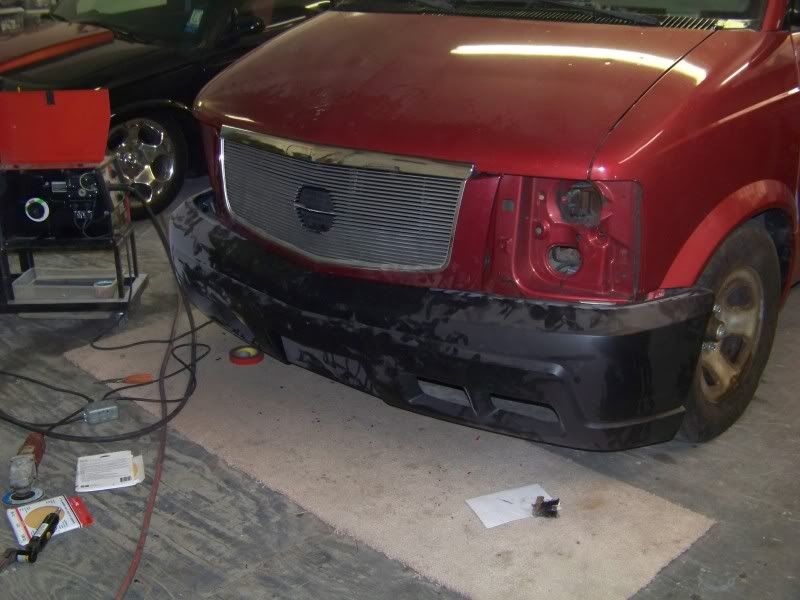
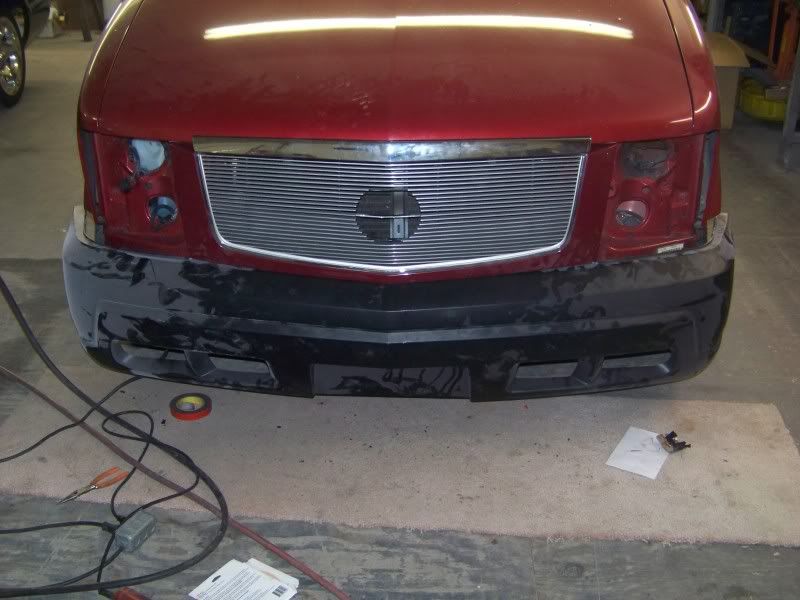
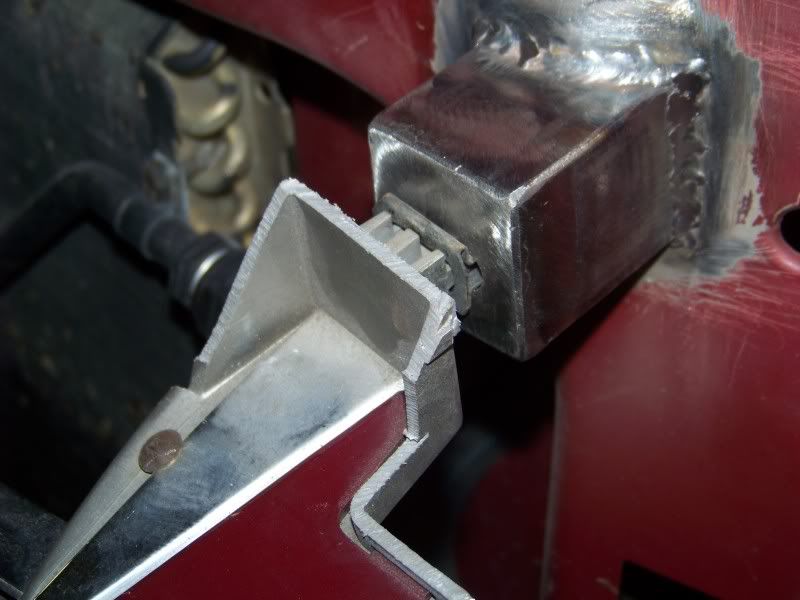
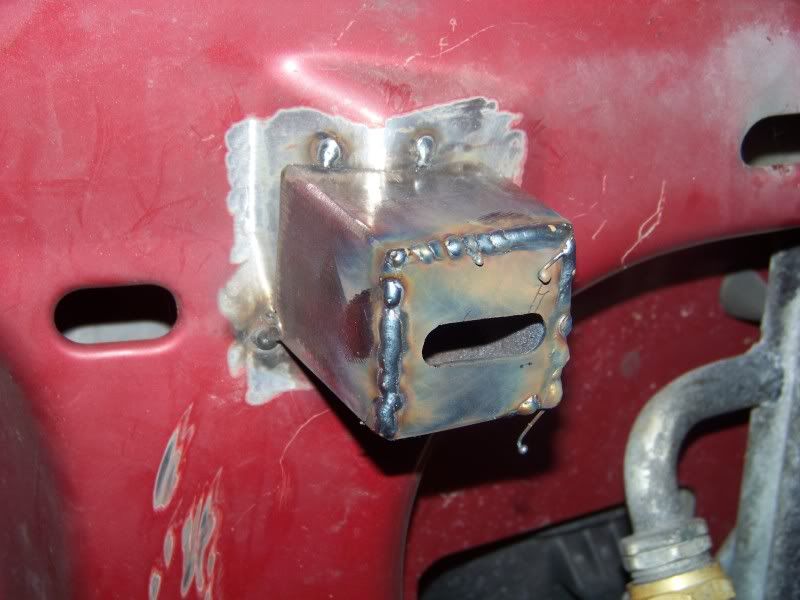
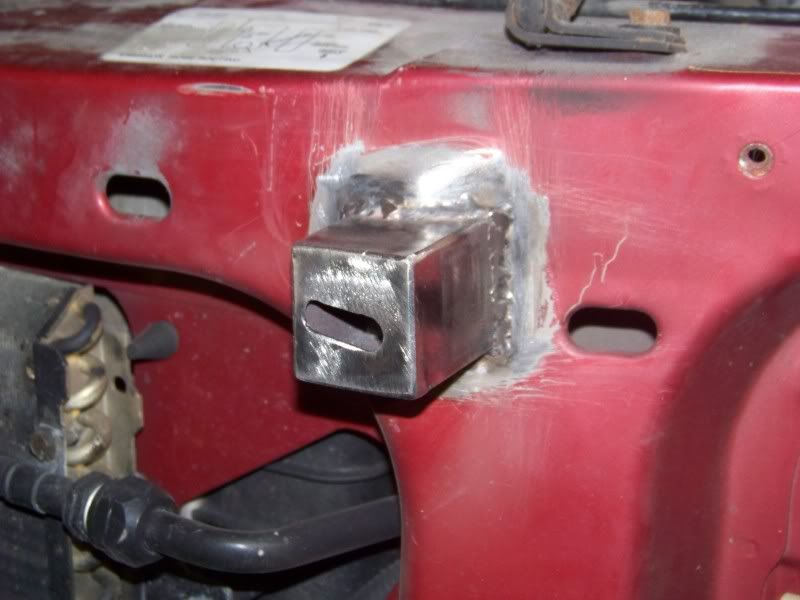
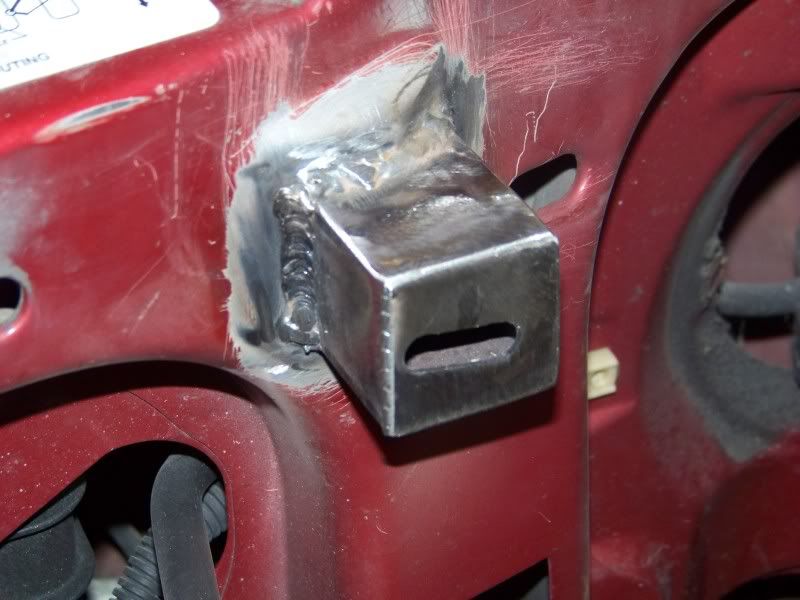
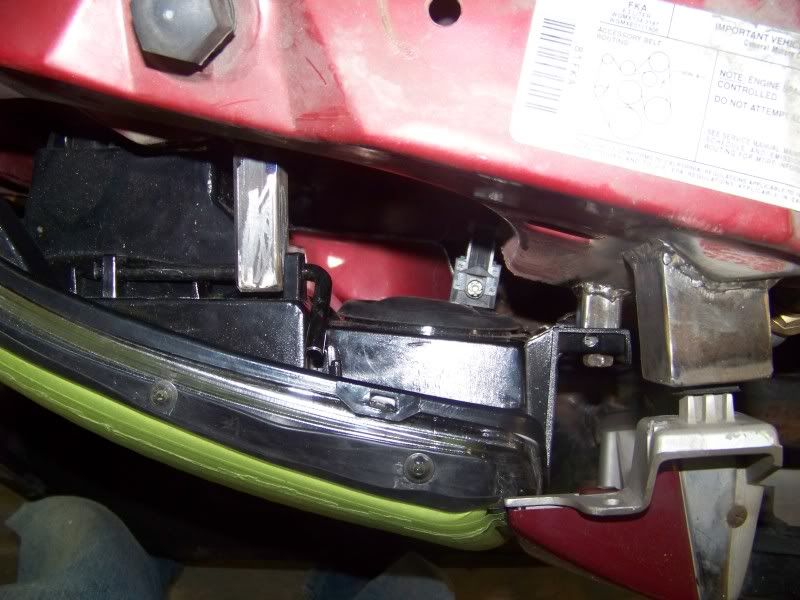
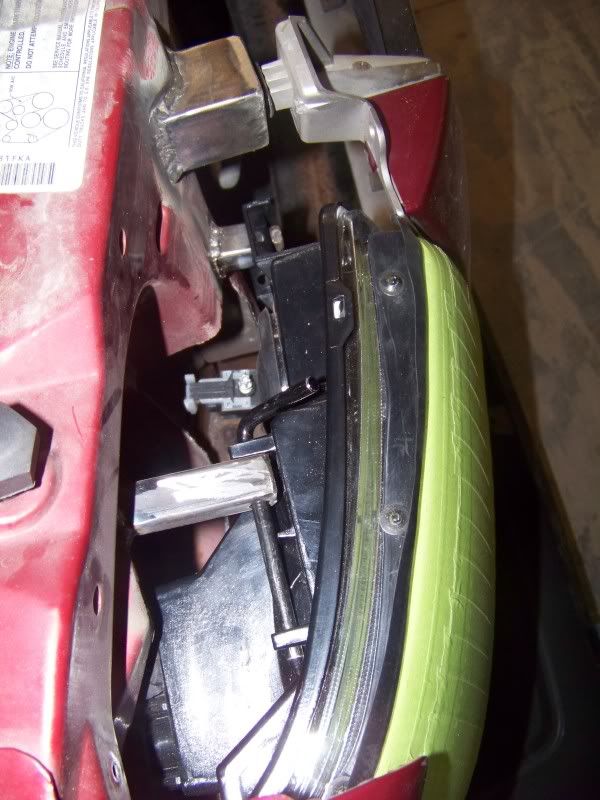
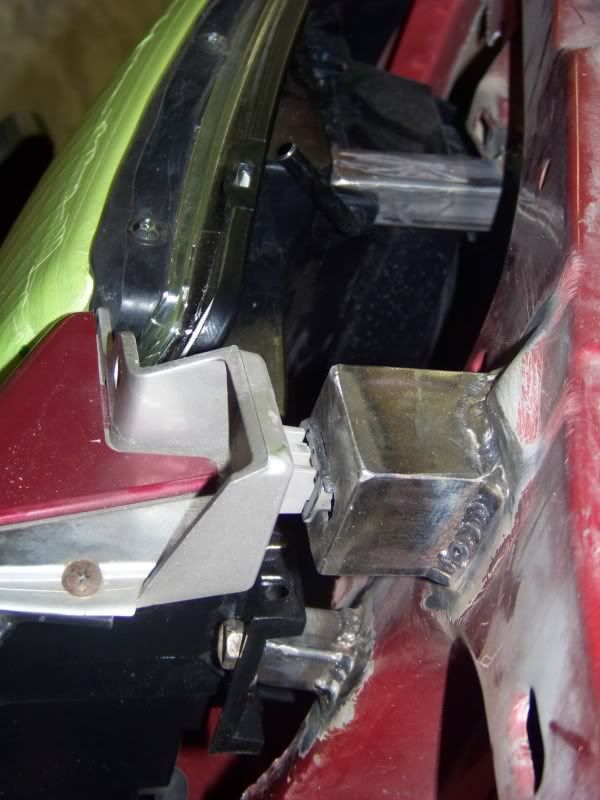
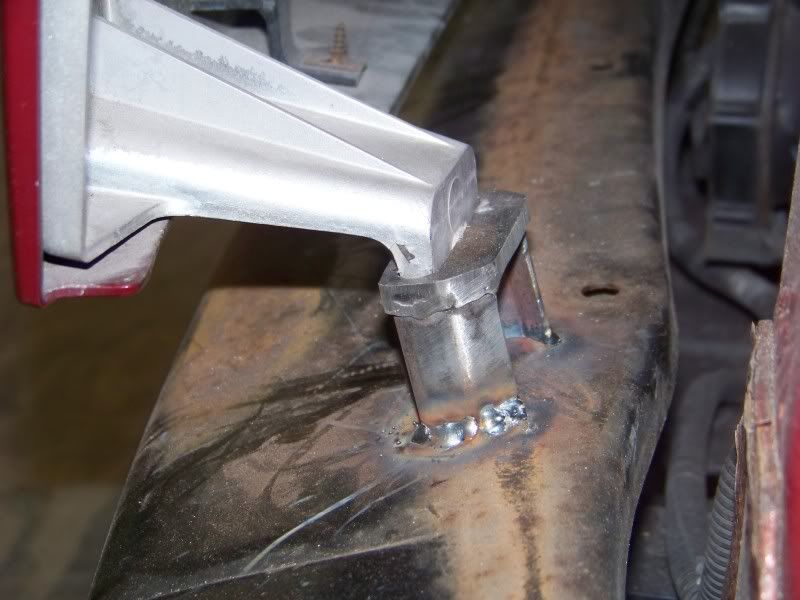
That little bracket looks pretty slick.
Re: Project Astrolade
Posted: Sat Nov 29, 2008 11:05 am
by GEJ
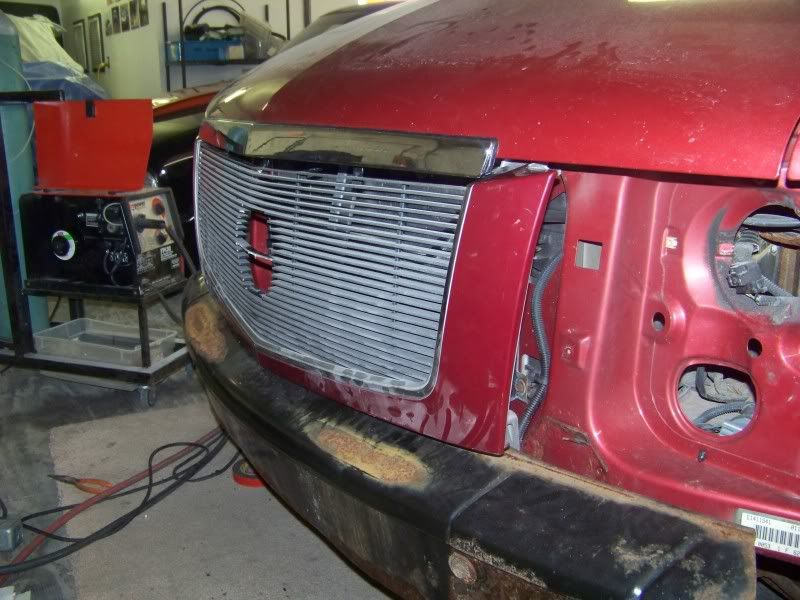
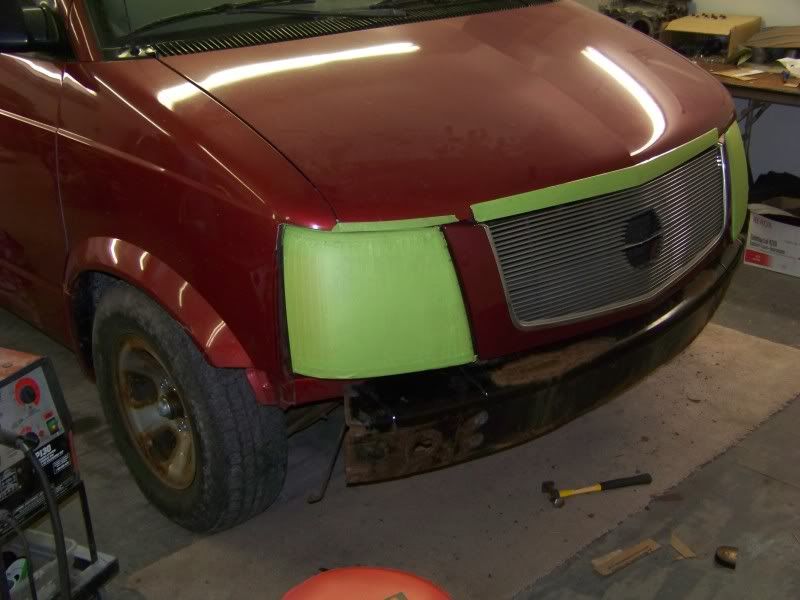
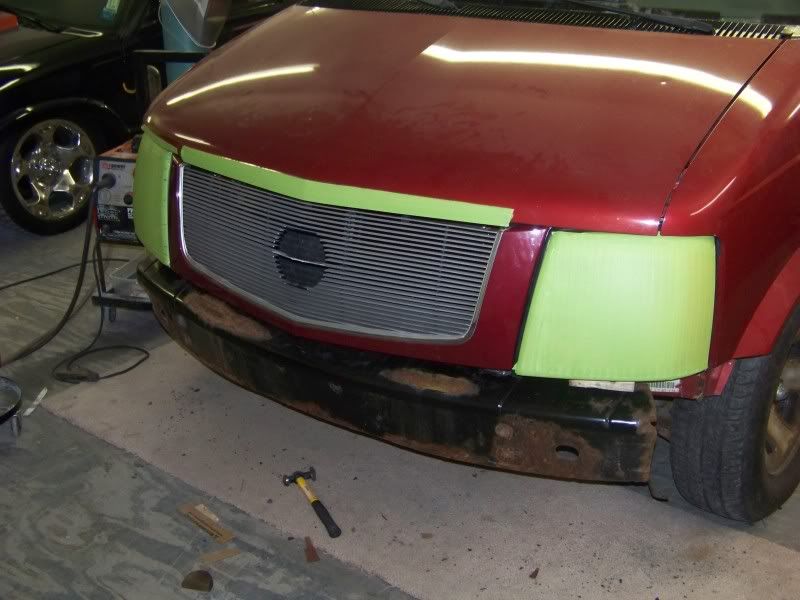
Seems to be coming together nicely.I was very suprized how well the Caddy grill fit the Astro.Cool looking brackets.
Re: Project Astrolade
Posted: Sat Nov 29, 2008 6:02 pm
by Rebel
Like the little bracket,,very clean.
Re: Project Astrolade
Posted: Sat Nov 29, 2008 7:03 pm
by crash
thanks for posting the progress... great work .. too bad you weren't around here. i'd love to have that front end on my 99. i know lots of paint/body guys but nobody that will do anything custom without bending you over first
Re: Project Astrolade
Posted: Mon Dec 01, 2008 10:23 pm
by Mcfly Minis
 ...Johnny