Signal Mirror Install
-
Topic author - I sleep in my van
- Posts: 410
- Joined: Sat Sep 09, 2006 6:53 pm
- Location: Artesia, NM -a beautiful desert oasis
- Contact:
Signal Mirror Install
This was originally posted on AS.com, but that board mangled the info, and someone was in need of the how-to; so here it is.
I skipped the actual mounting of the mirrors because it has been covered before and can be handled by the most novice wrench turner. You will have to remove door panels, kick panels, lower dash, glove box, and your stereo to do this install.
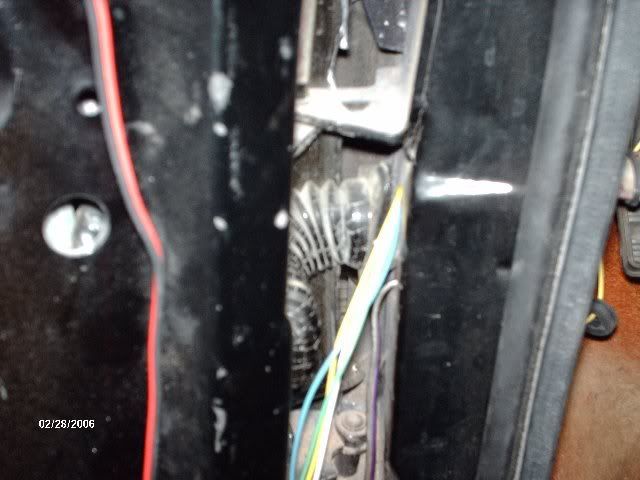
This pic shows getting the wiring from the mirror, down the door, through the door loom and into the van. I used speaker wire (purple wire) and a coat hanger to get them through. Be careful!
This one shows the harness after it's in the van. (Feed the harness through the door loom. It's easier to move all the wires through this way.)
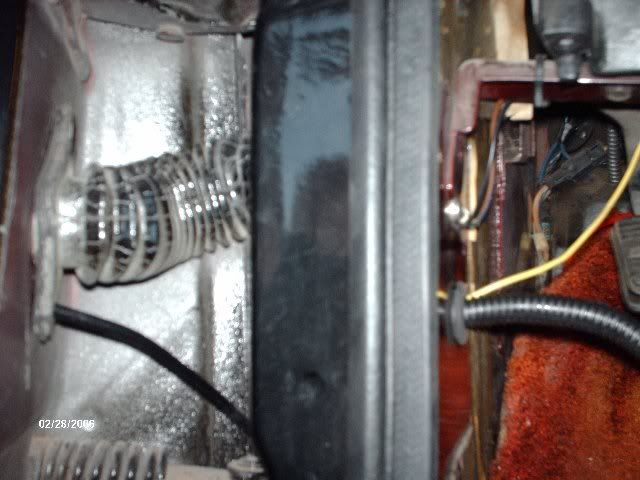
And with the panel back on.
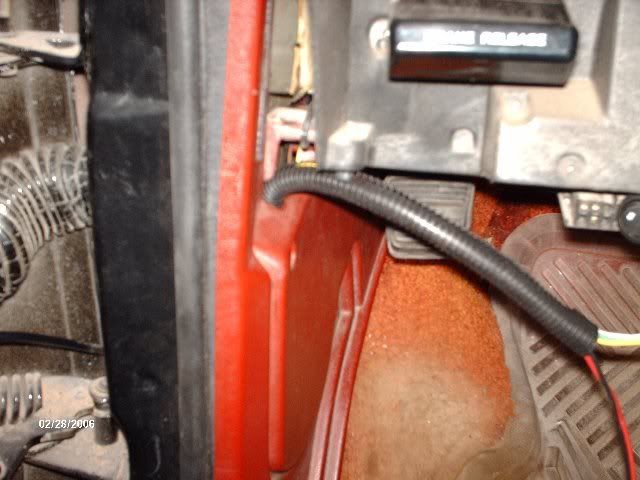
Passenger side. Worked the signal harness through the door loom. Remember to be careful with the coat hanger. You can see the computer laying there in the background. You may have to remove yours also to feed the loom into the dash area; depending on the year of your ride.
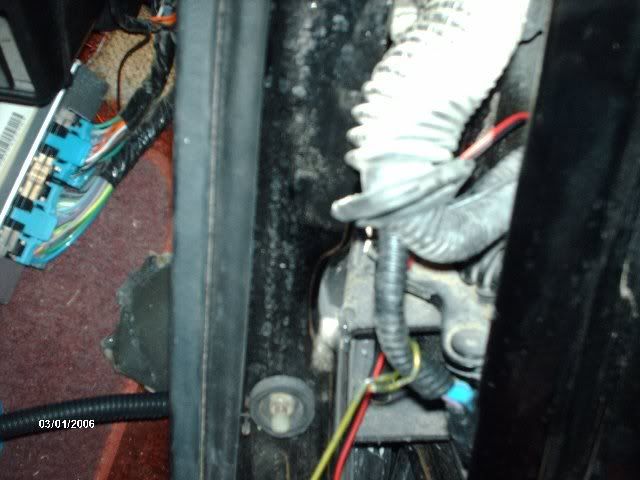
Mission accomplished! (At least partially.) This was the hardest part of the install for me. The passenger side mirror has a lot of wiring you have to get into the van. Be patient here and work purposefully. You don't want to damage the wiring!
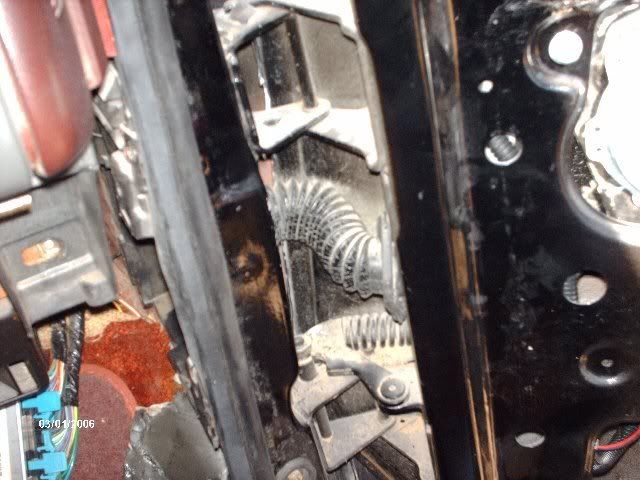
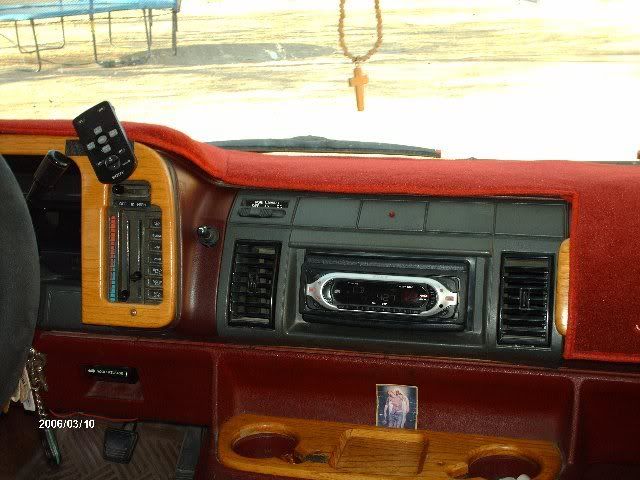
You'll have to figure out how you want to run your signal harness under your dash, but this pic shows the harness being placed behind my head unit. It's already tight in there with an aftermarket stereo. I don't know how I got it to fit!!
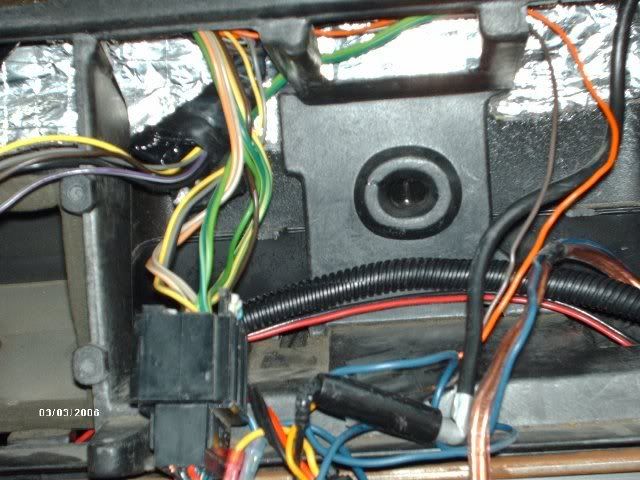
Next up, locate the light blue wire in the signal connector. It is located on the lower end of your steering column. The light blue wire is the driver's side turn signal.
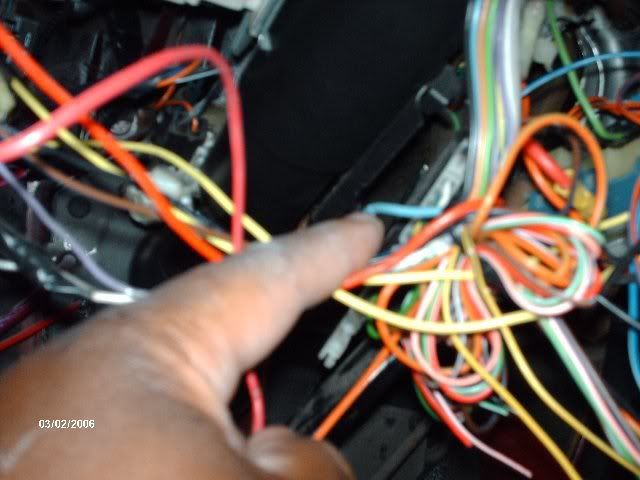
I used the splicers that came with the kit. Lots of people frown on them, but I've never had any trouble with them.
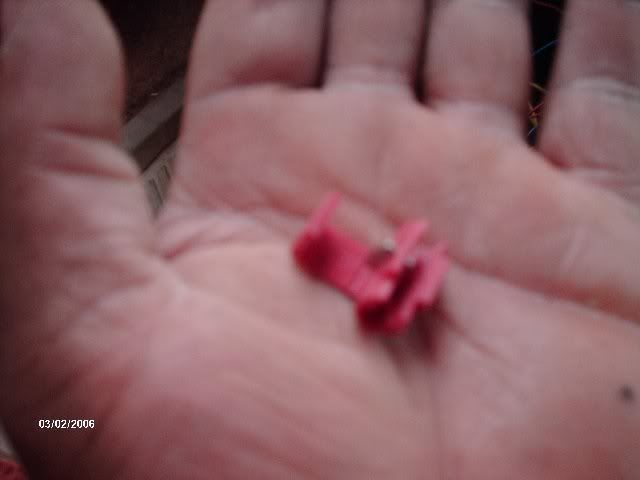
Now splice the light blue wire into the red wire from the driver's side harness using the quick splice connector.
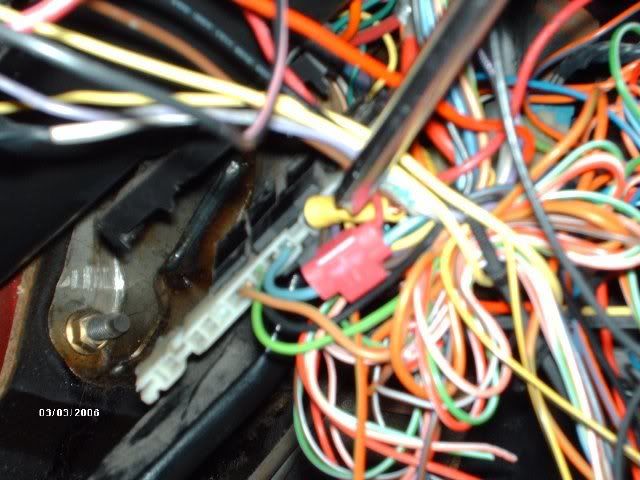
Now locate the dark blue wire in the signal connector. This dark blue wire is the passenger's side turn signal. Splice the red wire from the passenger's side signal harness into the dark blue wire. I had to use a more traditional connector here. I couldn't locate the other connetor! #-o
I did eventually switch it to the quick splice connector later.
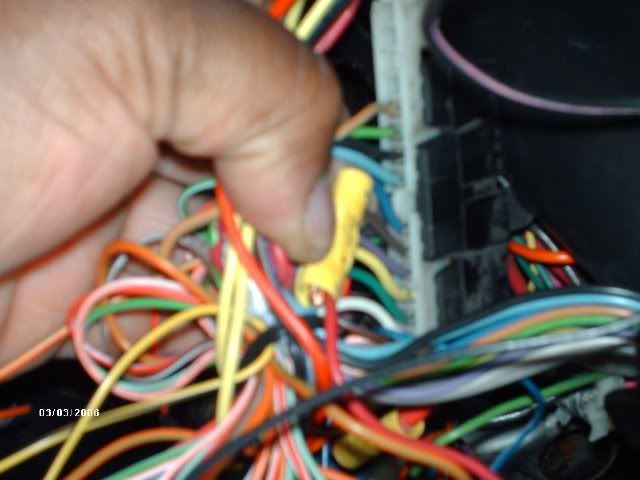
Next up strip the ends of both black wires coming from each harness and crimp them together with the ring connector that came with the kit. Ground the connector to a suitable place on the frame. I grounded mine to the steering column. Sorry no pics of this step.
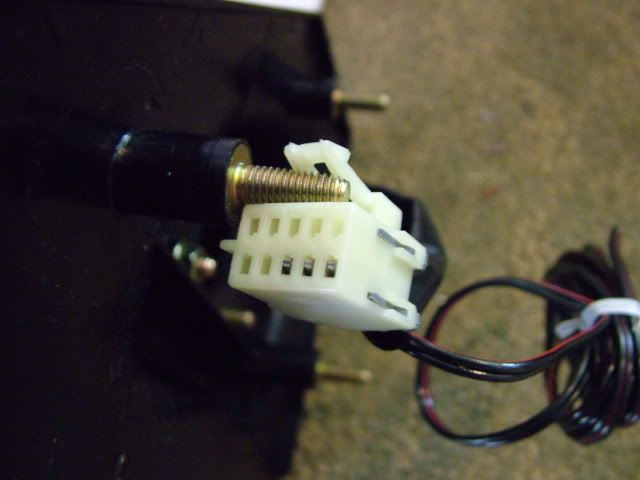
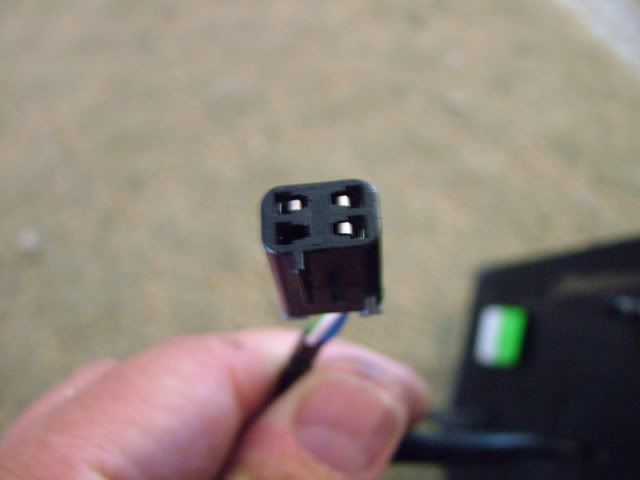
Now plug the electric mirror joystick into the harness. Locate the red wire coming from this harness. This is the power supply for the joystick. Find an unswitched 12 volt power supply at the fuse panel. Splice the red wire from the joystick harness into the 12 volt power supply.
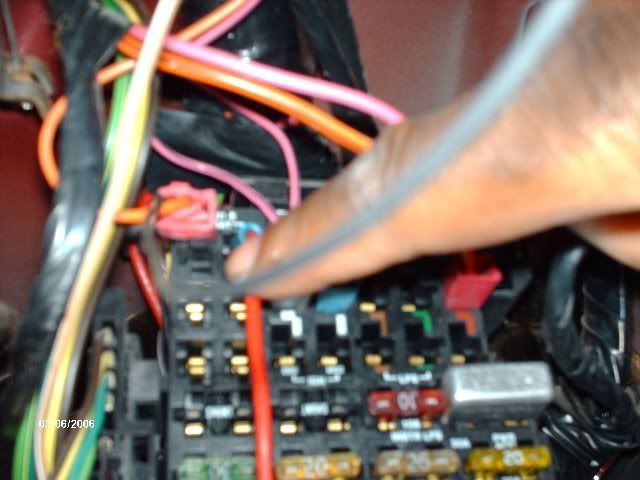
At this point in the game you should have the mirrors lighting up with their respective turns, and be able to adjust your mirrors via the joystick. If not check your connections!
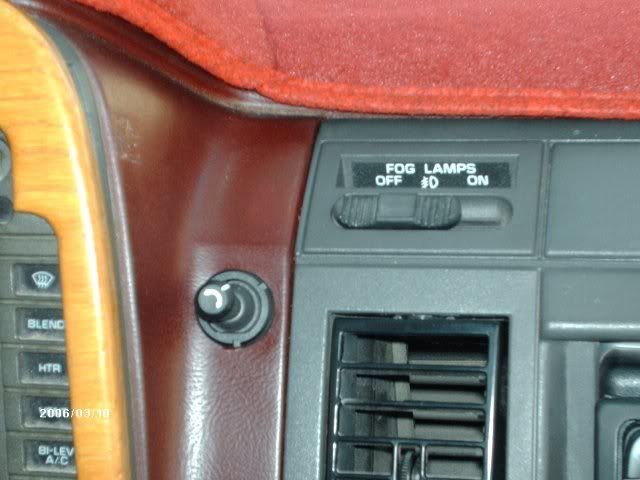
The next part of the install is pretty much explained through the pics. You can mount your joystick wherever you desire.
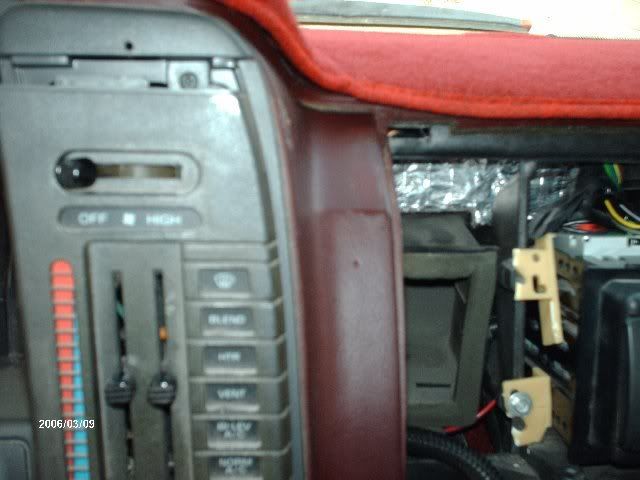
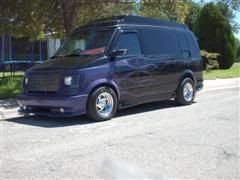
The mirrors are Street Scene manual to electric conversion/w front and rear signals. Cost: 450.00
Pretty easy install, and very much worth it! Looks great and functional. Can't beat that!
Late,
trybe
I skipped the actual mounting of the mirrors because it has been covered before and can be handled by the most novice wrench turner. You will have to remove door panels, kick panels, lower dash, glove box, and your stereo to do this install.
This pic shows getting the wiring from the mirror, down the door, through the door loom and into the van. I used speaker wire (purple wire) and a coat hanger to get them through. Be careful!
This one shows the harness after it's in the van. (Feed the harness through the door loom. It's easier to move all the wires through this way.)
And with the panel back on.
Passenger side. Worked the signal harness through the door loom. Remember to be careful with the coat hanger. You can see the computer laying there in the background. You may have to remove yours also to feed the loom into the dash area; depending on the year of your ride.
Mission accomplished! (At least partially.) This was the hardest part of the install for me. The passenger side mirror has a lot of wiring you have to get into the van. Be patient here and work purposefully. You don't want to damage the wiring!
You'll have to figure out how you want to run your signal harness under your dash, but this pic shows the harness being placed behind my head unit. It's already tight in there with an aftermarket stereo. I don't know how I got it to fit!!
Next up, locate the light blue wire in the signal connector. It is located on the lower end of your steering column. The light blue wire is the driver's side turn signal.
I used the splicers that came with the kit. Lots of people frown on them, but I've never had any trouble with them.
Now splice the light blue wire into the red wire from the driver's side harness using the quick splice connector.
Now locate the dark blue wire in the signal connector. This dark blue wire is the passenger's side turn signal. Splice the red wire from the passenger's side signal harness into the dark blue wire. I had to use a more traditional connector here. I couldn't locate the other connetor! #-o
I did eventually switch it to the quick splice connector later.
Next up strip the ends of both black wires coming from each harness and crimp them together with the ring connector that came with the kit. Ground the connector to a suitable place on the frame. I grounded mine to the steering column. Sorry no pics of this step.
Now plug the electric mirror joystick into the harness. Locate the red wire coming from this harness. This is the power supply for the joystick. Find an unswitched 12 volt power supply at the fuse panel. Splice the red wire from the joystick harness into the 12 volt power supply.
At this point in the game you should have the mirrors lighting up with their respective turns, and be able to adjust your mirrors via the joystick. If not check your connections!
The next part of the install is pretty much explained through the pics. You can mount your joystick wherever you desire.
The mirrors are Street Scene manual to electric conversion/w front and rear signals. Cost: 450.00
Pretty easy install, and very much worth it! Looks great and functional. Can't beat that!
Late,
trybe
90 Safari XT Hi Top
Lead guitarist for The Jericho Effect
Click the link to bang that head! http://www.ilike.com/artist/Trybe13
-
- Retired
-
I plan to be buried in my van
- Posts: 1209
- Joined: Wed Sep 20, 2006 5:42 pm
- Location: Lost Angels, Sovern KarlyFornia.
I have just recently seen stick-on LED red flashing arrows for your side mirrors...... Certainly not as cool as the Street Scene mirrors, but a cheaper alternative......
`86 V8 Lowered Cargo, extensively modified, shaved bald, wearing the shortest, sluttyest white primer dress....
A British Wanker living in So KarlyFornia.
My Astro tows my toys to Glamis sand dunes http://www.youtube.com/watch?v=jp2pqjQtpso
First ever canal jump at Glamis http://www.youtube.com/watch?v=oXZjM84x_Xc
A British Wanker living in So KarlyFornia.
My Astro tows my toys to Glamis sand dunes http://www.youtube.com/watch?v=jp2pqjQtpso
First ever canal jump at Glamis http://www.youtube.com/watch?v=oXZjM84x_Xc
Re: Signal Mirror Install
Does the mirror look like the OEM one?
Well ,I crunched my mirror taking some decking off the roof. Street Scene mirrors are back ordered. Dang.
Re: Signal Mirror Install
Well it seems they no longer make the mirrors so I guess I have to start searchin again.
Re: Signal Mirror Install
1998 Astro, 246,000 miles
K&N air filter
TruCool trans cooler
2" Overland lift & 15" BFG Terrain, 3.73 gears
JET Performance SCU-2000 (Speed Control Unit)
Gabriel Ultra shocks, rear AirLift bags & sway bar
Draw-Tite Dual Port Hitch System, hitch-mounted bike rack (4), hitch-mounted cargo tray, Thule roof-mounted cargo box
K&N air filter
TruCool trans cooler
2" Overland lift & 15" BFG Terrain, 3.73 gears
JET Performance SCU-2000 (Speed Control Unit)
Gabriel Ultra shocks, rear AirLift bags & sway bar
Draw-Tite Dual Port Hitch System, hitch-mounted bike rack (4), hitch-mounted cargo tray, Thule roof-mounted cargo box
Re: Signal Mirror Install
Been in e mail contact with Street Scene. They are back to speed with the mirrors. May I suggest Summit Racing as a vender. Decent prices.
Don
Don
Re: Signal Mirror Install
Did end up getting them from Summit Racing.
The guy I contacted at Street Scene boxed up a set and sent them on to Summit for me.
I am a little disappointed that the new ones a a good 15% smaller than stock.
Will post after they are installed
Don
The guy I contacted at Street Scene boxed up a set and sent them on to Summit for me.
I am a little disappointed that the new ones a a good 15% smaller than stock.
Will post after they are installed
Don
Re: Signal Mirror Install
Went to install them today and it turns out my van is a 2002, but, it has an earlier electric mirror connection.
Has them baffled at Street Scene
New mirror
Factory mirror
Has them baffled at Street Scene
New mirror
Factory mirror
-
- I plan to be buried in my van
- Posts: 1374
- Joined: Thu Sep 21, 2006 7:50 pm
- Location: Cypress, Tx
Re: Signal Mirror Install
I've had similar experiences on vehicles that were built early, or late in the year. Things as simple as pcv valves. Parts buy brings it to me, I pull it out of the box...nah that's not the right one, try a year model earlier or later. Same deal with an axle on one of my '96 jeeps, parts guy says 27 spline, I counted 29, bought an axle for a '97 went just fine.
'89 Astro, 4.3L, TBI. Minor intake and exhaust mods. Rebuilt 700R4 trans (by me). Corvette servo, 0.5" boost valve, police grade 1-2 accumulator spring (shifts fast and solid). B&M stacked plate trans cooler. Bilstein shocks. Belltech sway bars front and back. New head unit, speakers and subwoofer. Needs paint and a new headliner.
name's Steve
I can't remember all I've forgotten about that....
name's Steve
I can't remember all I've forgotten about that....
Re: Signal Mirror Install
Got them back and installed the drivers side. They work great. I just wish they were closer to stock size.
Another thing, they don't swing toward the window. They are a fixed mirror.
Re: Signal Mirror Install
I just have to say, I see Scotch-locks in some of those pictures. The first thing I would do is remove them and wire the van properly. I know, they're quick and easy, but they are also the quickest and easiest way to set your vehicle on fire. Not only do they work loose, they have exposed connections that can short out and cause major damage. I once had to replace the entire harness and interior, plus the windows on a car where an installer used nothing but Scotch-locks to add accessories. Naturally, one of them came loose and shorted to the floor (he also didn't fuse things properly) which caused the insulation to start smoldering, and eventually turned into a major fire.
Ripper
www.ripper1.com
www.ripper1.com