Page 7 of 11
Re: 96' 383 build
Posted: Sun Oct 05, 2008 7:37 pm
by mattblackratbus
Little bit of dirt never hurt

Re: 96' 383 build
Posted: Sat Oct 18, 2008 1:36 pm
by nitropyro
hey everyone we are working hard on vances van and we are taking a break to watch ohio state foosball. here is an idea i had for his a/c system but will be getting cancelled.
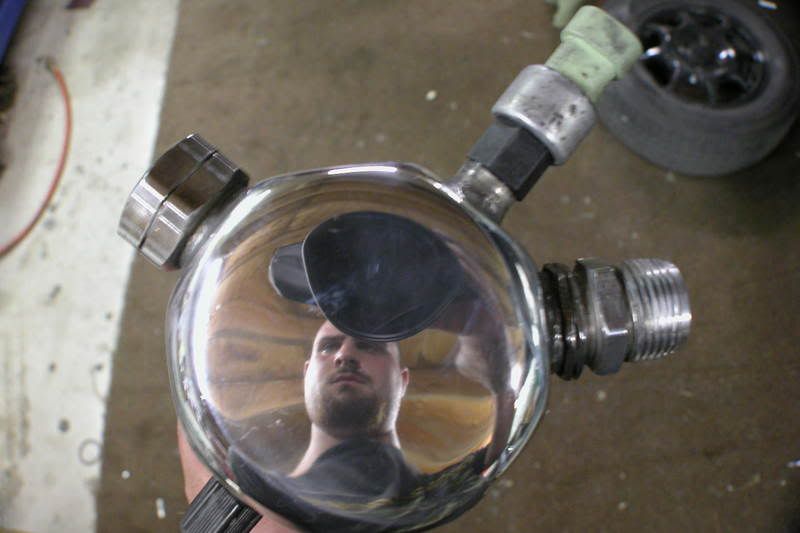
there is a flim i can not get off and doesnt polish well so im gonna satin black it for him. i will polish some of the lines for him to dress up the engine bay will try to have pics up tomorrow.
Danny
Re: 96' 383 build
Posted: Sun Oct 19, 2008 9:46 am
by SoCalli V8
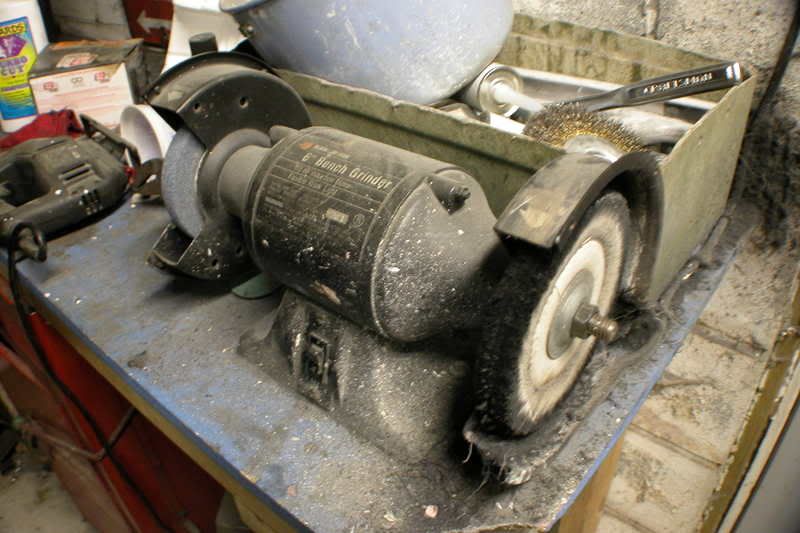
I would be interested to see a pic of your buffer/ polisher. What kind of compound are you using?
Re: 96' 383 build
Posted: Sun Oct 19, 2008 5:04 pm
by nitropyro
i will get all the info for you tomorrow darrin im beat from working on vances van.
Danny
Re: 96' 383 build
Posted: Mon Oct 20, 2008 4:58 pm
by nitropyro
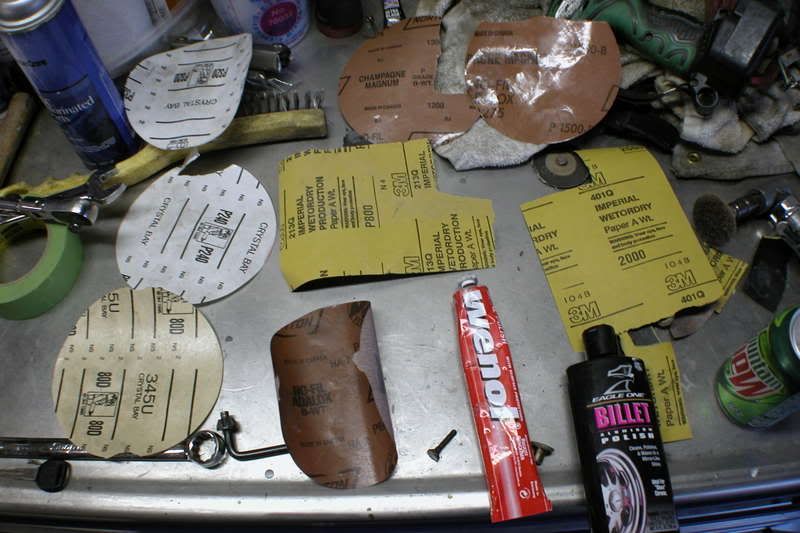
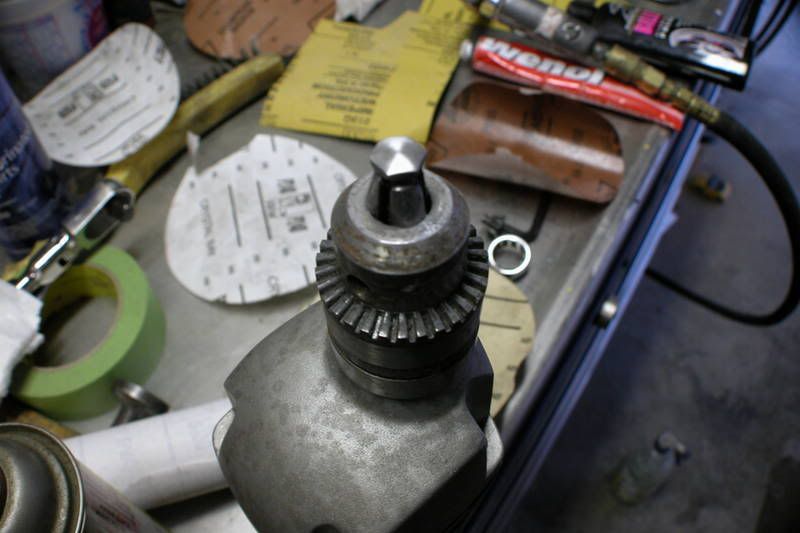
okay darren i start with a bench grinder if need then use 80 grit 120 grit 240 grit 320 grit 600 grit 800 grit 1200 grit 1500 grit 2000 grit. after that i go with the wenol polish on the bench grinder or dremal tool for small areas followed by eagal one billet polish by hand with a micro fiber towel. here some pics along the way to polished bolt.
all the supplies
start
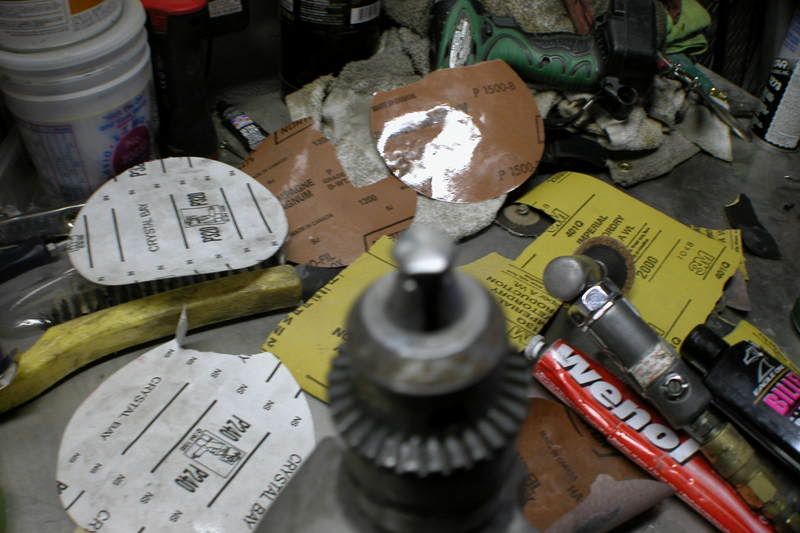
240 grit
600 grit
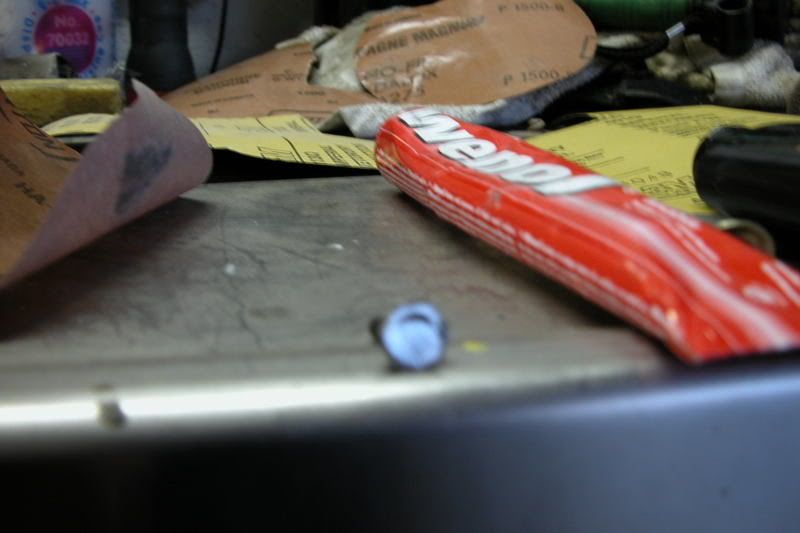
2000 grit
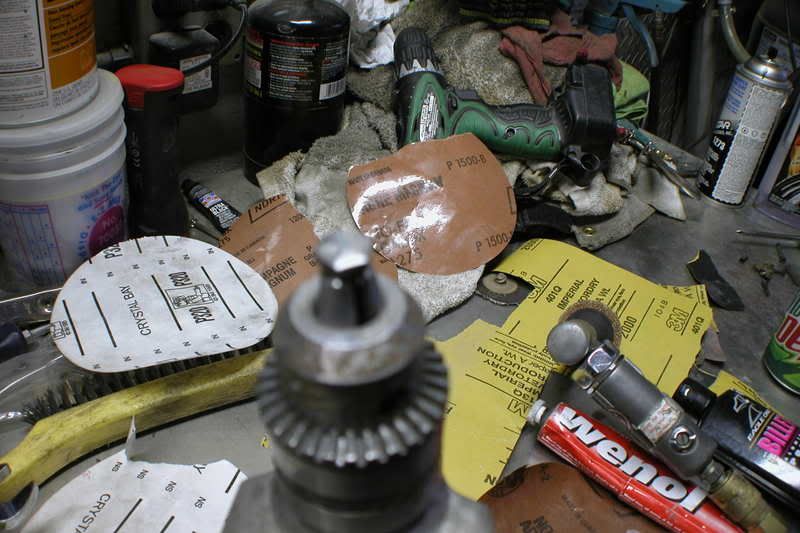
polished with both compounds
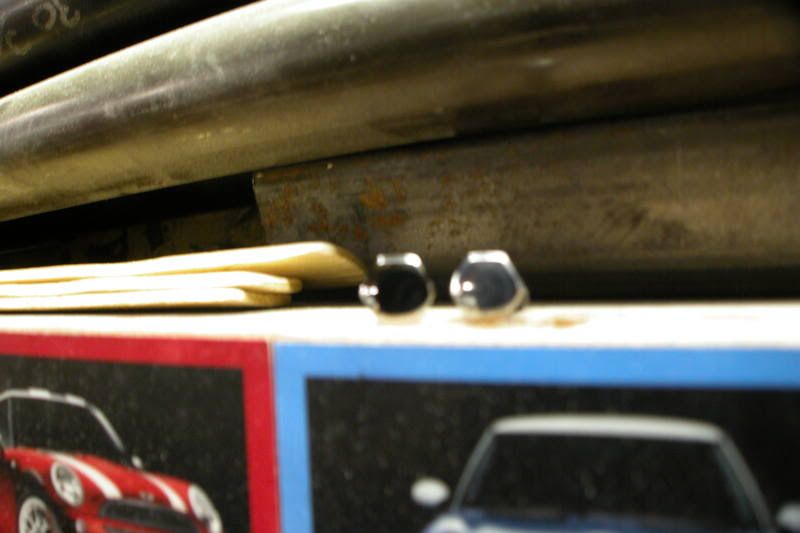
edit: just relised how crappy those pics are will try to get better ones off finished product.
note to self: for any one wanting to do this for all the stuff in my build ive now went through 2 dremals they will over heat and die lol
ps vance i need your dremal to finsh your a/c line.
and i got all your bolts polished now
Re: 96' 383 build
Posted: Mon Oct 20, 2008 9:55 pm
by 6spd_monte
Your Dremel might not be toast. Mine shut off once after hours and hours of use, and heat. Turns out all it needed was a new switch. The part was available from the Dremel company, and it was easy to replace. Now my Dremel is back in action!
Nice polishing, by the way!
Re: 96' 383 build
Posted: Mon Oct 20, 2008 10:14 pm
by HPbyStan
MAN, all that to polish a bolt and you guys weren't even going to paint the rusty sub frame. Semi amazing what.
Re: 96' 383 build
Posted: Tue Oct 21, 2008 4:12 am
by nitropyro
6spd-monte- thanks for the tip i will have to try that one the next one.
HPbyStan-believe me i harrassed him for awhile lol but it looks good now.
everyone- vance is a slacker he was suppossed to have pics up but i will spill the news since he hasnt we have it mostly put together and we had crank with one cyl. trying to start. looked it over and relised the new computer has passlock system thats stopping the injectors from running. so he has to figure out how to get around that. but we have heard it try to start!!!!!!
Danny
Re: 96' 383 build
Posted: Tue Oct 21, 2008 9:41 am
by mikedamech
Baker Electronics sells a 3 wire module for 35.00, I used it and it worked perfectly.
Re: 96' 383 build
Posted: Tue Oct 21, 2008 4:47 pm
by nitropyro
Vance i have that brand new gm wiper board here for you too. found it in the closet
Danny
Re: 96' 383 build
Posted: Sat Oct 25, 2008 6:55 am
by nitropyro
well since vance is keeping everyone updated we fought getting this motor to start all week. we stayed up late last sunday hes fought it all week. so last night we started with checking his wiring thinking maybe it got mest up......nope its good. fuel pressure good. so we get on my dads gm site get the flow chart for crank no start everything checks out good. so then it refers you to checking the motors compression we didnt have the gauge with us so we checked another link. and its ask a few vavlues off the scan tool. at this time the iac was nosiy we switched it...still nothing then we look at the new computer link and it mentions the map sensor screw it we dont have a hand pump to check it we took his old one from the v6 BAM MOTOR IS STARTED!!!!!!! lol everythings sounds amazing but we have a small oil leak we have to fix. he has work today and we are going to the ohio state game tonight against penn state. so either late tonight or first thing tomorrow we will be breaking in the motor.
Danny
Re: 96' 383 build
Posted: Sat Oct 25, 2008 2:27 pm
by peter
Yeah, baby!

Re: 96' 383 build
Posted: Sun Oct 26, 2008 6:09 pm
by T prop
Hello, new guy here.
I was at work today and I had nothing to do so I was surfing the net and ran across this site. This thread interested me because several years ago I did this swap on a friends Astro van. It was similar to what's happening in this thread, I rebuilt a small block for him and installed it. It ran great for years and was a fun to drive project.
What prompted me to register and post was this picture from page 1:
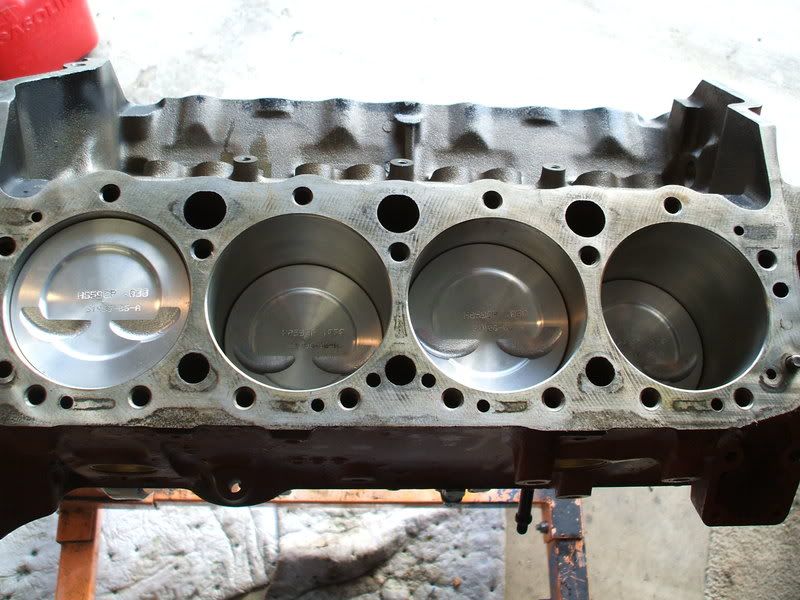
I noticed that the pistons are installed upside down, the eyebrows on the pistons should be towards the intake side of the engine. Was this corrected before the engine was finally assembled?
...
Re: 96' 383 build
Posted: Sun Oct 26, 2008 6:52 pm
by Rebel
okay darren i start with a bench grinder if need then use 80 grit 120 grit 240 grit 320 grit 600 grit 800 grit 1200 grit 1500 grit 2000 grit. after that i go with the wenol polish on the bench grinder or dremal tool for small areas followed by eagal one billet polish by hand with a micro fiber towel. here some pics along the way to polished bolt.
all the supplies
The buffing thing can be a nightmare. Years ago while attending college in Pensacola, I worked at a chrome shop. My first job was buffing. I didn't know what I was getting in to. My intensions were making some bucks on the side and also do some chroming on a Vetter rear I was installing in a 29 Ford sedan. Anyway,,back to what I was going to say. You guys learned alot about buffing and polishing but wanted to share a little trivia that will speed up the process by eliminating about half of those different grits you went through. One is, a bench grinder cannot produce enough RPM's and torque that is required to grind and polish metal. Of course it can be done but as you guys know,,takes severall lifetimes to accomplish the results you're looking for. For instance, the dryer you polished, if on a high speed buffer and several layers of cloth wheels which would have about a 3in. wide surface could be polished out in about an hour or less. This doesn't include and grinding that may be needed to take out any deep imperfections. The other thing that will speed up the process is each time you go to a smoother grit, make sure you go across the opposite direction on the grit before. In other words, you'll be Xing each previous grit out. Check how the piece is shaped, how do you want the last grit direction to be going which will allow the easiest handling to polish on the cloth wheel. You'll be going the opposite direction with the buffer of your last grit used. Aluminum as you know is very soft and if a high speed buffer is left in one area for an extended period of time the aluminum rouge can make what look like waves in the metal and you can also catch your cloth buffer wheels on fire. Been along time ago but if I remember correctly, a metal buffer should run around 3000 RPMS, maybe even higher and with a 3in to 4in wide cloth surface, it's almost impossible to push the piece you're polishing in so hard you collaps the cloth wheel. You've got to be able to push pretty hard against those cloth wheels while polishing. This will speed up the rouge cutting to accomplish a polished surface.
Good luck on the project and hoped this helps out on the nexting grinding and polishing adventure. I don't miss that job at all.
Re: 96' 383 build
Posted: Sun Oct 26, 2008 7:17 pm
by HPbyStan
T prop wrote:Hello, new guy here.
I was at work today and I had nothing to do so I was surfing the net and ran across this site. This thread interested me because several years ago I did this swap on a friends Astro van. It was similar to what's happening in this thread, I rebuilt a small block for him and installed it. It ran great for years and was a fun to drive project.
What prompted me to register and post was this picture from page 1:
I noticed that the pistons are installed upside down, the eyebrows on the pistons should be towards the intake side of the engine. Was this corrected before the engine was finally assembled?
...
Wow, good eye, I missed that one.