Cad. Tail Install
Posted: Fri Jun 08, 2007 7:16 am
Since AS is down, think I'll start posting here instead. Fillers came in yesterday and I'm once again amazed at how anyone can hand make these things to fit so well and are almost mirror images of each other. There are some slight difference and some trimming will need to be done but no big deal.
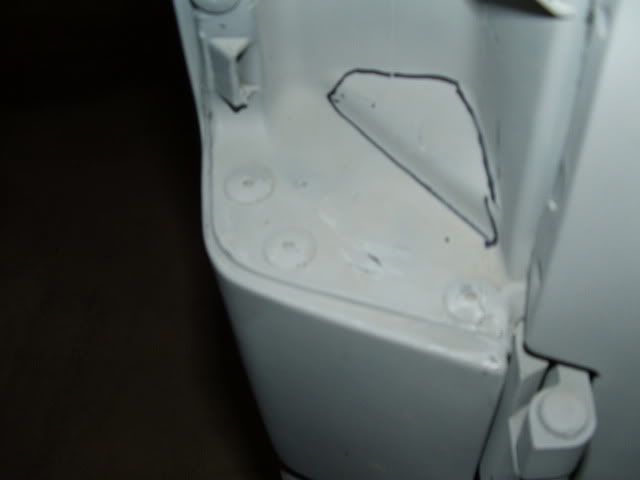
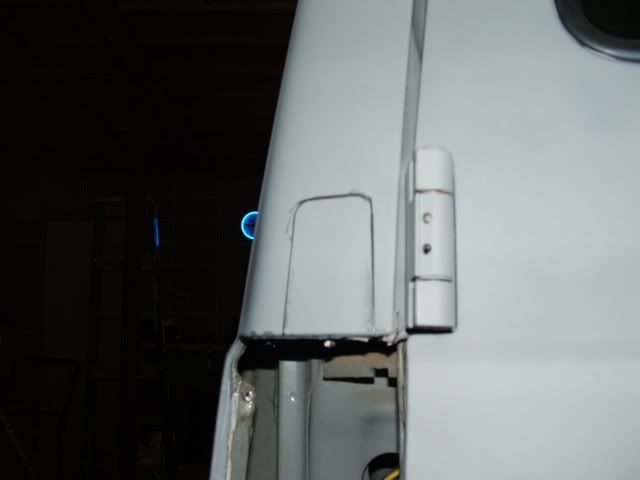
The first pic shows the plastic bucket you will see after removing the lens. The rivets that hold the Astro buckets in will need to be drilled out with a 1/4 bit. Don't try to rush the drilling or you'll spin the rivet.
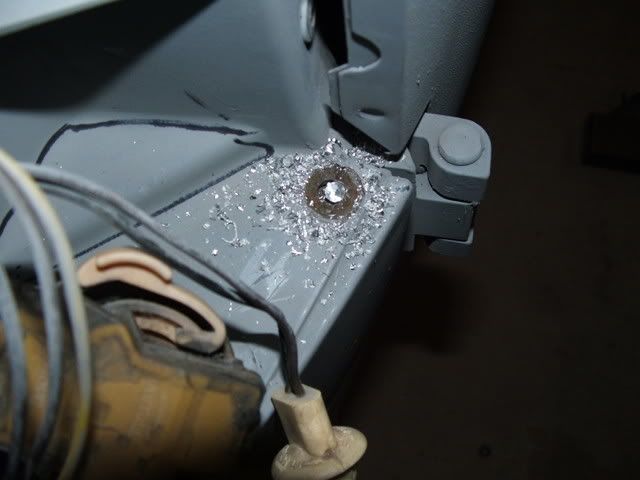
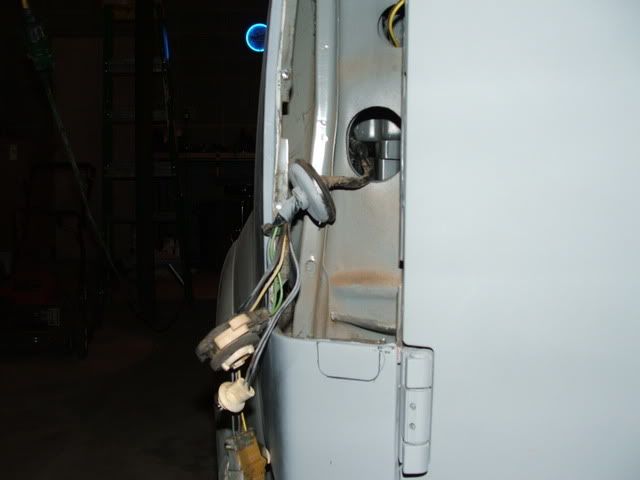
This next pic shows one of the rivets drilled. After drilling,,you'll need to push what's left of the rivet down to make enough clearence to pull plastic bucket out of body opening.
This is the plastic bucket after being removed.
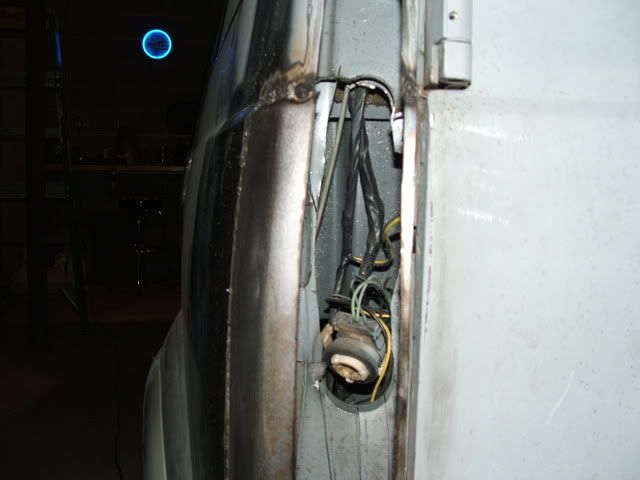
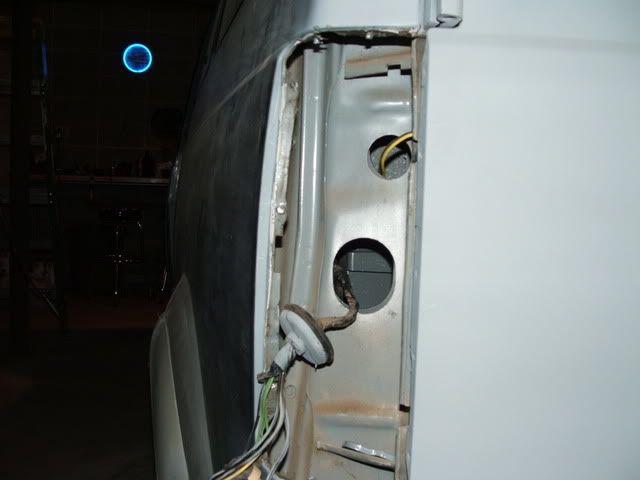
This next pic is what you'll see after removing bucket.
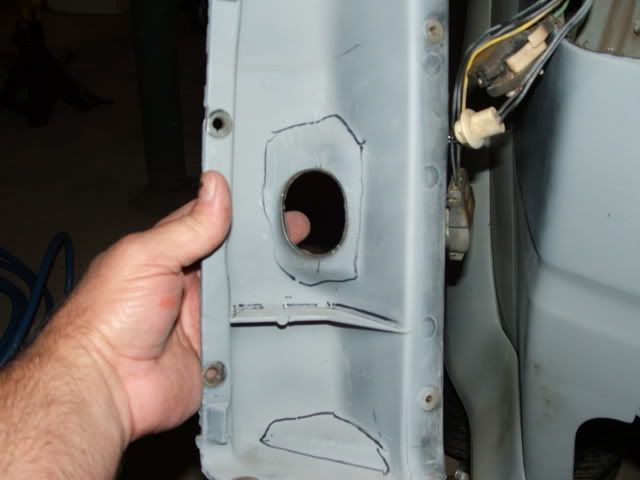
Next I placed the Cad. bucket from Suicidedoor and marked the upper section that I will cut out with an airsaw.
Lower section to be cut out.
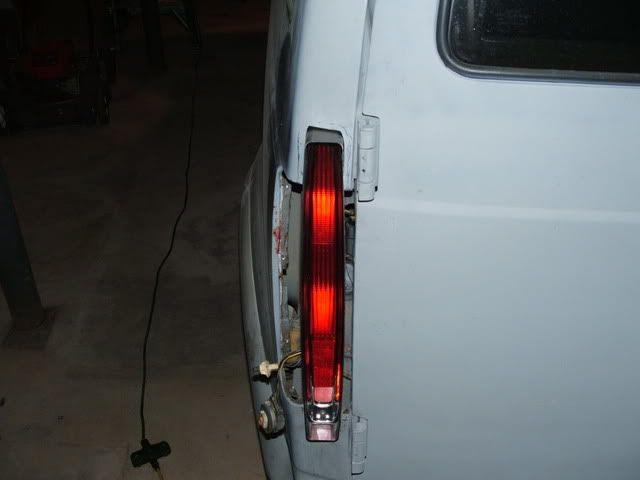
This next pic is showing the Cad. bucket with tails inside. This gives you and idea of how much has to be removed to allow the bucket to recess deep enough inside body.

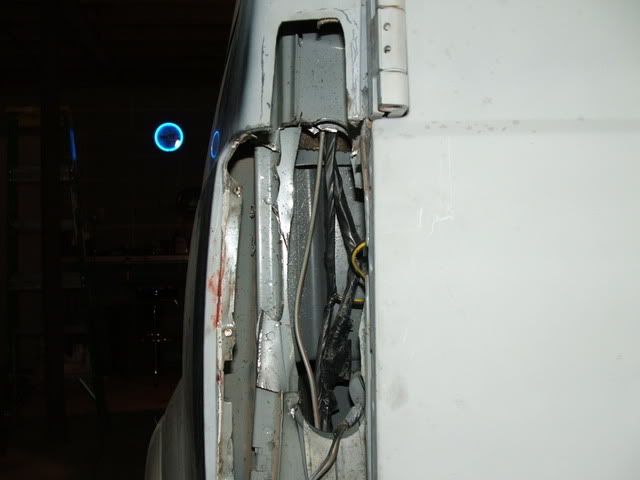
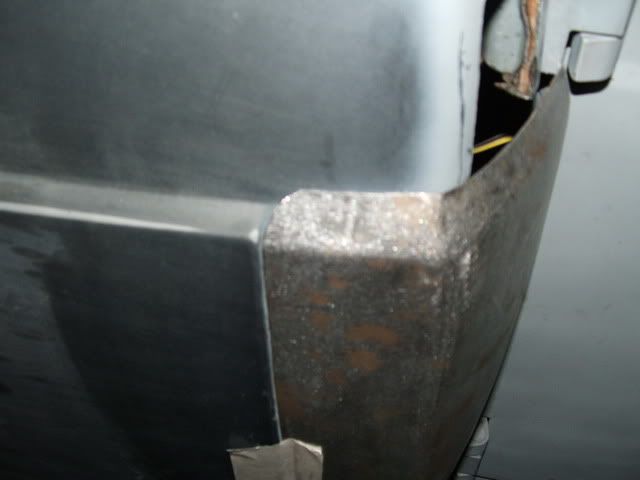
This next one isn't pretty at all but shows the opening after enough of the back was removed to recess Cad. bucket. On the other side I think by using a 2.5 in. hole saw and by drilling 3 holes will give the room needed and be much cleaner.
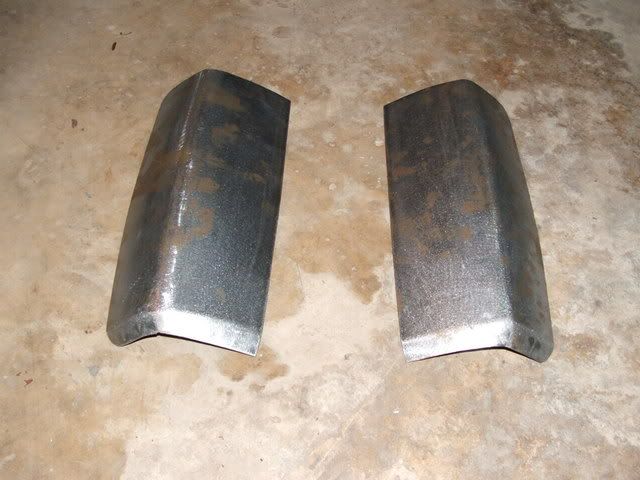
Here are a couple of shots of the fillers. Amazing. I'd give anything to be able to work metal like this.
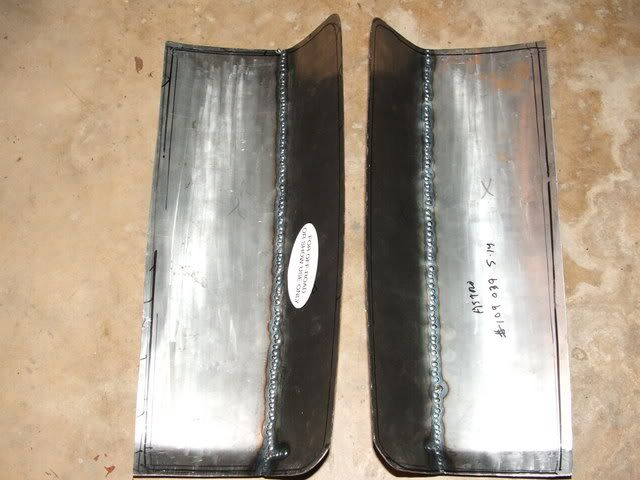
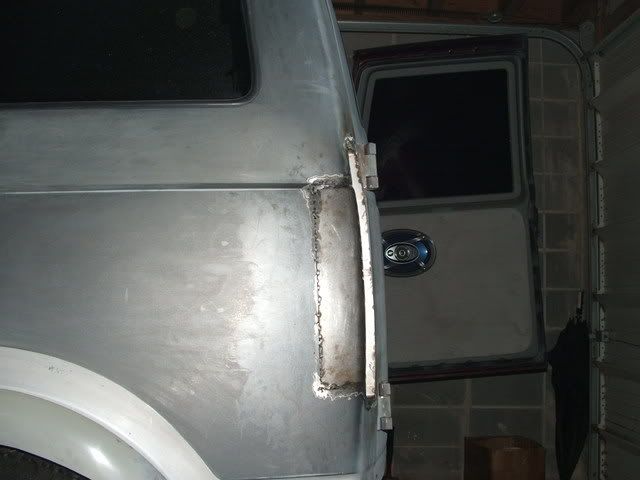
This will show you how close they are. Notice the top will need to be trimmed and also the right edge but that's not a big deal.
The gap you see on the upper right is caused by excess metal on the right edge of filler being against hinge. After trimming everything up, looks like all will be just about right.
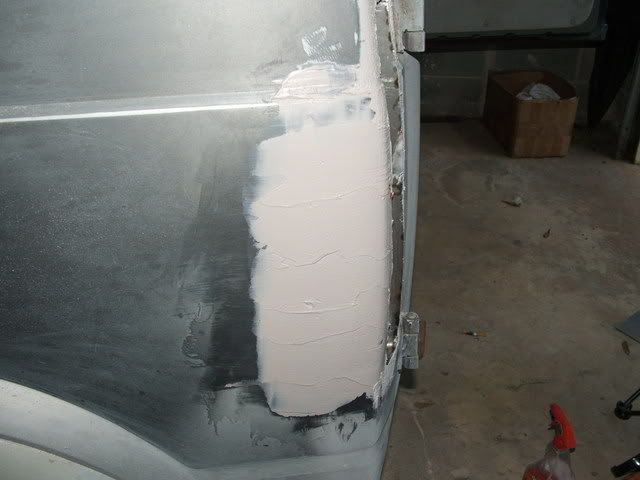
You can also see the very top edge will also have to be trimmed. Not sure why they made this where it had to be trimmed off so much. At first I thought the top edge fit in lens body opening but that throws the filler body line off but who said it was going to be easy anyway ?
The last shot for now is the Cad. bucket with the tails inside but before all the back sheetmetal was removed for plug and depth clearence. One thing I forgot to mention. When you trace the lines to be cut out for the upper and lower part of Cad. buckets be sure to have tail light and bezel installed inside bucket. It's a tight fit and will spread bucket slightly when you place them inside bucket. If you leave the tails out and make your marks and install,,there may not be enough width to get Cad. tails inside bucket.
More later.
The first pic shows the plastic bucket you will see after removing the lens. The rivets that hold the Astro buckets in will need to be drilled out with a 1/4 bit. Don't try to rush the drilling or you'll spin the rivet.
This next pic shows one of the rivets drilled. After drilling,,you'll need to push what's left of the rivet down to make enough clearence to pull plastic bucket out of body opening.
This is the plastic bucket after being removed.
This next pic is what you'll see after removing bucket.
Next I placed the Cad. bucket from Suicidedoor and marked the upper section that I will cut out with an airsaw.
Lower section to be cut out.
This next pic is showing the Cad. bucket with tails inside. This gives you and idea of how much has to be removed to allow the bucket to recess deep enough inside body.
This next one isn't pretty at all but shows the opening after enough of the back was removed to recess Cad. bucket. On the other side I think by using a 2.5 in. hole saw and by drilling 3 holes will give the room needed and be much cleaner.
Here are a couple of shots of the fillers. Amazing. I'd give anything to be able to work metal like this.
This will show you how close they are. Notice the top will need to be trimmed and also the right edge but that's not a big deal.
The gap you see on the upper right is caused by excess metal on the right edge of filler being against hinge. After trimming everything up, looks like all will be just about right.
You can also see the very top edge will also have to be trimmed. Not sure why they made this where it had to be trimmed off so much. At first I thought the top edge fit in lens body opening but that throws the filler body line off but who said it was going to be easy anyway ?
The last shot for now is the Cad. bucket with the tails inside but before all the back sheetmetal was removed for plug and depth clearence. One thing I forgot to mention. When you trace the lines to be cut out for the upper and lower part of Cad. buckets be sure to have tail light and bezel installed inside bucket. It's a tight fit and will spread bucket slightly when you place them inside bucket. If you leave the tails out and make your marks and install,,there may not be enough width to get Cad. tails inside bucket.
More later.