I skipped the actual mounting of the mirrors because it has been covered before and can be handled by the most novice wrench turner. You will have to remove door panels, kick panels, lower dash, glove box, and your stereo to do this install.
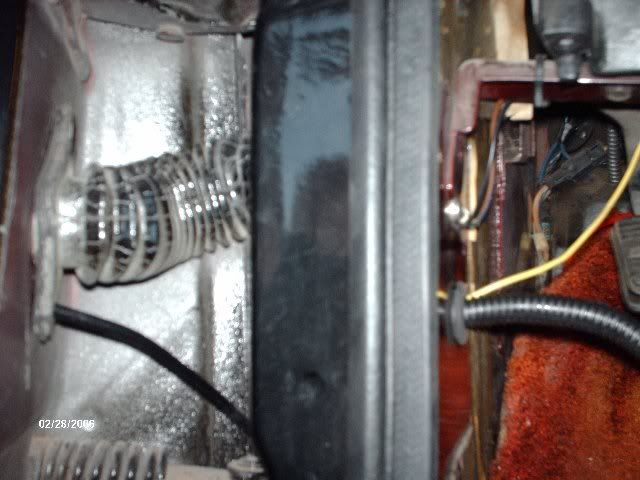
This pic shows getting the wiring from the mirror, down the door, through the door loom and into the van. I used speaker wire (purple wire) and a coat hanger to get them through. Be careful!
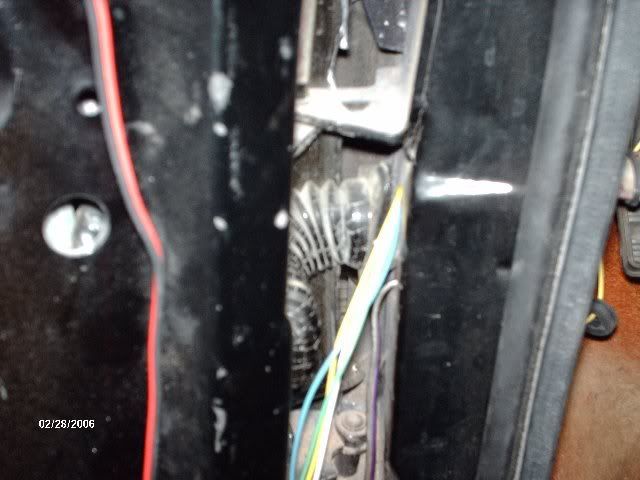
This one shows the harness after it's in the van. (Feed the harness through the door loom. It's easier to move all the wires through this way.)
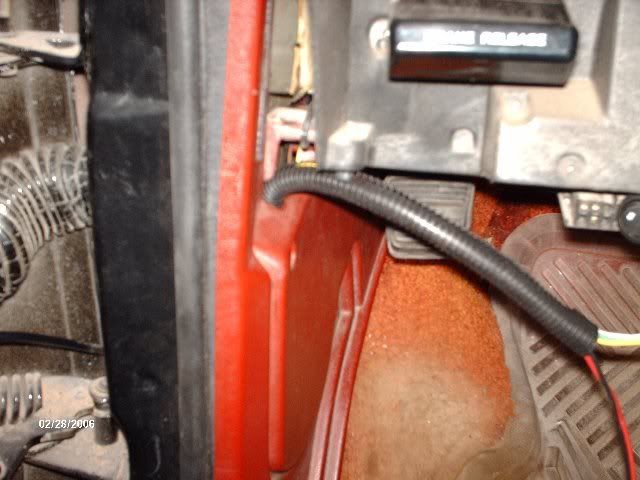
And with the panel back on.
Passenger side. Worked the signal harness through the door loom. Remember to be careful with the coat hanger. You can see the computer laying there in the background. You may have to remove yours also to feed the loom into the dash area; depending on the year of your ride.
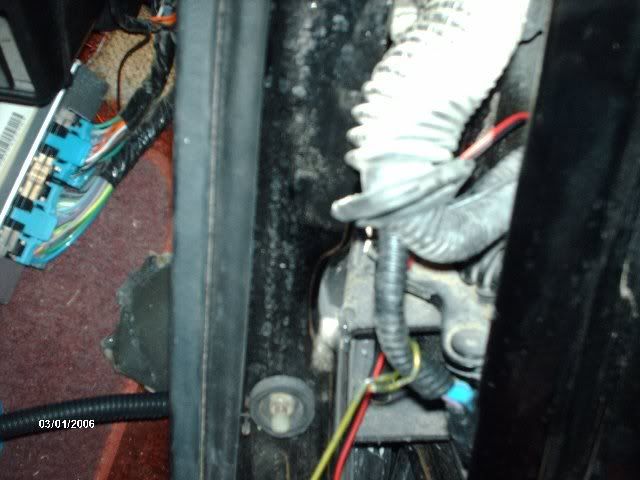
Mission accomplished! (At least partially.) This was the hardest part of the install for me. The passenger side mirror has a lot of wiring you have to get into the van. Be patient here and work purposefully. You don't want to damage the wiring!
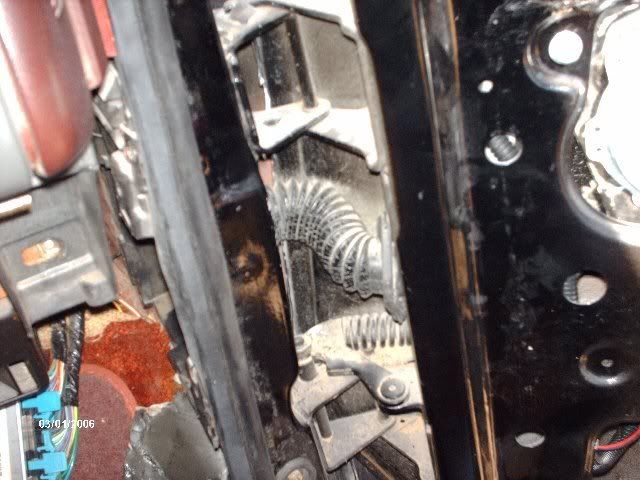
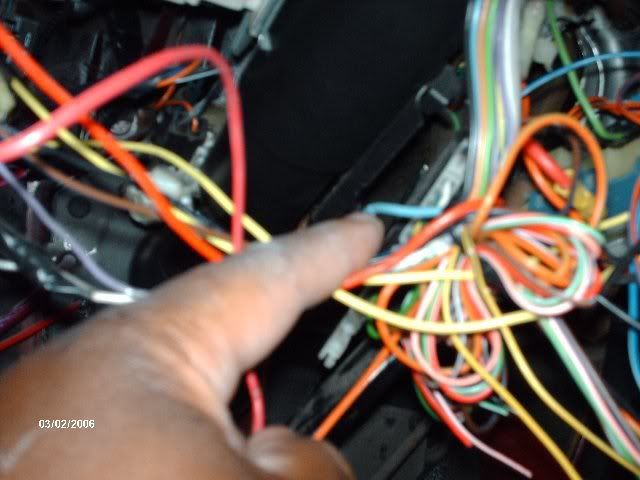
You'll have to figure out how you want to run your signal harness under your dash, but this pic shows the harness being placed behind my head unit. It's already tight in there with an aftermarket stereo. I don't know how I got it to fit!!
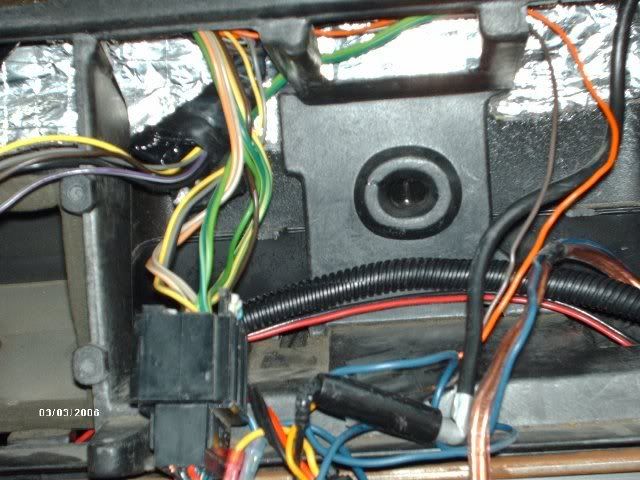
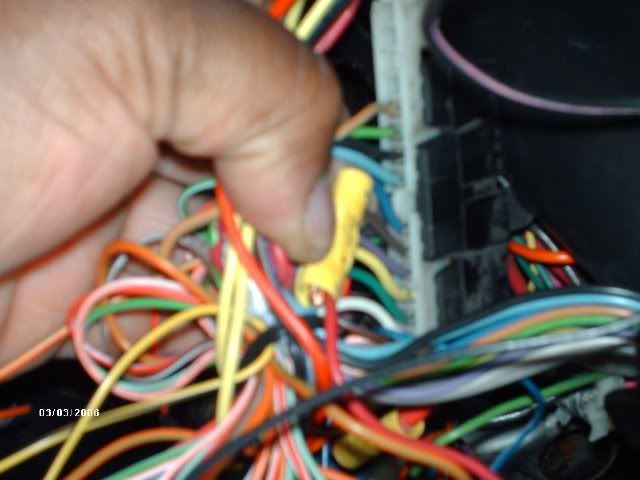
Next up, locate the light blue wire in the signal connector. It is located on the lower end of your steering column. The light blue wire is the driver's side turn signal.
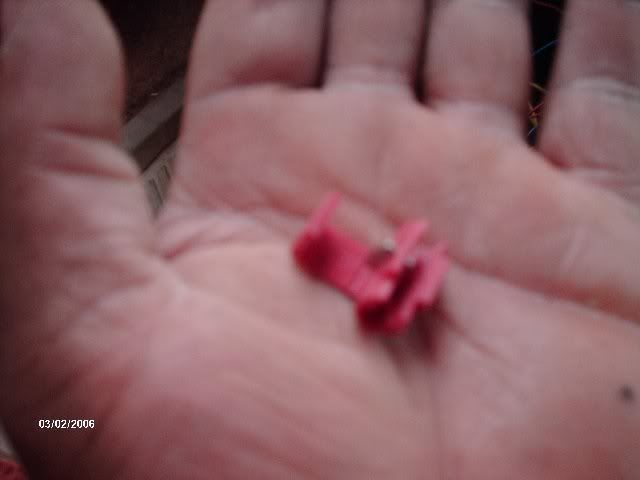
I used the splicers that came with the kit. Lots of people frown on them, but I've never had any trouble with them.
Now splice the light blue wire into the red wire from the driver's side harness using the quick splice connector.
Now locate the dark blue wire in the signal connector. This dark blue wire is the passenger's side turn signal. Splice the red wire from the passenger's side signal harness into the dark blue wire. I had to use a more traditional connector here. I couldn't locate the other connetor! #-o
I did eventually switch it to the quick splice connector later.
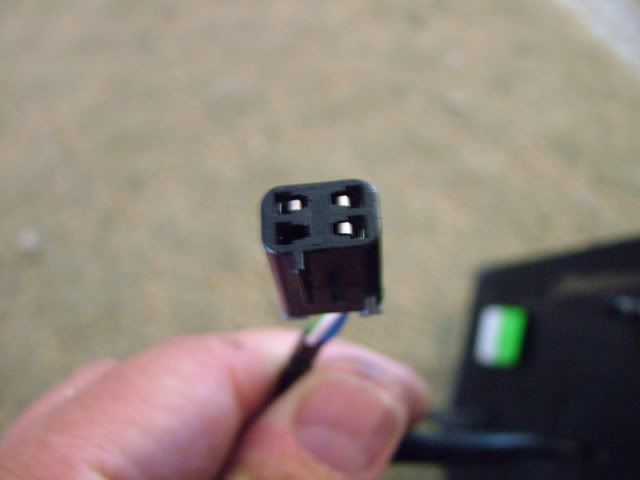
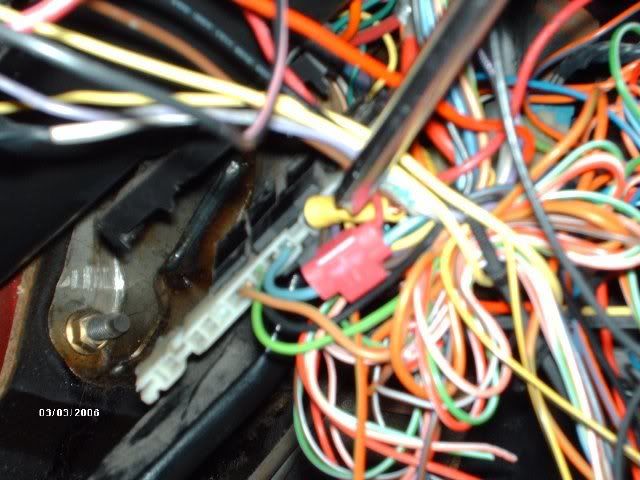
Next up strip the ends of both black wires coming from each harness and crimp them together with the ring connector that came with the kit. Ground the connector to a suitable place on the frame. I grounded mine to the steering column. Sorry no pics of this step.
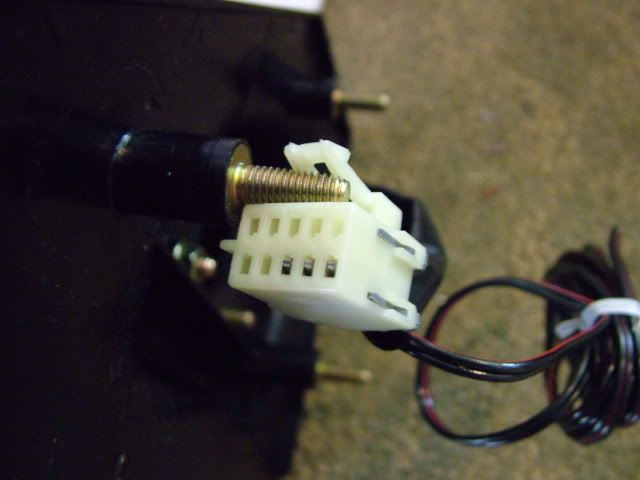
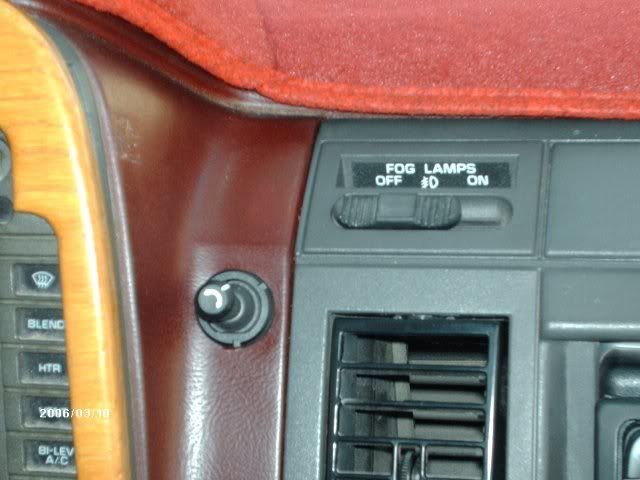
Now plug the electric mirror joystick into the harness. Locate the red wire coming from this harness. This is the power supply for the joystick. Find an unswitched 12 volt power supply at the fuse panel. Splice the red wire from the joystick harness into the 12 volt power supply.

At this point in the game you should have the mirrors lighting up with their respective turns, and be able to adjust your mirrors via the joystick. If not check your connections!
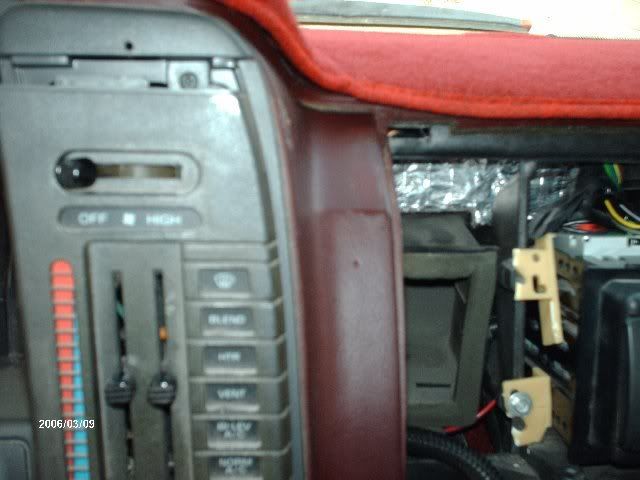
The next part of the install is pretty much explained through the pics. You can mount your joystick wherever you desire.

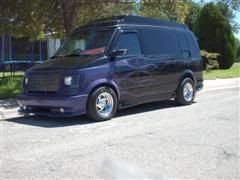
The mirrors are Street Scene manual to electric conversion/w front and rear signals. Cost: 450.00
Pretty easy install, and very much worth it! Looks great and functional. Can't beat that!
Late,
trybe