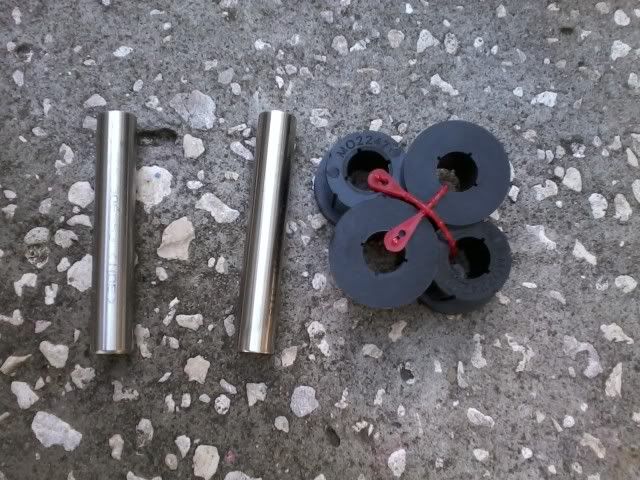
Parts Ordered - 1.5" OD Poly Bushings for upper shackle assembly and the stainless sleeves that run through them. Total purchase was $32 USD.
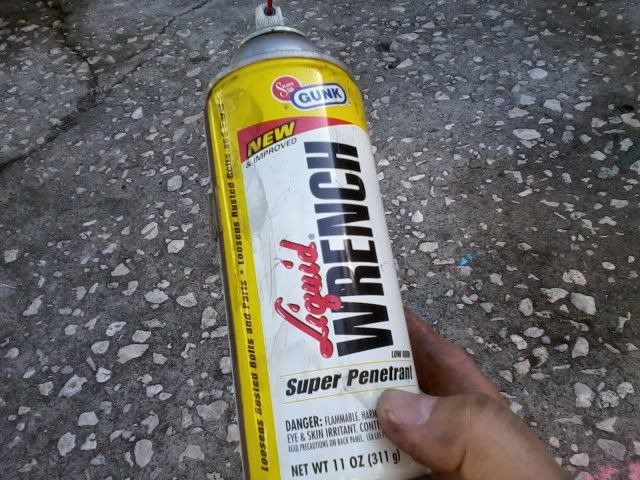
Liquid Wrench is your friend. Use it librally on all nuts you will be removing and let it soak in.
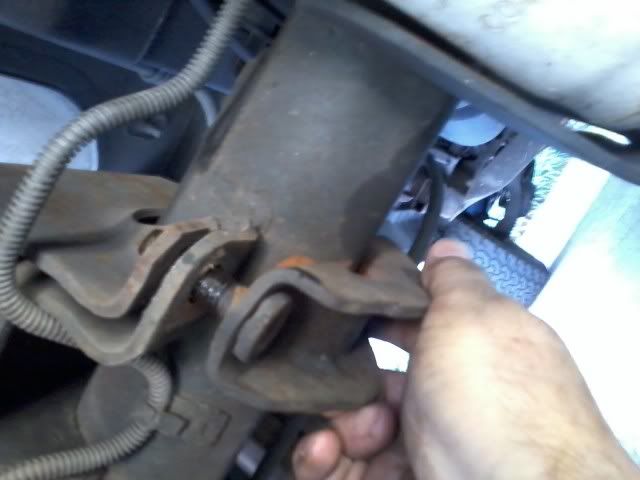
Remove the two nuts holding the lower anchor plate bracket.
Remove the two nuts holding the U-bolts.
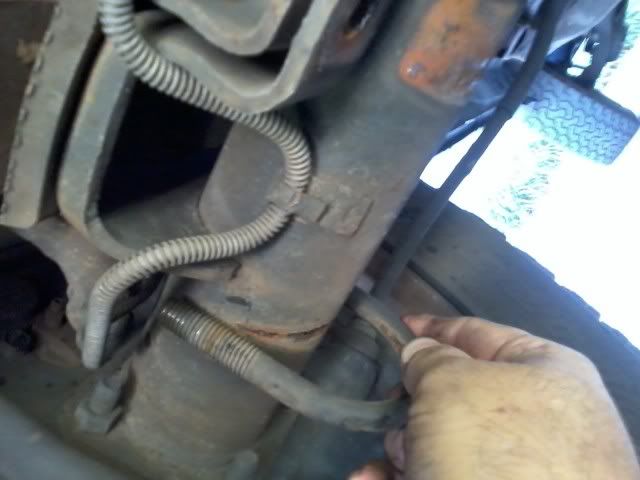
Remove the lower shock nut and bolt.
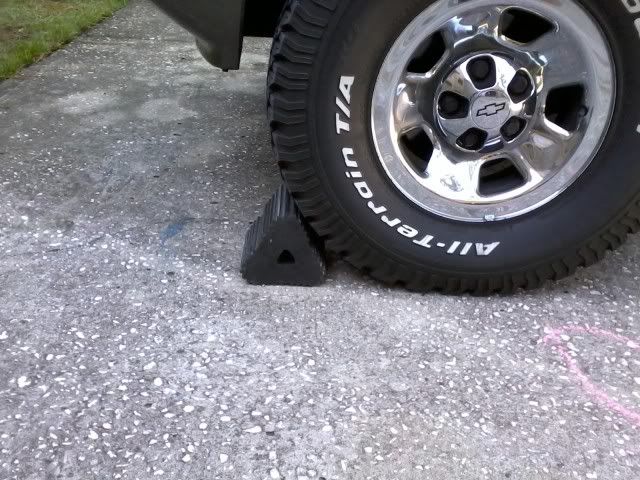
Chock the front wheel of the side you are doing. Only do one side at a time unless you have access to a bumper jack.
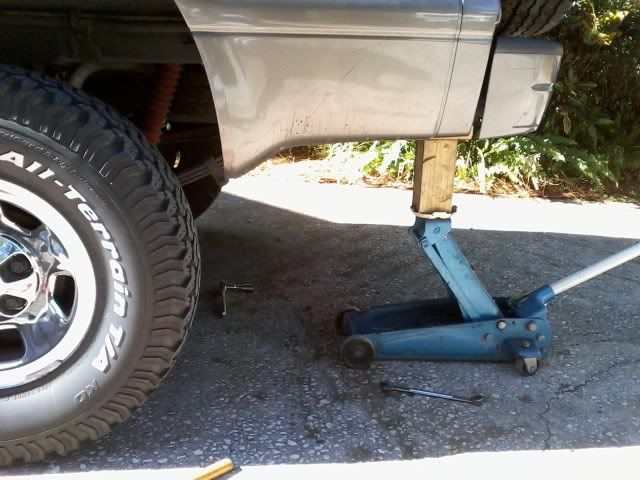
Carefully jack up one side of the vehicle placing the jack at a secure point on the frame. I used a 2.5 ton floor jack with a 4x4 & 2x4 riser placed on the flat of the trailer hitch (the riser 4x4 is screwed to the 2x4 cross piece). The 2x4 cross piece is appx. 6" wide and the 4x4 post is appx. 8" tall. Use great caution if this is the way you have to do this. Jack slowly and adjust as needed to make sure the riser remains vertical. A spotter would be a great asset in this case.
Jack slowly until you are able to move the spring pack assembly back and forth by hand. This will ensure the spring tension is released on the shackle. Only raise the vehicle high enough to be able to do this. Then remove the nuts and bolts attaching the spring to the upper (attached to frame) and lower(attached to spring) shackle mount points.
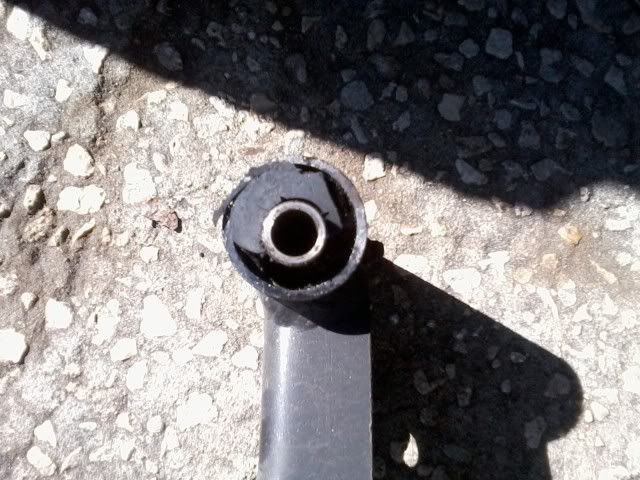
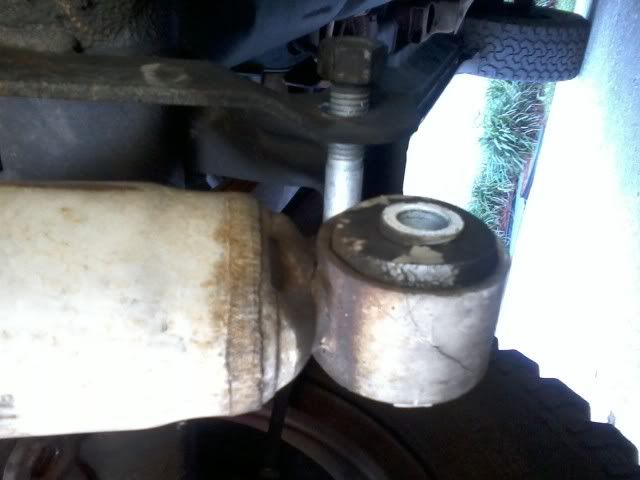
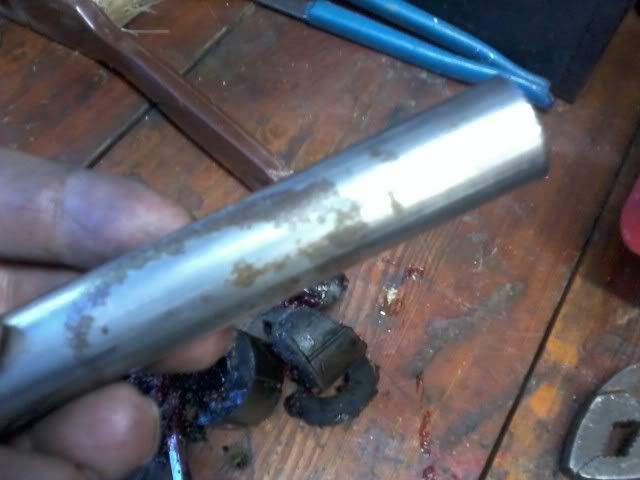
When I pulled the shackle out this is what I found. The bushing on both sides had disentigrated.
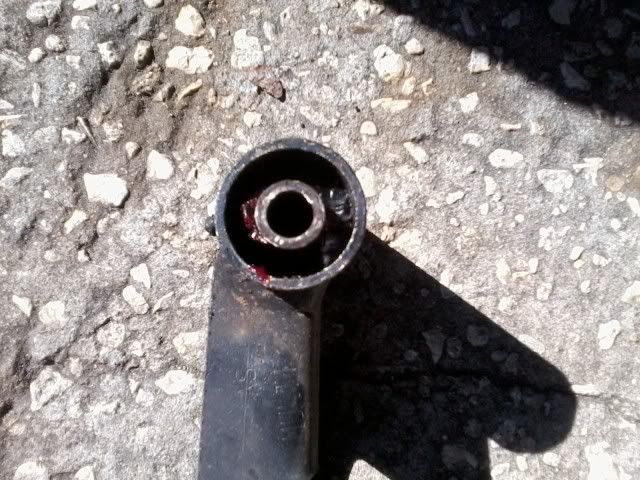
This was the other side.
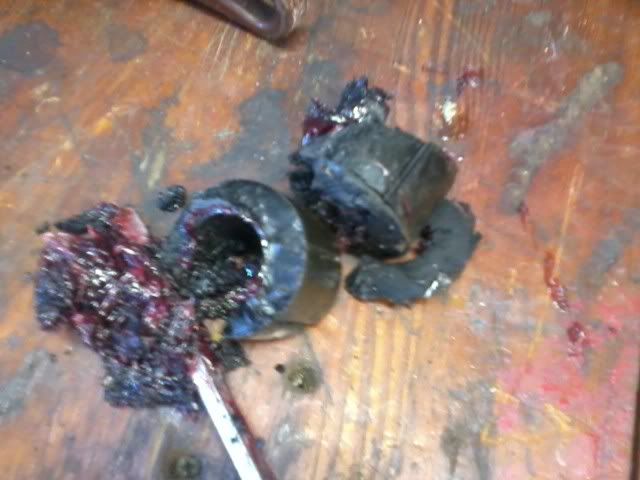
Here's what I pulled out. It was a chunky mess. I did a little research to see what type of grease is supposed to be used in Poly bushings as I wasn't too sure and this in my opinion was a premature failure. It seemed the synthetic grease was the preferred choice on most places I looked.
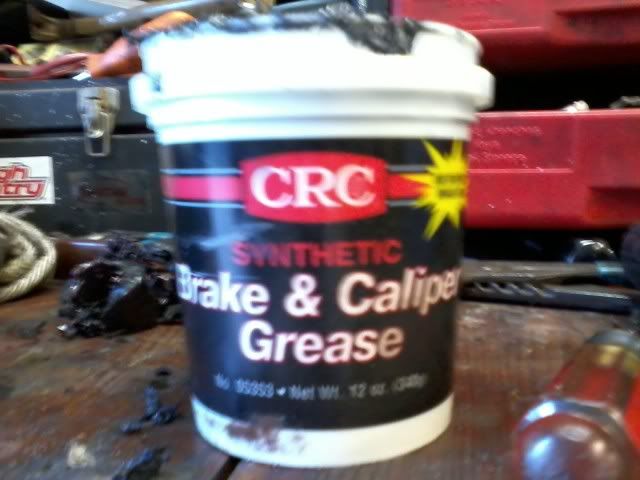
Here's what I used.
The stainless(?) sleeves I removed were in pretty good condition except for the corrosion I found on the right one. It was also a bit gnarly on one end where it rubbed on the frame so I replaced them both with the new ones since I had them.
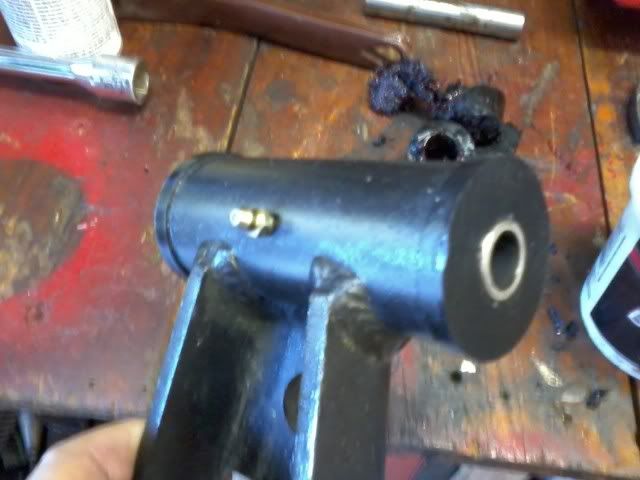
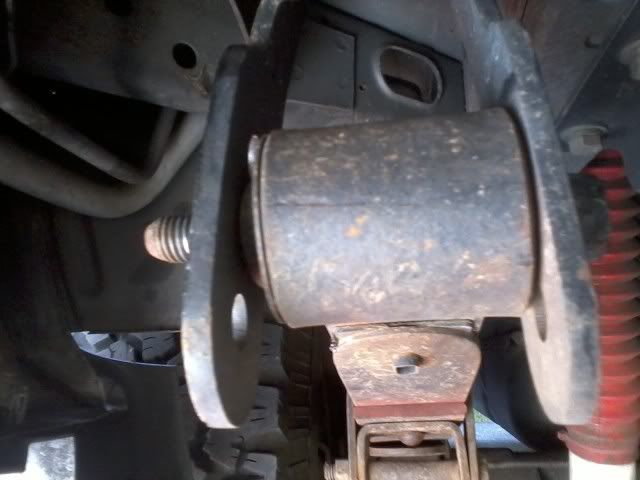
After repacking the shackle with grease and installing the bushings and sleeves, this is the finished prodouct.
All that was left to do was install it in the reverse order and doing the other side. It took me about 3hrs total time which I thought was pretty good.
The ride is so much different now and the sag in the rear has been restored to like new :>) Hope this helps someone else out.